HP Pavilion dv2000 Multimedia - Page 22
Example: Adjusting the camera properties from Windows MovieMaker
 |
View all HP Pavilion dv2000 manuals
Add to My Manuals
Save this manual to your list of manuals |
Page 22 highlights
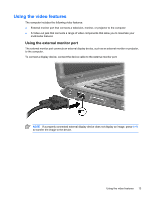
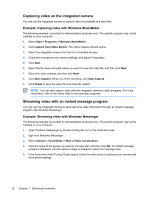
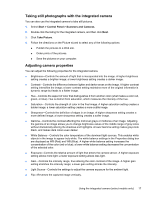
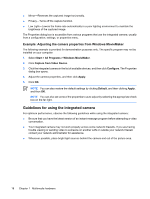
● Mirror-Reverses the captured image horizontally. ● Privacy-Turns off the capture function. ● Low Light-Lowers the frame rate automatically in a poor lighting environment to maintain the brightness of the captured image. The Properties dialog box is accessible from various programs that use the integrated camera, usually from a configuration, settings, or properties menu. Example: Adjusting the camera properties from Windows MovieMaker The following example is provided for demonstration purposes only. The specific program may not be installed on your computer. 1. Select Start > All Programs > Windows MovieMaker. 2. Click Capture from Video Device. 3. Click the integrated camera in the list of available devices, and then click Configure. The Properties dialog box opens. 4. Adjust the camera properties, and then click Apply. 5. Click OK. NOTE You can also restore the default settings by clicking Default, and then clicking Apply, and then OK. NOTE You can also set some of the properties to auto-adjust by selecting the appropriate check box on the far right. Guidelines for using the integrated camera For optimum performance, observe the following guidelines while using the integrated camera: ● Be sure that you have the latest version of an instant message program before attempting a video conversation. ● Your integrated camera may not work properly across some network firewalls. If you are having trouble viewing or sending video to someone on another LAN or outside your network firewall, contact your network administrator for assistance. ● Whenever possible, place bright light sources behind the camera and out of the picture area. 18 Chapter 1 Multimedia hardware ENWW
-
 1
1 -
2
-
3
-
4
-
5
-
6
-
7
-
8
-
9
-
10
-
11
-
12
-
13
-
14
-
15
-
16
-
 17
17 -
 18
18 -
 19
19 -
 20
20 -
 21
21 -
 22
22 -
 23
23 -
 24
24 -
 25
25 -
 26
26 -
 27
27 -
28
-
29
-
30
 |
 |