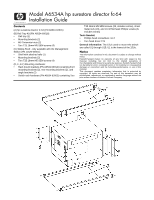
HP Surestore 64 Installation Guide - Page 4
Step 5: Insert the rail tray in the rack, Step 6: Secure the rail tray
 |
View all HP Surestore 64 manuals
Add to My Manuals
Save this manual to your list of manuals |
Page 4 highlights
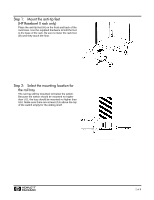
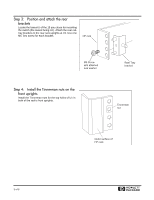
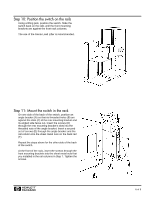
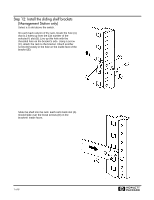
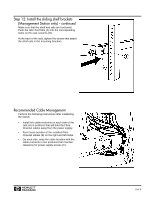
Step 5: Insert the rail tray in the rack Position the rail tray as shown in the following figure and insert it into the rack from the front. The slots in the sides of the rail tray must slide over the posts on the rear rail-tray brackets, and the posts on the rail tray's front mounting flanges must be inserted in the center holes of U1. Step 6: Secure the rail tray Insert the M5 Torx screws through the top holes in both of the rail tray mounting flanges. The screws pass through the holes in the rack uprights and thread into the Tinnerman nuts you installed on the uprights in Step 4. Tighten the screws. Step 7: Prepare the front rack columns Standing at the front of the rack, count up from the top of the rail tray (A) to the 13th, 19th, and 23rd holes on the rack's front face. Slide a sheet metal nut (B) on each of the located holes. You should have three sheet metal nuts on each front column face (C). H 4 of 8
-
 1
1 -
 2
2 -
 3
3 -
 4
4 -
 5
5 -
 6
6 -
 7
7 -
 8
8 -
 9
9 -
 10
10
 |
 |
