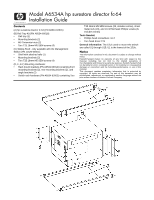
HP Surestore 64 Installation Guide - Page 6
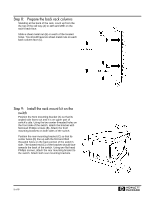
Step 10: Position the switch on the rails, Repeat the steps above for the other side of the back
 |
View all HP Surestore 64 manuals
Add to My Manuals
Save this manual to your list of manuals |
Page 6 highlights
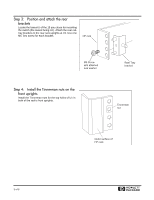
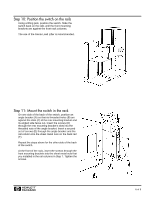
Step 10: Position the switch on the rails Using a lifting jack, position the switch. Slide the switch back on the rails until the front mounting brackets are against the front rack columns. The use of the Genie Load Lifter is recommended. Step 11: Mount the switch in the rack On one side of the back of the switch, position an angle bracket (A) so that its threaded holes (B) are against the slots (C) of the rear mounting bracket and its angled side faces out. Insert the screws (D) through the rear mounting bracket's slots into the threaded nuts of the angle bracket. Insert a second set of screws (E) through the angle bracket and the rail column into the sheet metal nuts on the back rail (F). Repeat the steps above for the other side of the back of the switch. At the front of the rack, insert the screws through the front mounting brackets into the sheet metal nuts that you installed in the rail columns in Step 7. Tighten the screws. H 6 of 8
-
 1
1 -
 2
2 -
 3
3 -
 4
4 -
 5
5 -
 6
6 -
 7
7 -
 8
8 -
 9
9 -
 10
10
 |
 |
