Honeywell CT54 Owner's Manual
Honeywell CT54 Manual
 |
View all Honeywell CT54 manuals
Add to My Manuals
Save this manual to your list of manuals |
Honeywell CT54 manual content summary:
- Honeywell CT54 | Owner's Manual - Page 1
model is right for your system, visit www.honeywell.com/yourhome or call Honeywell Customer Care at 1-800-468-1502. 1. Check that the following components are included: • Thermostat • Two one-inch screws • Installation Instructions 2. Required tools: • Slotted screwdriver • Drill • Drill bit (1/16 - Honeywell CT54 | Owner's Manual - Page 2
CT54 THERMOSTAT W R L MERCURY NOTICE If this thermostat is replacing a control that contains mercury in a sealed tube, do not place the old thermostat in the trash. Contact your local waste management authority for instructions regarding recycling and proper disposal of this control or of an old - Honeywell CT54 | Owner's Manual - Page 3
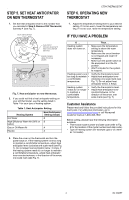
, one scale mark (see Fig. 7). Customer Assistance Please read and follow the provided instructions for this thermostat. For additional information, go to www.honeywell.com/your home or call Honeywell Customer Care at 1-800-468-1502. Before calling, please have the following information available - Honeywell CT54 | Owner's Manual - Page 4
Automation and Control Solutions Honeywell International Inc. Honeywell Limited-Honeywell Limitée 1985 Douglas Drive North 35 Dynamic Drive Golden Valley, MN 55422 Scarborough, Ontario M1V 4Z9 69-1696EF J.S. 9-03 Printed in U.S.A. on recycled paper containing - Honeywell CT54 | Owner's Manual - Page 5
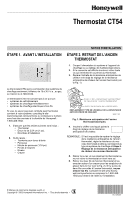
la résistance anticipatrice de chaleur de l'ancien thermostat (voir la Fig. 1). Le thermostat CT54 sert à commander des systèmes de chauffage thermostat convient à votre système, consultez le site www.honeywell.com/yourhome ou composez le numéro sans frais des services à la clientèle de Honeywell - Honeywell CT54 | Owner's Manual - Page 6
par l'ouverture dans le mur. AVIS DE RECYCLAGE Si le nouveau thermostat remplace un ancien régulateur contenant un contact à mercure, ne pas mettre l'ancien régulateur aux poubelles. Communiquer plutôt avec le service local de cueillette des déchets pour obtenir de l'information sur le recyclage - Honeywell CT54 | Owner's Manual - Page 7
antihoraire, dans le sens de la flèche, d'une marque sur l'échelle (voir la Fig. 7). Services à la clientèle Veuillez lire les directives fournies avec le thermostat. Pour obtenir d'autres renseignements, consultez le site www.honeywell.com/yourhome ou composer le numéro d'assistance sans frais de - Honeywell CT54 | Owner's Manual - Page 8
Solutions de régulation et d'automatisation Honeywell International Inc. Honeywell Limited-Honeywell Limitée 1985 Douglas Drive North 35, Dynamic Drive Golden Valley, MN 55422 Scarborough (Ontario) M1V 4Z9 69-1696EF J.S. 9-03 Imprimé aux États-Unis sur du
-
 1
1 -
 2
2 -
 3
3 -
 4
4 -
 5
5 -
 6
6 -
 7
7 -
8
 |
 |
fi U.S. Registered Trademark
Copyright ' 2003 Honeywell International Inc.
°
° All Rights Reserved
INSTALLATION INSTRUCTIONS
69-1696EF
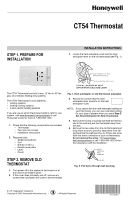
CT54 Thermostat
STEP 1. PREPARE FOR
INSTALLATION
The CT54 Thermostat controls 2-wire, 15 Vac to 30 Vac,
gas, oil or electric heating-only systems.
The CT54 Thermostat is not suitable for:
°
cooling systems
°
heating-cooling systems
°
3-wire electric heating systems
If you are unsure which thermostat model is right for your
system, visit www.honeywell.com/yourhome
or call
Honeywell Customer Care at 1-800-468-1502.
1.
Check that the following components are included:
°
Thermostat
°
Two one-inch screws
°
Installation Instructions
2.
Required tools:
°
Slotted screwdriver
°
Drill
°
Drill bit (1/16 in.)
°
Needle nose pliers
°
Level
°
Pencil
STEP 2. REMOVE OLD
THERMOSTAT
1.
Turn power off to the system at the furnace or at
the fuse/circuit breaker panel.
2.
If the cover does not easily pull off, remove any
screws that may fasten the cover to the thermostat.
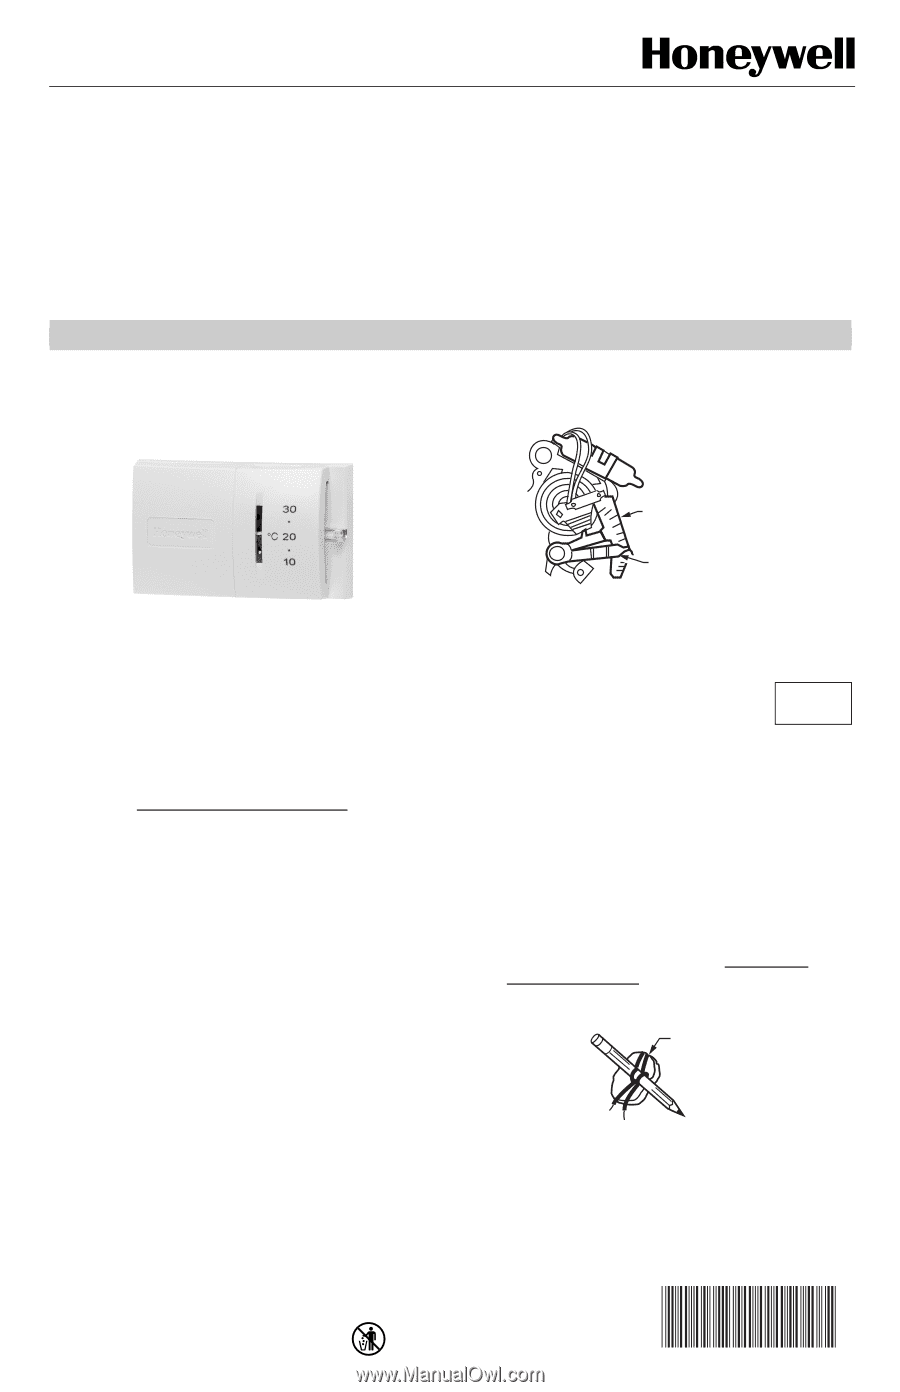
3.
Locate the heat anticipator scale and the heat
anticipator lever on the old thermostat (see Fig. 1).
Fig. 1. Heat anticipator on old thermostat (example).
4.
Record the number that the heat
anticipator lever points to on the heat
anticipator scale.
NOTE:
If you cannot find the heat anticipator setting on
your thermostat, you can use a standard setting
for your type of system when you reach
Step 5.
Set Heat Anticipator On New Thermostat.
5.
Remove the screw or screws that hold the thermo-
stat to the wall and pull the thermostat away from
the wall.
6.
Remove the two wires from the old thermostat and
wrap them around a pencil to keep them from fall-
ing back into the wall (see Fig. 2). If there are more
than two wires connected to your old thermostat,
do not remove the wires
. Visit www.honey-
well.com/yourhome
or call 1-800-468-1502 for fur-
ther assistance with the installation.
Fig. 2. Pull wires through wall opening.
M21192
OLD THERMOSTAT HEAT
ANTICIPATOR SCALE
HEAT ANTICIPATOR LEVER
TYPI
CA
L LO
CA
TIO
N
OF
H
E
A
T
AN
TI
C
IP
A
TO
R
S
CA
LE
AND
LEVE
R
WIRES
THROUGH
WALL
OPENING
M19645