Kenwood TS-990S Operation Manual - Page 238
Temporarily Disabling The Timer Task, Multi/ch, Timer/set]
 |
View all Kenwood TS-990S manuals
Add to My Manuals
Save this manual to your list of manuals |
Page 238 highlights
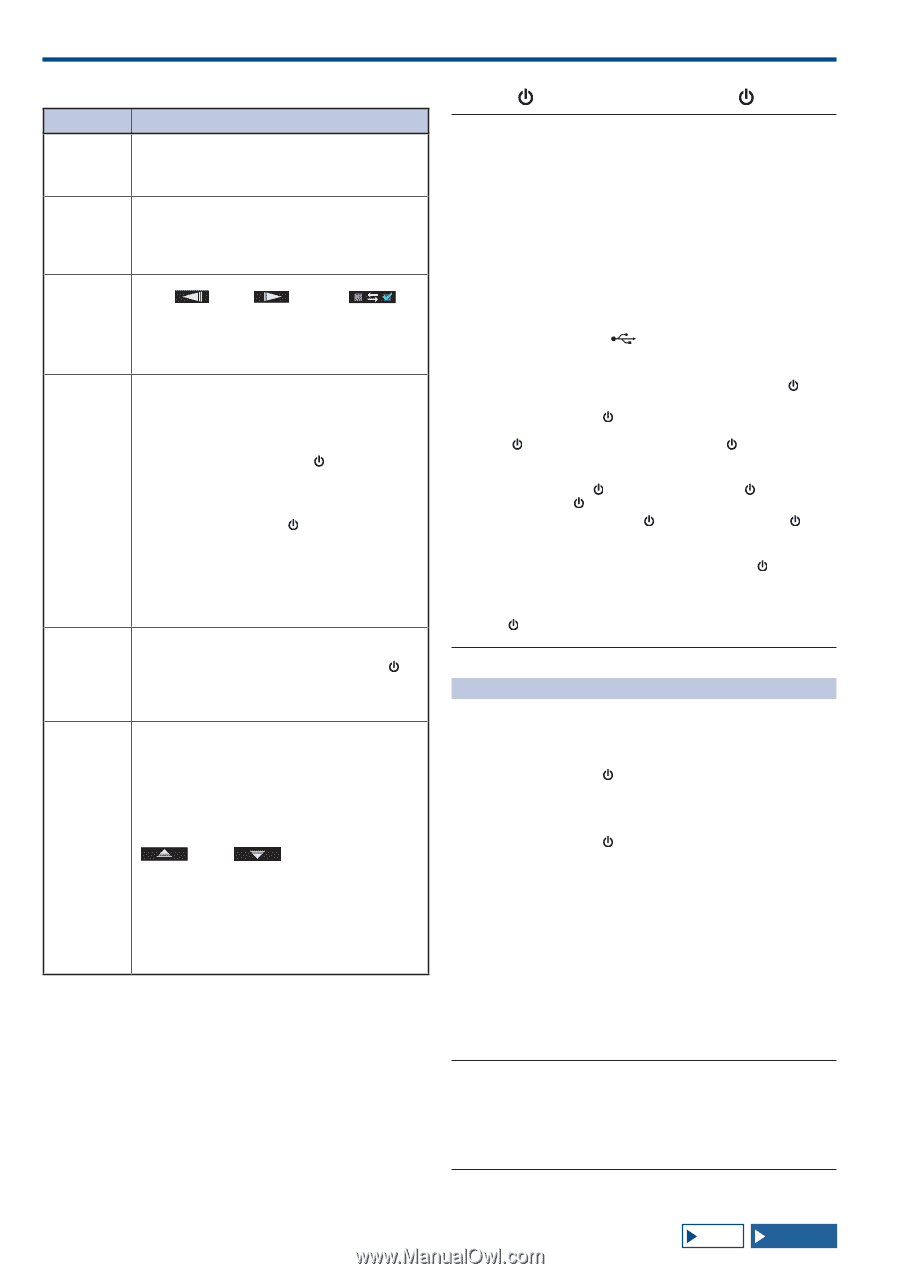
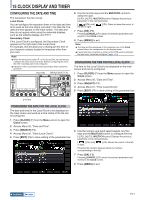
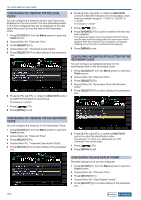
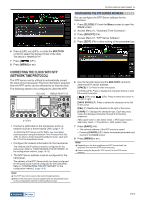
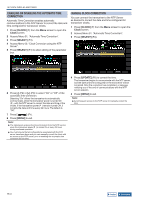
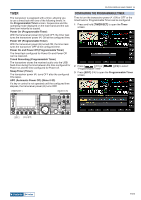
15 CLOCK DISPLAY AND TIMER 4 Use the function keys and the MULTI/CH control to configure the Programmable Timer. Menu Item Timer Repeat Method of Configuration Press [ON/OFF] (F4) to toggle the timed task by a timer between active and inactive. Selecting "ON" enables the timer. Selecting "OFF" disables the timer. Press [ON/OFF] (F4) to toggle the timed repeat by a timer between active and inactive. Selecting "ON" allows you to repeat the timed task as configured. Selecting "OFF" does not allow you to repeat the timed task as configured. Day of the Week Mode Power-on/ Power-off Main Band/ Sub band Press [ ] (F2), [ ] (F3), or [ ] (F4) to select and enable or disable the day of the week when the timed task by a timer will be executed. The timer will be used with the selected day of the week. Press [MODE] (F4) to select the timer task. Power-on: The transceiver turns ON at the time configured for Power-on. If "Power-on" is selected, "--:--" appears as the time for Power Off, and it cannot configured. Power-off: The transceiver power ( ) turns OFF at the time configured for Power-off. If "Power-off" is selected, "--:--" appears as the time for Power On, and it cannot configured. Both: The transceiver power ( ) turns ON at the time configured for Power-on and OFF at the time configured for Power-off. Record: The transceiver stores the received audio onto a USB flash drive during the time between the time configured for Power-on and the time configured for Power-off. Pressing [-] (F4), [+] (F5) or the numeric and band selection keypad, or rotating the MULTI/CH control can configure the time to turn the transceiver power ( ) ON and OFF. The time can be configured in the range of "00:00" to "23:59". Press [COPY] (F5) to copy the frequency and the operating band information for the main band and sub band when the transceiver is turned ON by a timer. Placing the main band and sub band in VFO mode and then pressing [COPY] (F5) can copy the frequency and the operating band information. Even if you can change the configuration for the main band Even if the main band or sub band is highlighted, [ ] (F2), [ ] (F3) and the numeric keypad can be pressed, and the Tuning (M) and MULTI/CH control can be rotated to change the frequency displayed on the upper side of the Program Timer screen. To change the configurations for the frequency and mode for the main band and sub band when the transceiver starts up, press [COPY] (F5) each time the frequency is changed. 5 Press [OK] (F6). • The "TIMER" LED lights green, and the timed task by a timer will be enabled. A message notifying you of the end of the configuration appears. • Pressing [CANCEL] (F7) clears the entered parameter and reverts to the Clock screen. 6 Press [OK] (F6). Pressing [CANCEL] (F7) clears the entered parameter and reverts to the Clock screen. 7 Press [ESC] to exit. 8 If the timer except for the power-off timer is active, press [ ] to turn the transceiver power ( ) OFF. Note: ◆◆Prior to copying with a press of [COPY] (F5), at step 5, the operating data which has been stored in a Memory Channel, press [M▶V] to transfer the operating data in the Memory Channel to the VFO. ◆◆Even if the current time passes the configured time when you press [OK] (F6) at step 6, the time will be configured as it is. ◆◆For the recording timer, there should be at latest one minute time difference between the record start time (Power-on time) and the record end time (Power-off time). ◆◆You can configure the recording timer for a maximum of four hours. ◆◆Even when the time configured for Power-on has already been past when [OK] (F6) was pressed at step 6, the time for Power-on will be configured. ◆◆If timed recording is enabled, insert a USB flash drive, prior to the start of recording, into the (USB-A) connector on the front panel. Use a USB flash drive formatted with the transceiver and having sufficient free area. ◆◆Timed recording cannot be started if the transceiver power ( ) is turned OFF. ◆◆If the transceiver power ( ) turns OFF, the "TIMER" LED blinks one minute before the timer recording begins, and the transceiver power ( ) cannot turn ON even with a press of [ ]. ◆◆With the timed recording enabled, a message appears three minutes and one minute before the start of the timed recording, if the transceiver power ( ) is not turned OFF. Press [ ] to turn the transceiver power ( ) OFF. ◆◆During the timed recording, the " " LED lights orange. The " " LED lights red when the timed recording ends. ◆◆If you wish to abort the timed recording after the "TIMER" LED starts blinking until the timed recording begins, press [ ] for four seconds. ◆◆During the timed recording, no other operation can be processed until the timed recording ends. To abort the timed recording, press [ ] and press and hold [(BREAK)] following the instruction displayed. TEMPORARILY DISABLING THE TIMER TASK You can disable timer tasks or the Programmable Timer. Following are the timer tasks for which countdown of the timer can temporarily be paused. • Transceiver Power ( ) OFF at the time configured for Power-off • Start of the timed recording • Transceiver Power ( ) OFF using the Sleep Timer Pressing [TIMER/SET] after the countdown of the timer or program timer has paused resumes the countdown of the timer or program timer. Also, if the timer task is inactive, the timed task will not function until the clock reaches the next time configured for Power-on. 1 Press [TIMER/SET]. • The "TIMER" LED turns Off, and the Sleep Timer or Programmable Timer will temporarily be disabled. • Press [TIMER/SET] again to light the "TIMER" LED, and resume counting down the Sleep Timer and Programmable Timer. Note: ◆◆Even if the Timer and Programmable Timer are temporarily disabled, configurations for the Timer and Programmable Timers will be retained. ◆◆If the Programmable Timer is temporarily disabled while the Sleep Timer is counting down, the Sleep Timer will also be temporarily disabled. 15-6 Index Contents
-
 1
1 -
2
-
3
-
4
-
5
-
6
-
7
-
8
-
9
-
10
-
11
-
12
-
13
-
14
-
15
-
16
-
17
-
18
-
19
-
20
-
21
-
22
-
23
-
24
-
25
-
26
-
27
-
28
-
29
-
30
-
31
-
32
-
33
-
34
-
35
-
36
-
37
-
38
-
39
-
40
-
41
-
42
-
43
-
44
-
45
-
46
-
47
-
48
-
49
-
50
-
51
-
52
-
53
-
54
-
55
-
56
-
57
-
58
-
59
-
60
-
61
-
62
-
63
-
64
-
65
-
66
-
67
-
68
-
69
-
70
-
71
-
72
-
73
-
74
-
75
-
76
-
77
-
78
-
79
-
80
-
81
-
82
-
83
-
84
-
85
-
86
-
87
-
88
-
89
-
90
-
91
-
92
-
93
-
94
-
95
-
96
-
97
-
98
-
99
-
100
-
101
-
102
-
103
-
104
-
105
-
106
-
107
-
108
-
109
-
110
-
111
-
112
-
113
-
114
-
115
-
116
-
117
-
118
-
119
-
120
-
121
-
122
-
123
-
124
-
125
-
126
-
127
-
128
-
129
-
130
-
131
-
132
-
133
-
134
-
135
-
136
-
137
-
138
-
139
-
140
-
141
-
142
-
143
-
144
-
145
-
146
-
147
-
148
-
149
-
150
-
151
-
152
-
153
-
154
-
155
-
156
-
157
-
158
-
159
-
160
-
161
-
162
-
163
-
164
-
165
-
166
-
167
-
168
-
169
-
170
-
171
-
172
-
173
-
174
-
175
-
176
-
177
-
178
-
179
-
180
-
181
-
182
-
183
-
184
-
185
-
186
-
187
-
188
-
189
-
190
-
191
-
192
-
193
-
194
-
195
-
196
-
197
-
198
-
199
-
200
-
201
-
202
-
203
-
204
-
205
-
206
-
207
-
208
-
209
-
210
-
211
-
212
-
213
-
214
-
215
-
216
-
217
-
218
-
219
-
220
-
221
-
222
-
223
-
224
-
225
-
226
-
227
-
228
-
229
-
230
-
231
-
232
-
 233
233 -
 234
234 -
 235
235 -
 236
236 -
 237
237 -
 238
238 -
 239
239 -
 240
240 -
 241
241 -
 242
242 -
 243
243 -
244
-
245
-
246
-
247
-
248
-
249
-
250
-
251
-
252
-
253
-
254
-
255
-
256
-
257
-
258
-
259
-
260
-
261
-
262
-
263
-
264
-
265
-
266
-
267
-
268
-
269
-
270
-
271
-
272
-
273
-
274
-
275
-
276
-
277
-
278
-
279
-
280
-
281
-
282
-
283
-
284
-
285
-
286
-
287
-
288
-
289
-
290
-
291
-
292
-
293
-
294
-
295
-
296
-
297
-
298
-
299
-
300
 |
 |