Kenwood VRS-7200 Instruction Manual - Page 22
Re-assignment of rear panel jacks
 |
View all Kenwood VRS-7200 manuals
Add to My Manuals
Save this manual to your list of manuals |
Page 22 highlights
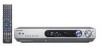
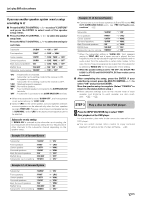
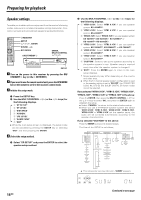
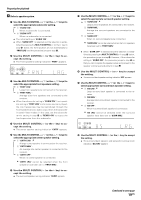
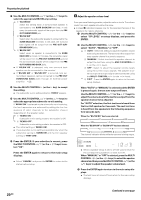
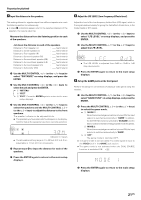
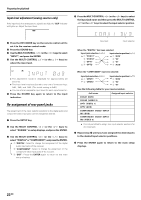
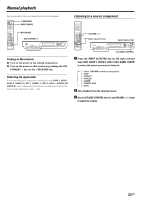
Preparing for playback Input level adjustment (analog sources only) If the input level of an analog source signal is too high, the "CLIP" indicator will lights up. Adjust the input level. 4 Press the MULTI CONTROL @/# (or the @/# keys) to select the input jack name and then press the MULTI CONTROL %/fi (or the %/fi keys) to select the input selector position. 1 Press the RCV MODE key on the remote control unit to set it to the receiver control mode. 2 Press the SOUND key. 3 Use the MULTI CONTROL @ / # (or the @ / # keys) to select "INPUT", and press the ENTER. 4 Use the MULTI CONTROL % / fi (or the % / fi keys) to adjust the input level. ÷ The adjustment mode is displayed for approximately 20 seconds. ÷ The input level may be adjusted to any one of three settings: 0dB, -3dB, and -6dB. (The initial setting is 0dB.) ÷ You can store a separate input level for each input selector. 5 Press the SOUND key again to return to the input indication. Re-assignment of rear panel jacks The assignment of the input selector positions to the digital audio and component video input jacks can be changed as desired. 1 Press the SETUP key. 2 Use the MULTI CONTROL @/ # (or the @/ # keys) to select "ASSIGN." on setup displays, and press the ENTER. 3 Use the MULTI CONTROL @/ # (or the @ / # keys) to select "DIGITAL" or "COMPONENT", and press the ENTER. 1 "DIGITAL": Select to change the assignment of the digital audio input jacks of the receiver. 2 "COMPONENT": Select to change the assignment of the component video input jacks of the receiver. 3 "EXIT": Press the ENTER again to return to the main setup displays. Input jack Input selector When the "DIGITAL" has been selected: Input jack selection (@/#) 1 "COAX1" 2 "COAX2" 3 "OPT1" 4 "OPT2" Input selector position (%/fi) 1 "DVD" 2 "V2" 3 "V1" 4 "AUX" When the "COMPONENT" has been selected: Input jack selection (@/#) 1 "CPNT1" 2 "CPNT2" Input selector position (%/fi) 1 "DVD" 2 "V2" 3 "V1" Use the following table for your memorandum. Jack name COAX1 (DVD) COAX2 (VIDEO 2) OPT1 (VIDEO 1) OPT2 (AUX) Assigned input selector COMPONENT VIDEO INPUT IN1 (DVD) COMPONENT VIDEO INPUT IN2 (VIDEO 2) ÷ It is not permitted to assign two input selector positions for one input jack. 5 Repeat step 4 until you have assigned the desired jacks to the desired input selector positions. 6 Press the ENTER again to return to the main setup displays. 22 EN
-
 1
1 -
2
-
3
-
4
-
5
-
6
-
7
-
8
-
9
-
10
-
11
-
12
-
13
-
14
-
15
-
16
-
 17
17 -
 18
18 -
 19
19 -
 20
20 -
 21
21 -
 22
22 -
 23
23 -
 24
24 -
 25
25 -
 26
26 -
 27
27 -
28
-
29
-
30
-
31
-
32
-
33
-
34
-
35
-
36
-
37
-
38
-
39
-
40
-
41
-
42
-
43
-
44
-
45
-
46
-
47
-
48
-
49
-
50
-
51
-
52
-
53
-
54
-
55
-
56
-
57
-
58
-
59
-
60
 |
 |