LG HECTO Additional Link - Installation Manual - Page 8
The paper screen helps to easily install the adjustable bracket and bore holes in the wall.
 |
View all LG HECTO manuals
Add to My Manuals
Save this manual to your list of manuals |
Page 8 highlights
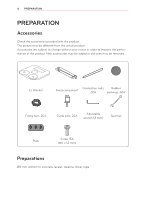
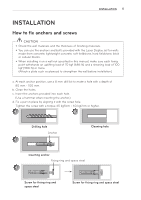
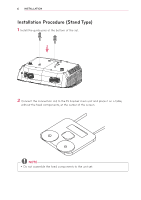
8 INSTALLATION 5 Attach 390 mm of guide tapes to the top of the table referring the sides of Laser Display so that the tapes are vertically upward. Center line Up Paper screen 390 mm Down 390 mm Guide tape Adjustable bracket Table NOTE yyThe figure above illustrates the fixed components which are not fixed yet. 6 Attach the paper screen above the tape. Refer to the guide tape to keep it level. (The paper screen helps to easily install the adjustable bracket and bore holes in the wall.) 7 Place the Ez bracket with the Laser Display installed close to the wall. 8 Turn on the power on the Laser Display.
-
 1
1 -
2
-
 3
3 -
 4
4 -
 5
5 -
 6
6 -
 7
7 -
 8
8 -
 9
9 -
 10
10 -
 11
11 -
 12
12 -
 13
13 -
14
-
15
-
16
-
17
-
18
-
19
-
20
-
21
-
22
-
23
-
24
 |
 |
8
INSTALLATION
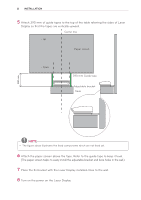
5
Attach 390 mm of guide tapes to the top of the table referring the sides of Laser
Display so that the tapes are vertically upward.
390 mm Guide tape
390 mm
Up
Down
Paper screen
Adjustable bracket
Table
Center line
NOTE
y
The figure above illustrates the fixed components which are not fixed yet.
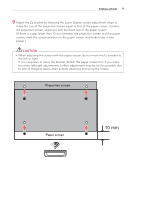
6
Attach the paper screen above the tape. Refer to the guide tape to keep it level.
(The paper screen helps to easily install the adjustable bracket and bore holes in the wall.)
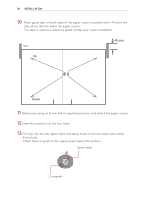
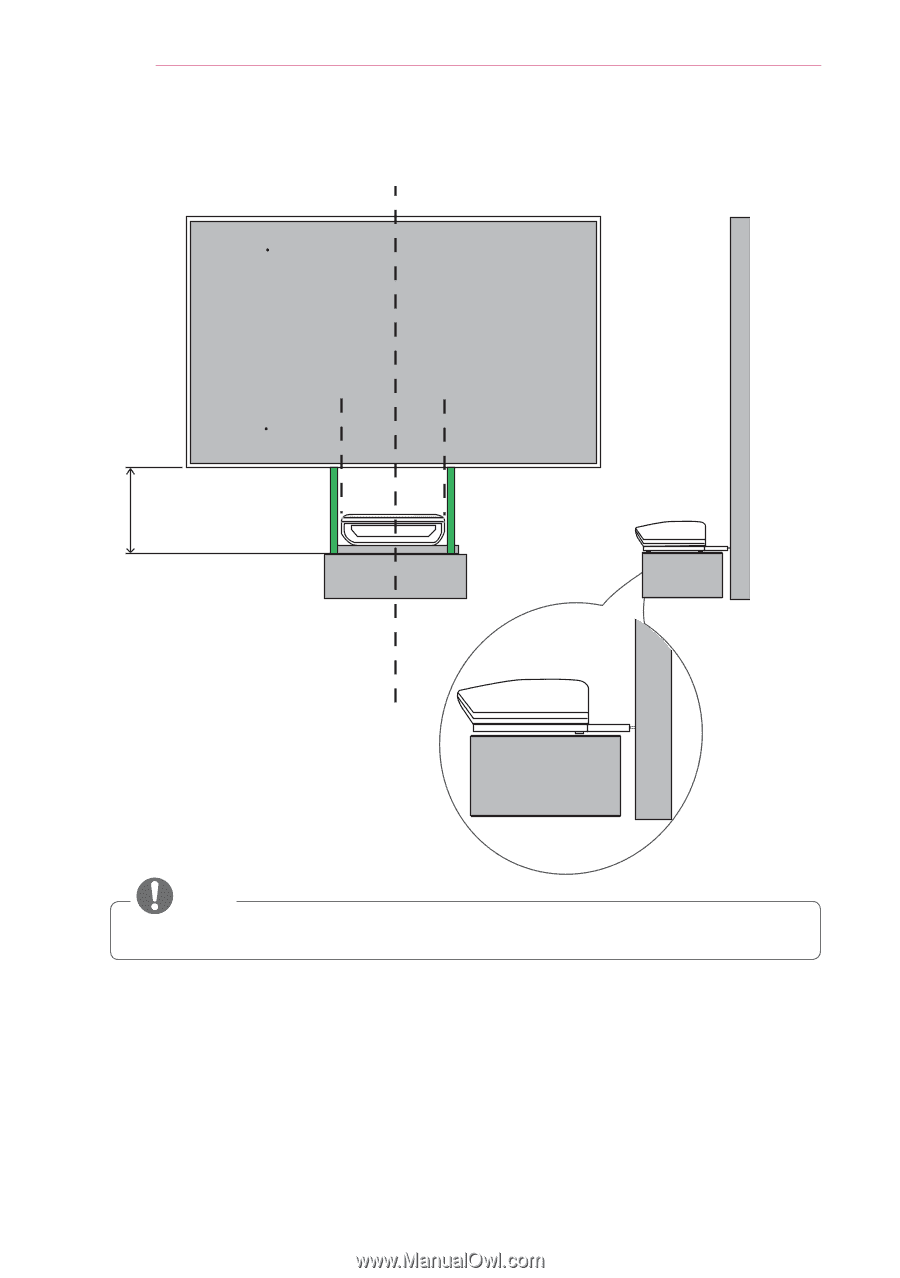
7
Place the Ez bracket with the Laser Display installed close to the wall.
8
Turn on the power on the Laser Display.