Lexmark 12N1515 User's Reference - Page 142
Replacing supplies
 |
UPC - 734646123327
View all Lexmark 12N1515 manuals
Add to My Manuals
Save this manual to your list of manuals |
Page 142 highlights
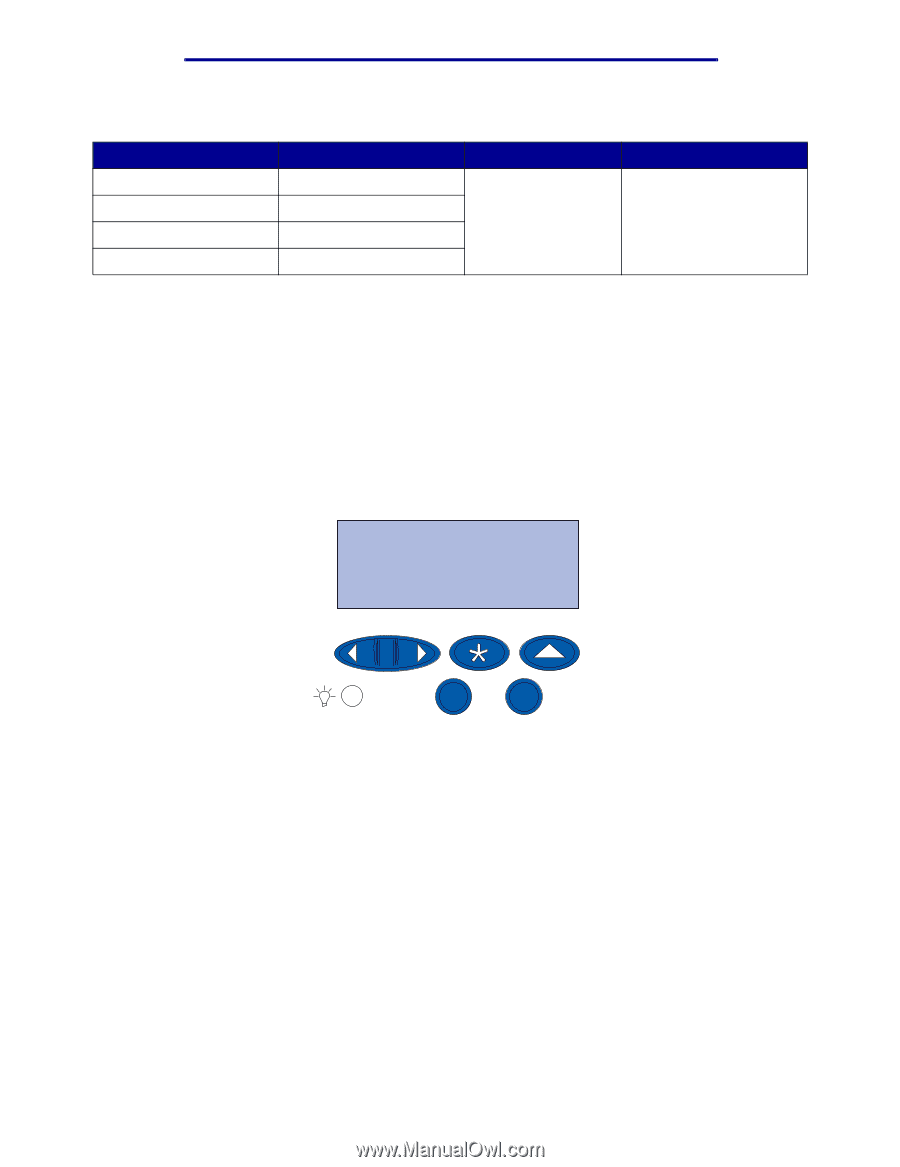
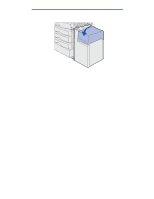
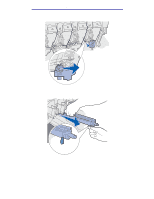
Maintenance Order the appropriate toner cartridge: Part number 12N0771 12N0770 12N0768 12N0769 Toner cartridge Black toner cartridge Yellow toner cartridge Cyan toner cartridge Magenta toner cartridge Approximate yield 14,000 pages Approximate coverage 5% Replacing supplies The printer calculates and stores information on the number of images that have been printed. When a count for a supply nears the end of the supplies life, the SUPPLIES status message appears on the second line of the display to remind you there are supplies that need attention. Open the SUPPLIES Menu to view the supplies that need to be replaced. Replacement of these parts ensures peak printer performance and prevents print quality and paper feed problems resulting from worn parts. Ready SUPPLIES 1 Menu 2 Select 3 Return 4 Go 5 Stop 6 The printer counter keeps track of your toner cartridges, photodevelopers, fuser cleaner, fuser, and transfer belt. It posts a Low, Empty, Life Warning, or an Exhausted message on the display when one of these supplies nears or reaches an end of life condition. If you do not have the appropriate supply item, order one when the Low, Empty, or Life Warning message appears. Press Go to clear the message. The SUPPLIES status message appears on the second line of the display to remind you there are supplies that need attention. Press Menu to open the Supplies Menu and quickly determine the supply items that need to be replaced. The printer continues to display the SUPPLIES status message until you replace the required supply items. After the SUPPLIES status message appears, the printer continues to monitor the required supply items until the supply is exhausted. The printer displays Low, Empty, Life Warning, or Exhausted. Replacing supplies 137
-
 1
1 -
2
-
3
-
4
-
5
-
6
-
7
-
8
-
9
-
10
-
11
-
12
-
13
-
14
-
15
-
16
-
17
-
18
-
19
-
20
-
21
-
22
-
23
-
24
-
25
-
26
-
27
-
28
-
29
-
30
-
31
-
32
-
33
-
34
-
35
-
36
-
37
-
38
-
39
-
40
-
41
-
42
-
43
-
44
-
45
-
46
-
47
-
48
-
49
-
50
-
51
-
52
-
53
-
54
-
55
-
56
-
57
-
58
-
59
-
60
-
61
-
62
-
63
-
64
-
65
-
66
-
67
-
68
-
69
-
70
-
71
-
72
-
73
-
74
-
75
-
76
-
77
-
78
-
79
-
80
-
81
-
82
-
83
-
84
-
85
-
86
-
87
-
88
-
89
-
90
-
91
-
92
-
93
-
94
-
95
-
96
-
97
-
98
-
99
-
100
-
101
-
102
-
103
-
104
-
105
-
106
-
107
-
108
-
109
-
110
-
111
-
112
-
113
-
114
-
115
-
116
-
117
-
118
-
119
-
120
-
121
-
122
-
123
-
124
-
125
-
126
-
127
-
128
-
129
-
130
-
131
-
132
-
133
-
134
-
135
-
136
-
 137
137 -
 138
138 -
 139
139 -
 140
140 -
 141
141 -
 142
142 -
 143
143 -
 144
144 -
 145
145 -
 146
146 -
 147
147 -
148
-
149
-
150
-
151
-
152
-
153
-
154
-
155
-
156
-
157
-
158
-
159
-
160
-
161
-
162
-
163
-
164
-
165
-
166
-
167
-
168
-
169
-
170
-
171
-
172
-
173
-
174
-
175
-
176
-
177
-
178
-
179
-
180
-
181
-
182
-
183
-
184
-
185
-
186
-
187
-
188
-
189
-
190
-
191
-
192
-
193
-
194
-
195
-
196
-
197
-
198
-
199
-
200
-
201
-
202
-
203
-
204
-
205
-
206
-
207
 |
 |