Lexmark 4600 T64x - Setup Guide - Page 30
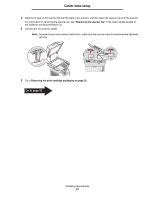
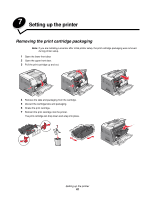
Installing output options, Removing the print cartridge packaging
 |
View all Lexmark 4600 manuals
Add to My Manuals
Save this manual to your list of manuals |
Page 30 highlights
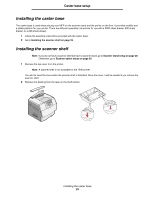
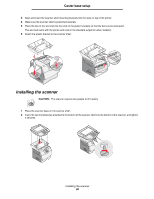
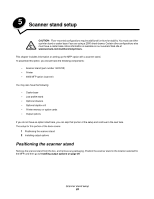
Scanner stand setup Installing output options If you purchased an output option (finisher, expander, or mailbox), follow these steps: 1 Remove the top cover from the printer. You will not need the cover when the output option is attached. Store the cover; it will be needed if you remove the output option. 2 Remove the option from the box, and follow the setup instructions included with the option. 3 Place the tips of the wire bail into the ends of the plastic bracket so that the bail curves downward. The wire bail came with the printer and rests in the standard output bin when installed. 4 Attach the plastic bracket to the finisher, expander, or mailbox. 5 Go to Removing the print cartridge packaging on page 32. Go to page 32 Installing output options 29
-
 1
1 -
2
-
3
-
4
-
5
-
6
-
7
-
8
-
9
-
10
-
11
-
12
-
13
-
14
-
15
-
16
-
17
-
18
-
19
-
20
-
21
-
22
-
23
-
24
-
 25
25 -
 26
26 -
 27
27 -
 28
28 -
 29
29 -
 30
30 -
 31
31 -
 32
32 -
 33
33 -
 34
34 -
 35
35 -
36
-
37
-
38
-
39
-
40
-
41
-
42
-
43
-
44
-
45
-
46
-
47
-
48
-
49
-
50
-
51
-
52
 |
 |
