Lexmark 920dn User's Guide - Page 36
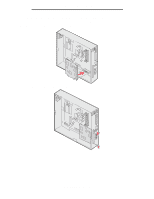
Aligning the optional finisher, Repeat steps
 |
UPC - 734646055802
View all Lexmark 920dn manuals
Add to My Manuals
Save this manual to your list of manuals |
Page 36 highlights
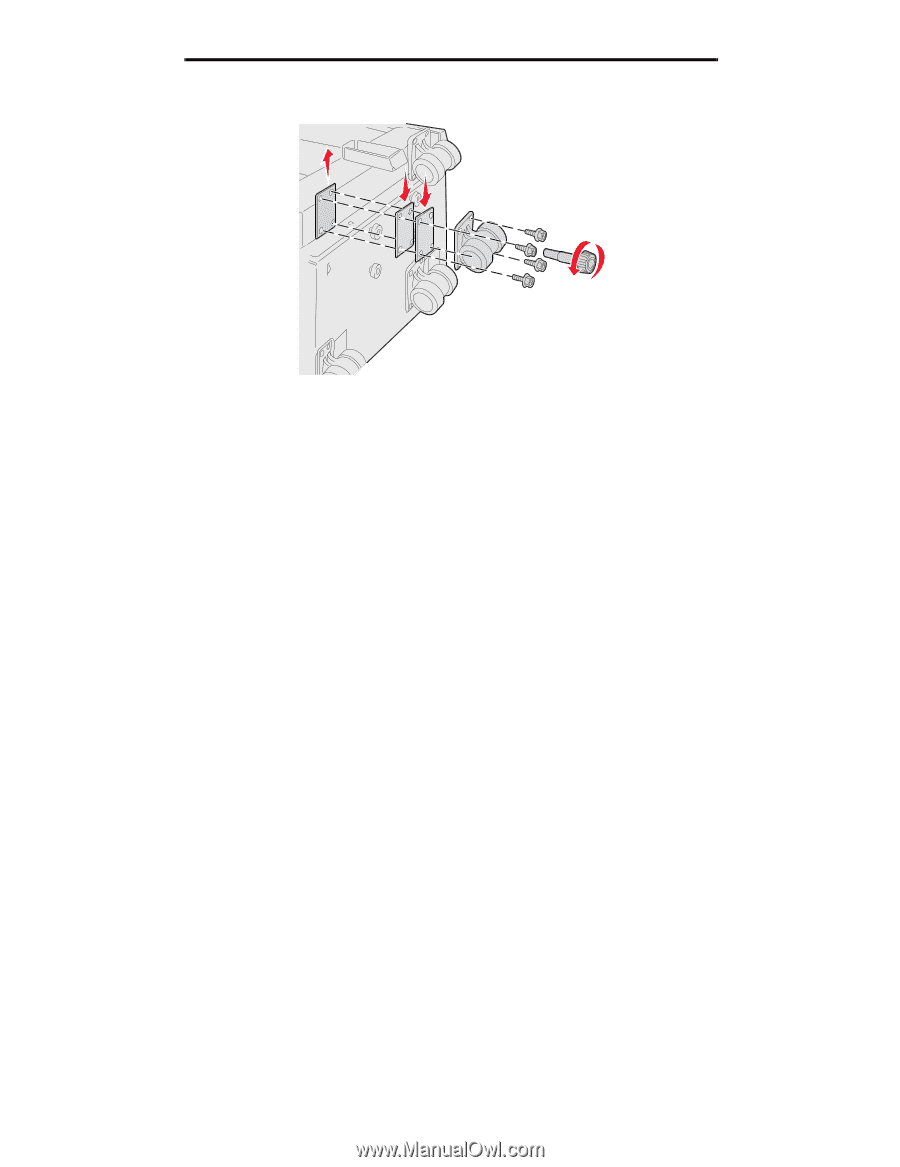
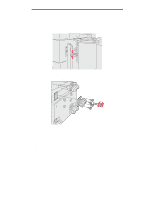
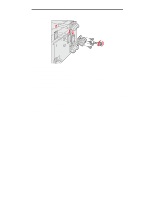
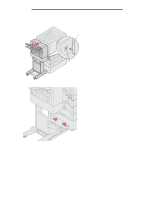
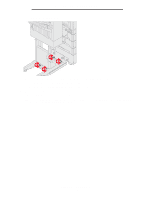
Installing and removing options c Align and insert the screws into the screw holes on the high capacity feeder. To remove the factory installed spacer: a Remove the spacer from the top of the caster. b Insert the four screws through the caster. c Align and insert the screws into the screw holes on the high capacity feeder. 5 Tighten the four screws to secure the caster. 6 Repeat steps 3 through 5 to add or remove spacers on the remaining three casters. Note: If installing or removing height adjustment spacers does not bring the high capacity feeder to the right height, you may need to raise or lower to height of the feet on your printer cabinet or printer base. Aligning the optional finisher Note: Failure to properly align the finisher may cause paper jams. Aligning the optional finisher 36
-
 1
1 -
2
-
3
-
4
-
5
-
6
-
7
-
8
-
9
-
10
-
11
-
12
-
13
-
14
-
15
-
16
-
17
-
18
-
19
-
20
-
21
-
22
-
23
-
24
-
25
-
26
-
27
-
28
-
29
-
30
-
 31
31 -
 32
32 -
 33
33 -
 34
34 -
 35
35 -
 36
36 -
 37
37 -
 38
38 -
 39
39 -
 40
40 -
 41
41 -
42
-
43
-
44
-
45
-
46
-
47
-
48
-
49
-
50
-
51
-
52
-
53
-
54
-
55
-
56
-
57
-
58
-
59
-
60
-
61
-
62
-
63
-
64
-
65
-
66
-
67
-
68
-
69
-
70
-
71
-
72
-
73
-
74
-
75
-
76
-
77
-
78
-
79
-
80
-
81
-
82
-
83
-
84
-
85
-
86
-
87
-
88
-
89
-
90
-
91
-
92
-
93
-
94
-
95
-
96
-
97
-
98
-
99
-
100
-
101
-
102
-
103
-
104
-
105
-
106
-
107
-
108
-
109
-
110
-
111
-
112
-
113
-
114
-
115
-
116
-
117
-
118
-
119
-
120
-
121
-
122
-
123
-
124
-
125
-
126
-
127
-
128
-
129
-
130
-
131
-
132
-
133
-
134
-
135
-
136
-
137
-
138
-
139
-
140
-
141
-
142
-
143
-
144
-
145
-
146
-
147
-
148
-
149
-
150
-
151
-
152
-
153
-
154
-
155
-
156
-
157
-
158
-
159
-
160
-
161
-
162
-
163
 |
 |