Lexmark X2580 Getting Started - Page 31
Scanning, Scanning using the control panel, Customizing scan settings using the computer, Browse
 |
View all Lexmark X2580 manuals
Add to My Manuals
Save this manual to your list of manuals |
Page 31 highlights
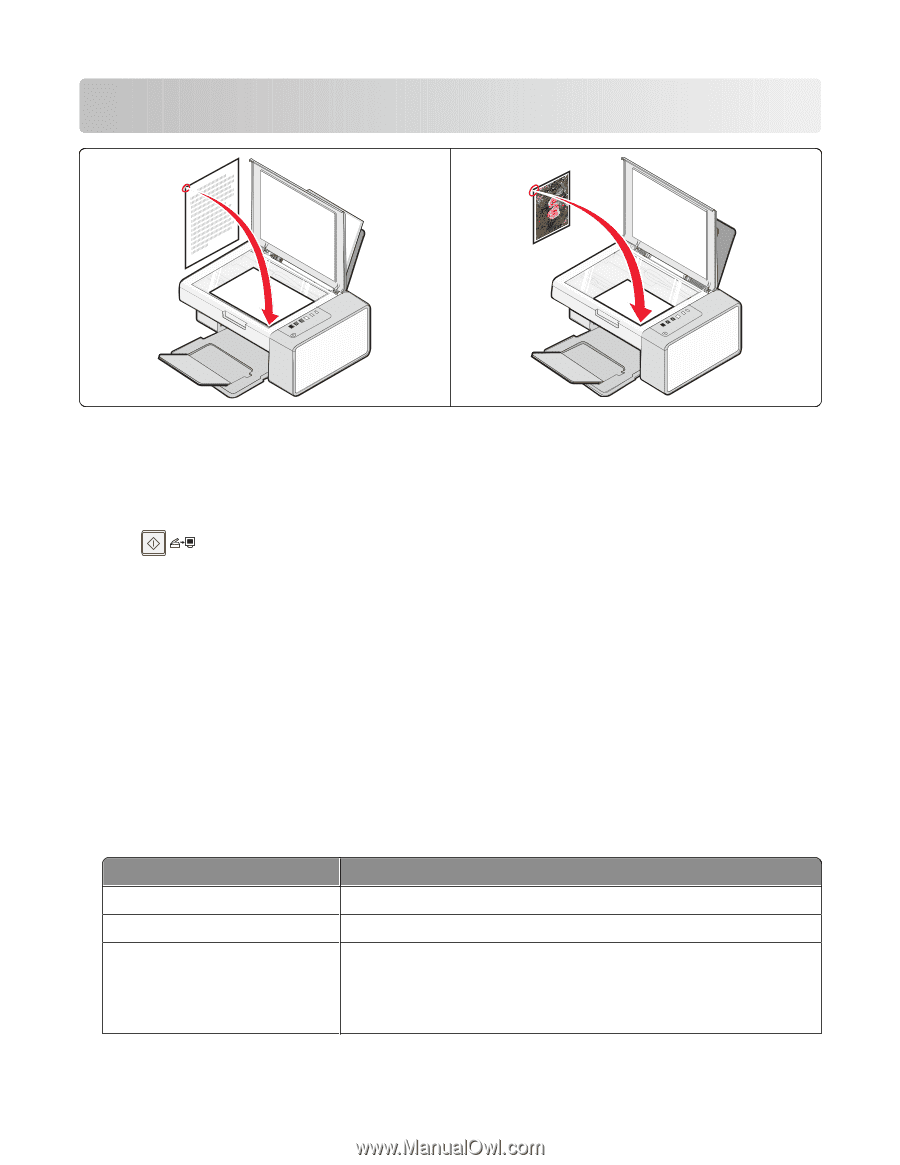
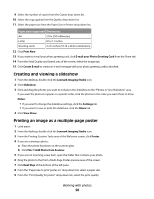
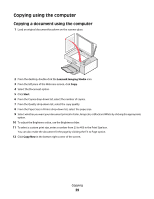
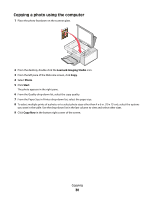
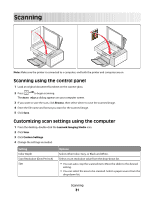
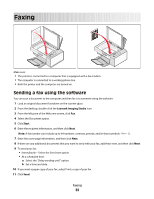
Scanning Note: Make sure the printer is connected to a computer, and both the printer and computer are on. Scanning using the control panel 1 Load an original document facedown on the scanner glass. 2 Press to begin scanning. The Save Photo dialog appears on your computer screen. 3 If you want to save the scan, click Browse, then select where to save the scanned image. 4 Enter the file name and format you want for the scanned image. 5 Click Save. Customizing scan settings using the computer 1 From the desktop, double-click the Lexmark Imaging Studio icon. 2 Click Scan. 3 Click Custom Settings. 4 Change the settings as needed. Setting Color Depth Scan Resolution (Dots Per Inch) Size Options Select either Color, Grey, or Black and White. Select a scan resolution value from the drop-down list. • You can auto-crop the scanned item. Move the slider to the desired setting. • You can select the area to be scanned. Select a paper source from the drop-down list. Scanning 31
-
 1
1 -
2
-
3
-
4
-
5
-
6
-
7
-
8
-
9
-
10
-
11
-
12
-
13
-
14
-
15
-
16
-
17
-
18
-
19
-
20
-
21
-
22
-
23
-
24
-
25
-
 26
26 -
 27
27 -
 28
28 -
 29
29 -
 30
30 -
 31
31 -
 32
32 -
 33
33 -
 34
34 -
 35
35 -
 36
36 -
37
-
38
-
39
-
40
-
41
-
42
-
43
-
44
-
45
-
46
-
47
-
48
-
49
-
50
-
51
-
52
-
53
-
54
-
55
-
56
-
57
-
58
 |
 |