Lexmark X560n Clearing Jams Guide - Page 12
Return the, Removed Original and Press Start, Close the scanner cover.
 |
View all Lexmark X560n manuals
Add to My Manuals
Save this manual to your list of manuals |
Page 12 highlights
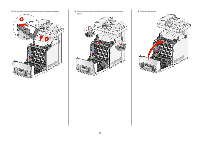
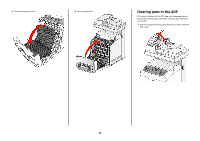
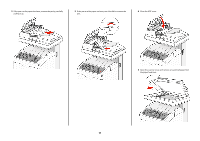
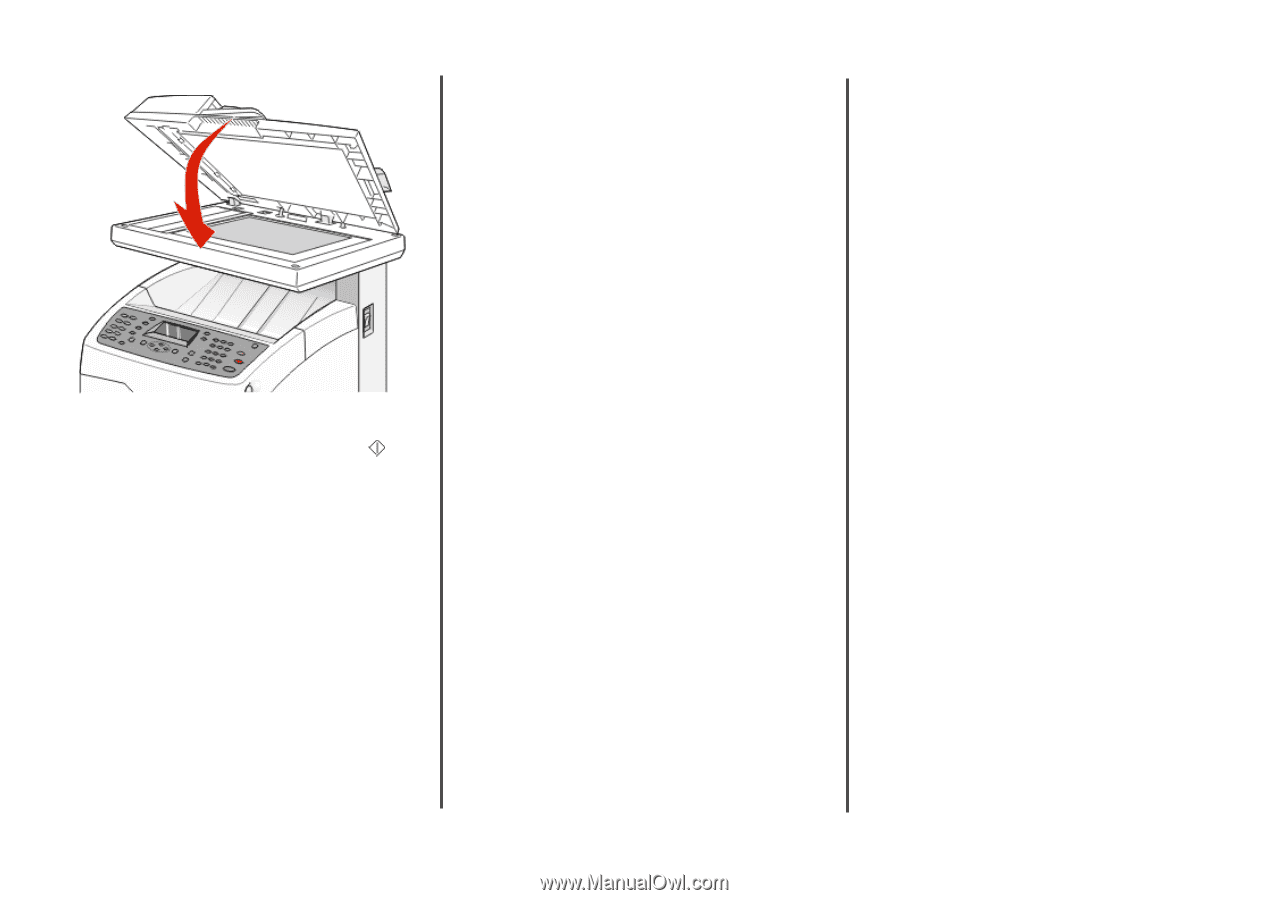
6 Close the scanner cover. 7 When all the jammed paper is removed, Return the Removed Original and Press Start appears. Place the original document in the ADF, and then press Start to continue with the scan job. 12
-
 1
1 -
2
-
3
-
4
-
5
-
6
-
 7
7 -
 8
8 -
 9
9 -
 10
10 -
 11
11 -
 12
12
 |
 |
6
Close the scanner cover.
7
When all the jammed paper is removed,
Return the
Removed Original and Press Start
appears. Place
the original document in the ADF, and then press
Start
to
continue with the scan job.
12