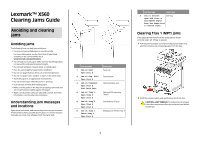
Lexmark X560n Clearing Jams Guide - Page 4
Jams in the tray, Jams behind the tray area, CAUTION-HOT SURFACE, Push the release button
 |
View all Lexmark X560n manuals
Add to My Manuals
Save this manual to your list of manuals |
Page 4 highlights
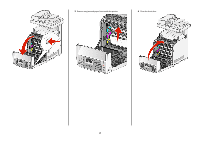
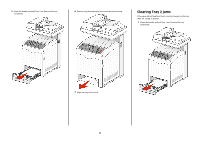
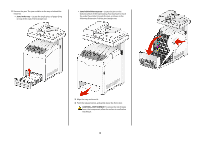
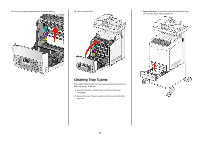
2 Remove the jam. The jam could be in the tray or behind the tray area. • Jams in the tray-Locate the single piece of paper lying on top of the stack. Pull it straight out. • Jams behind the tray area-Locate the jam on the bottom surface of the tray housing. You may have to reach far under the printer to locate the jam, as shown in the following illustration. Pull the jam straight out. 3 Align the tray, and insert it. 4 Push the release button, and gently lower the front door. CAUTION-HOT SURFACE: To reduce the risk of injury from a hot component, allow the surface to cool before touching it. 4
-
 1
1 -
 2
2 -
 3
3 -
 4
4 -
 5
5 -
 6
6 -
 7
7 -
 8
8 -
 9
9 -
 10
10 -
11
-
12
 |
 |
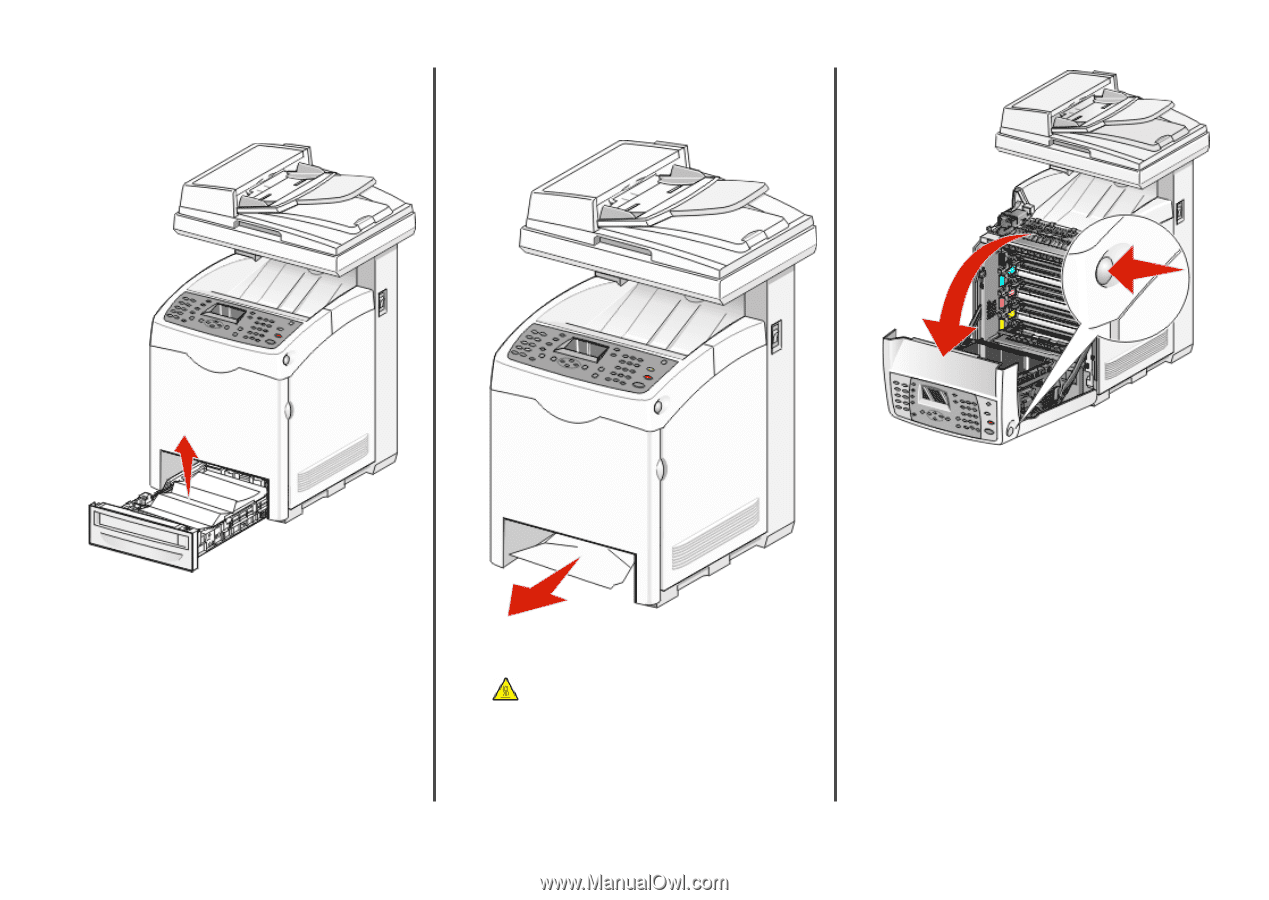
2
Remove the jam. The jam could be in the tray or behind the
tray area.
•
Jams in the tray
—Locate the single piece of paper lying
on top of the stack. Pull it straight out.
•
Jams behind the tray area
—Locate the jam on the
bottom surface of the tray housing. You may have to reach
far under the printer to locate the jam, as shown in the
following illustration. Pull the jam straight out.
3
Align the tray, and insert it.
4
Push the release button, and gently lower the front door.
CAUTION—HOT SURFACE:
To reduce the risk of injury
from a hot component, allow the surface to cool before
touching it.
4