Lexmark X560n Clearing Jams Guide - Page 5
Clearing Tray 3 jams, Jam at Tray 3
 |
View all Lexmark X560n manuals
Add to My Manuals
Save this manual to your list of manuals |
Page 5 highlights
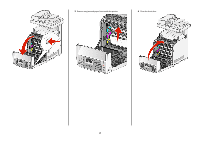
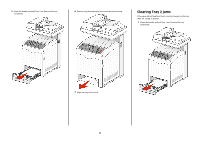
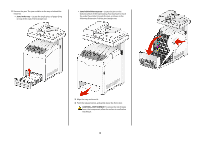
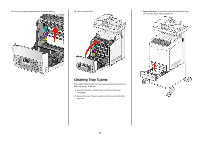
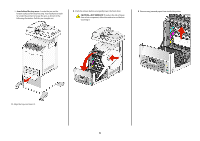
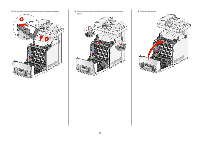
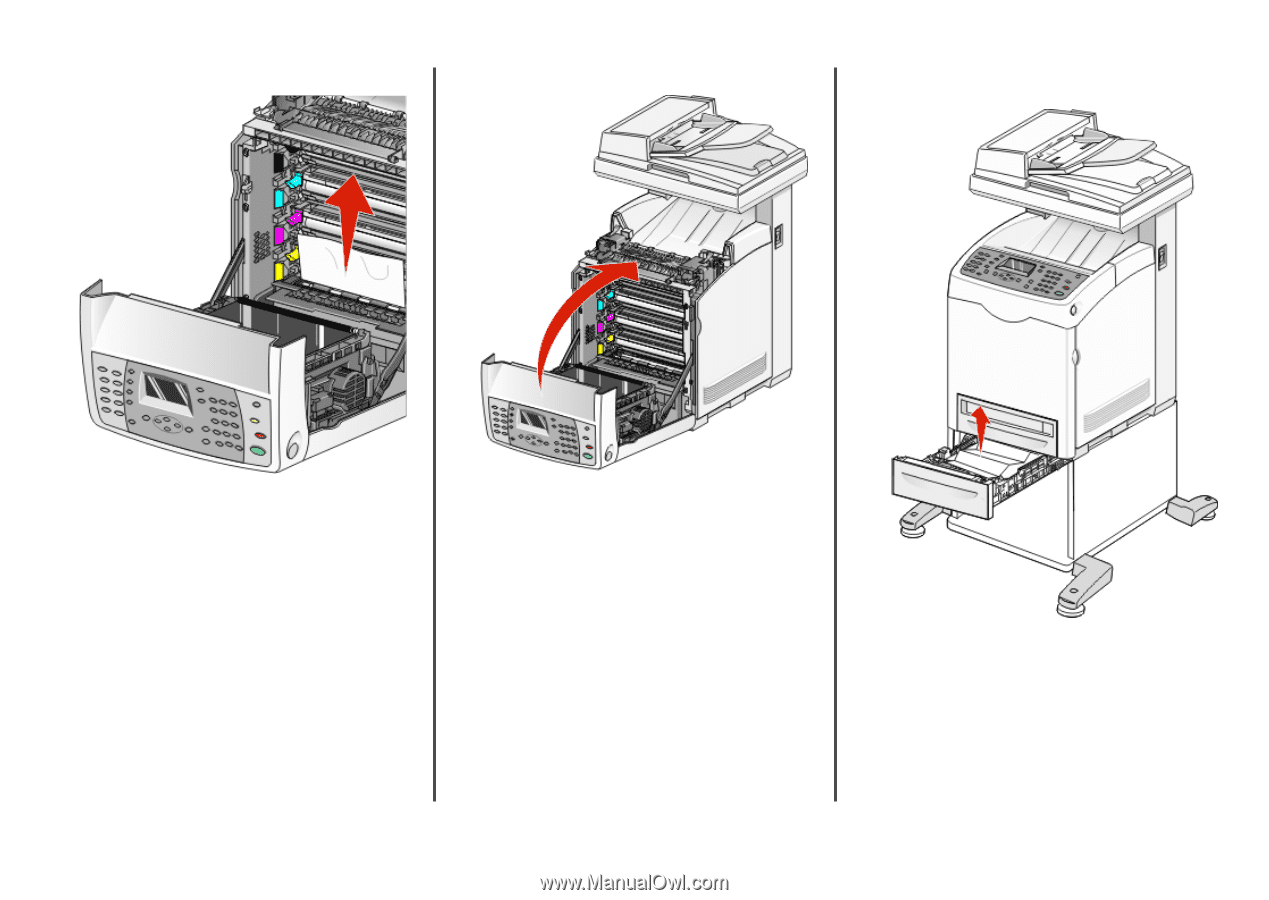
5 Remove any jammed paper from inside the printer. 6 Close the front door. • Jams in the tray-Locate the single piece of paper lying on top of the stack. Pull it straight out. Clearing Tray 3 jams If the paper did not feed from Tray 3 correctly, the jam is in the tray. Jam at Tray 3 appears. 1 Grasp the handle, and pull Tray 3 out. Remove the tray completely. 2 Remove the jam. The jam could be in the tray or behind the tray area. 5
-
 1
1 -
 2
2 -
 3
3 -
 4
4 -
 5
5 -
 6
6 -
 7
7 -
 8
8 -
 9
9 -
 10
10 -
 11
11 -
12
 |
 |
5
Remove any jammed paper from inside the printer.
6
Close the front door.
Clearing Tray 3 jams
If the paper did not feed from Tray 3 correctly, the jam is in the tray.
Jam at Tray 3
appears.
1
Grasp the handle, and pull Tray 3 out. Remove the tray
completely.
2
Remove the jam. The jam could be in the tray or behind the
tray area.
•
Jams in the tray
—Locate the single piece of paper lying
on top of the stack. Pull it straight out.
5