NVIDIA 4000 User Manual - Page 19
Windows, Me Drive Installation
 |
UPC - 819829004249
View all NVIDIA 4000 manuals
Add to My Manuals
Save this manual to your list of manuals |
Page 19 highlights
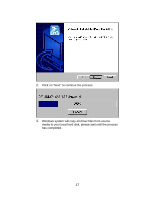
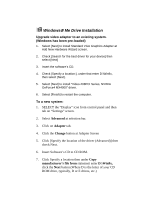
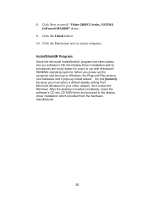
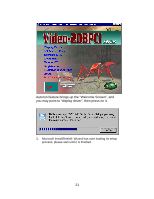
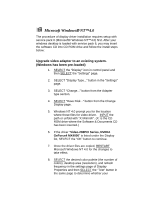
á Windows® Me Drive Installation Upgrade video adapter to an existing system. (Windows has been pre-loaded) 1. Select [Next] to install Standard VGA Graphics Adapter at Add New Hardware Wizard screen. 2. Check [Search for the best driver for your device] then select [Next] 3. Insert the software's CD. 4. Check [Specify a location:], under that enter D:\Win9x, then select [Next]. 5. Select [Next] to install "Video-208PCI Series, NVIDIA GeForce4 MX4000" driver. 6. Select [Finish] to restart the computer. To a new system: 1. SELECT the "Display" icon from control panel and then tab on "Settings" screen. 2. Select Advanced at selection bar. 3. Click on Adapter tab. 4. Click the Change button at Adapter Screen 5. Click [Specify the location of the driver (Advanced)] then check Next. 6. Insert Software's CD to CD ROM. 7. Click Specify a location then under Copy manufacturer's file from statement enter D:\Win9x, click the Next button.(Where D is the letter of your CD ROM drive, typically, D or E drives, etc.)
-
 1
1 -
2
-
3
-
4
-
5
-
6
-
7
-
8
-
9
-
10
-
11
-
12
-
13
-
 14
14 -
 15
15 -
 16
16 -
 17
17 -
 18
18 -
 19
19 -
 20
20 -
 21
21 -
 22
22 -
 23
23 -
 24
24 -
25
-
26
-
27
-
28
-
29
-
30
-
31
-
32
-
33
-
34
-
35
-
36
-
37
-
38
-
39
-
40
-
41
-
42
-
43
-
44
-
45
-
46
-
47
-
48
 |
 |