NordicTrack C2420 Treadmill English Manual - Page 14
Adjust the cushioning system as desired., Follow your progress with the display., Note:
 |
View all NordicTrack C2420 Treadmill manuals
Add to My Manuals
Save this manual to your list of manuals |
Page 14 highlights
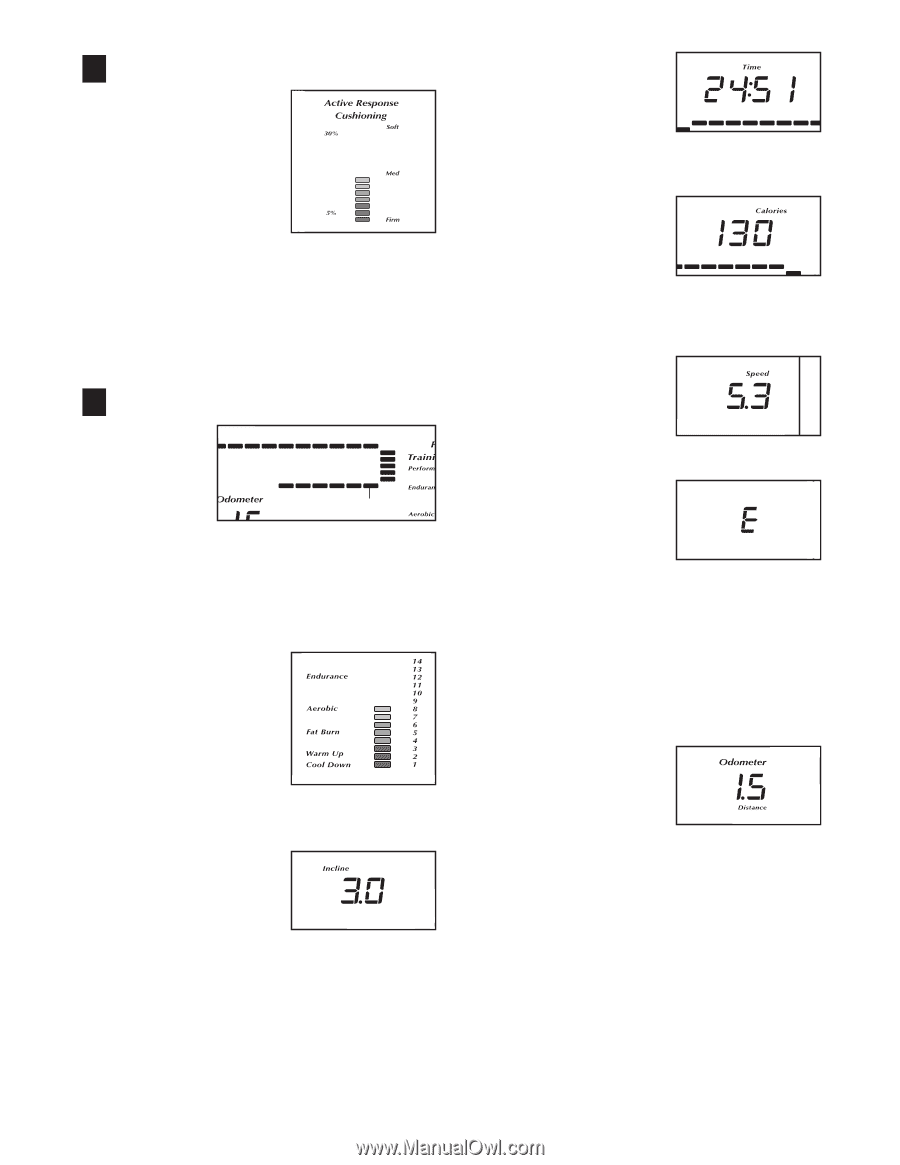
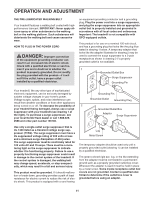
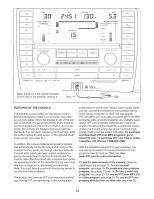
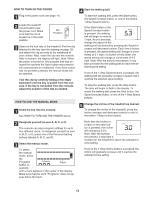
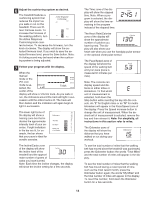
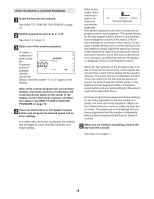
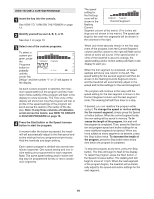
6 Adjust the cushioning system as desired. The treadmill features a cushioning system that reduces the impact as you walk or run on the treadmill. There are fifteen firmness levels. To increase the firmness of the walking platform, turn the Active Response Cushioning knob counterclockwise. To decrease the firmness, turn the knob clockwise. The display will show the selected firmness level. If you wish to save the selected firmness level, press the Save button. Note: A clicking sound may be heard when the cushioning system is being adjusted. 7 Follow your progress with the display. When the manual mode or the iFIT.com mode is selected, the Track center of the display will show a 1/4-mile track. As you walk or run, the indicators around the track will light in suc- cession until the entire track is lit. The track will then darken and the indicators will again begin to light in succession. The lower right zone of the display will show a training zone bar that indicates the approximate intensity level of your exercise. If eight indicators in the bar are lit, for example, the bar shows that your pace is ideal for aerobic exercise. The Incline/Carbs zone of the display will show the incline level of the treadmill and the approximate number of grams of carbs you have burned. Note: Each time the incline changes, the display will show the incline setting for a few seconds. The Time zone of the display will show the elapsed time. Note: When a program is selected, the display will show the time remaining in the program instead of the elapsed time. The Heart Rate/Calories zone of the display will show the approximate number of calories you have burned. The display will also show your heart rate when you use the handgrip pulse sensor or the optional chest pulse sensor. The Pace/Speed zone of the display will show the speed of the walking belt and your pace (pace is measured in minutes per mile). Note: The console can display speed and distance in either miles or kilometers. To find which unit of measurement is selected, hold down the Stop button while inserting the key into the console. An "E" for English miles or an "M" for metric kilometers will appear in the Pace/Speed zone of the display. Press the Speed increase button to change the unit of measurement. When the desired unit of measurement is selected, remove the key and then reinsert it. Note: For simplicity, all instructions in this section refer to miles. The Odometer zone of the display will show the distance that you have walked or run during your workout. To see the total number of miles that the walking belt has moved since the treadmill was purchased, press the Odometer button; the words "Total Miles" and the total number of miles will appear in the display. To see the total number of miles that the walking belt has moved during a recent period of time, such as the most recent month, press the Odometer button again; the words "My Miles" and the total number of miles will appear in the display. To reset this number, hold down the Odometer button for a few seconds. 14
-
 1
1 -
2
-
3
-
4
-
5
-
6
-
7
-
8
-
 9
9 -
 10
10 -
 11
11 -
 12
12 -
 13
13 -
 14
14 -
 15
15 -
 16
16 -
 17
17 -
 18
18 -
 19
19 -
20
-
21
-
22
-
23
-
24
-
25
-
26
-
27
-
28
-
29
-
30
-
31
-
32
-
33
-
34
-
35
-
36
-
37
-
38
 |
 |