Oki B420dn B410/B420/B430 Setup Guide (e,f,s,p) - Page 7
Install Software - okidata
 |
View all Oki B420dn manuals
Add to My Manuals
Save this manual to your list of manuals |
Page 7 highlights
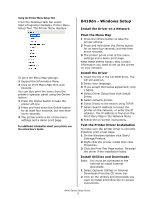
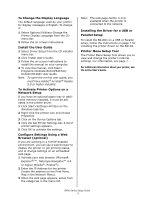
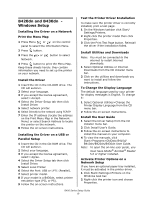
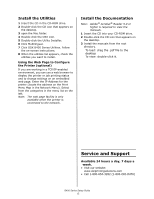
Install Software B410d - Windows® Setup Install the Driver 1 Insert the CD in the CD-ROM drive. The CD will autorun. 2 Select your language. 3 If you accept the license agreement, click I Agree. 4 Select Driver Setup from the Menu bar then click Install Driver. 5 Select Local printer. 6 Select the Port: USB or LPT1 (Parallel) 7 Select B410. 8 Follow the on-screen instructions. Test the Printer Driver Installation To make sure the printer driver is correctly installed, print a test page: 1 On the Windows taskbar click Start>Settings>Printers. 2 Right-click the printer model then click Properties. 3 Click the Print Test Page button. Reinstall the driver if the installation failed. Install Utilities and Downloads Note: You must be connected to the Internet to install Internet downloads. 1 Select Optional Utilities or Internet Downloads from the CD menu bar. 2 Click on the utilities and downloads you want to install and follow the on-screen instructions. To Change the Display Language The default language used by your printer for display messages is English. To change it: 1 Select Optional Utilities>Change the Printer Display Language from the CD menu bar. 2 Follow the on-screen instructions. Install the User Guide 1 Select Driver Setup from the CD menu bar. 2 Click Install User's Guide. 3 Follow the on-screen instructions to install the manual on your computer. 4 To view the manual, click Start> Programs>OkiData B410d/B410dn/ B420dn/B430dn User Guide. Note: To open the on-line user guide, you must have Adobe® Acrobat® Reader 5.0 or higher installed. Activate Printer Options If you have an optional paper tray installed, it must be activated in the printer driver. 1 Click Start>Settings>Printers on the Windows task bar. 2 Right-click the printer icon and choose Properties. 3 Click on the Device Options tab. 4 Check Lower Cassette. 5 Click OK to activate the settings. Note: If optional memory is installed, follow the installation instructions provided with the memory card. Printer Menu Setup Tool The Printer Menu Setup Tool allows you to view and change the printer's internal settings. You can think of this as the software equivalent of the LCD operator panel. The settings are grouped into categories or "menus" such as Information Menu or Print Menu. Note: The settings in the Menu can be overridden by the settings in the printer driver or your software application. B400 Series Setup Guide 7
-
 1
1 -
 2
2 -
 3
3 -
 4
4 -
 5
5 -
 6
6 -
 7
7 -
 8
8 -
 9
9 -
 10
10 -
 11
11 -
 12
12 -
13
-
14
-
15
-
16
-
17
-
18
-
19
-
20
-
21
-
22
-
23
-
24
-
25
-
26
-
27
-
28
-
29
-
30
-
31
-
32
-
33
-
34
-
35
-
36
-
37
-
38
-
39
-
40
-
41
-
42
-
43
-
44
-
45
-
46
-
47
-
48
 |
 |
