Olympus WS 110 WS-210S Instruction Manual (English) - Page 12
Other Functions - wma
 |
UPC - 050332400658
View all Olympus WS 110 manuals
Add to My Manuals
Save this manual to your list of manuals |
Page 12 highlights
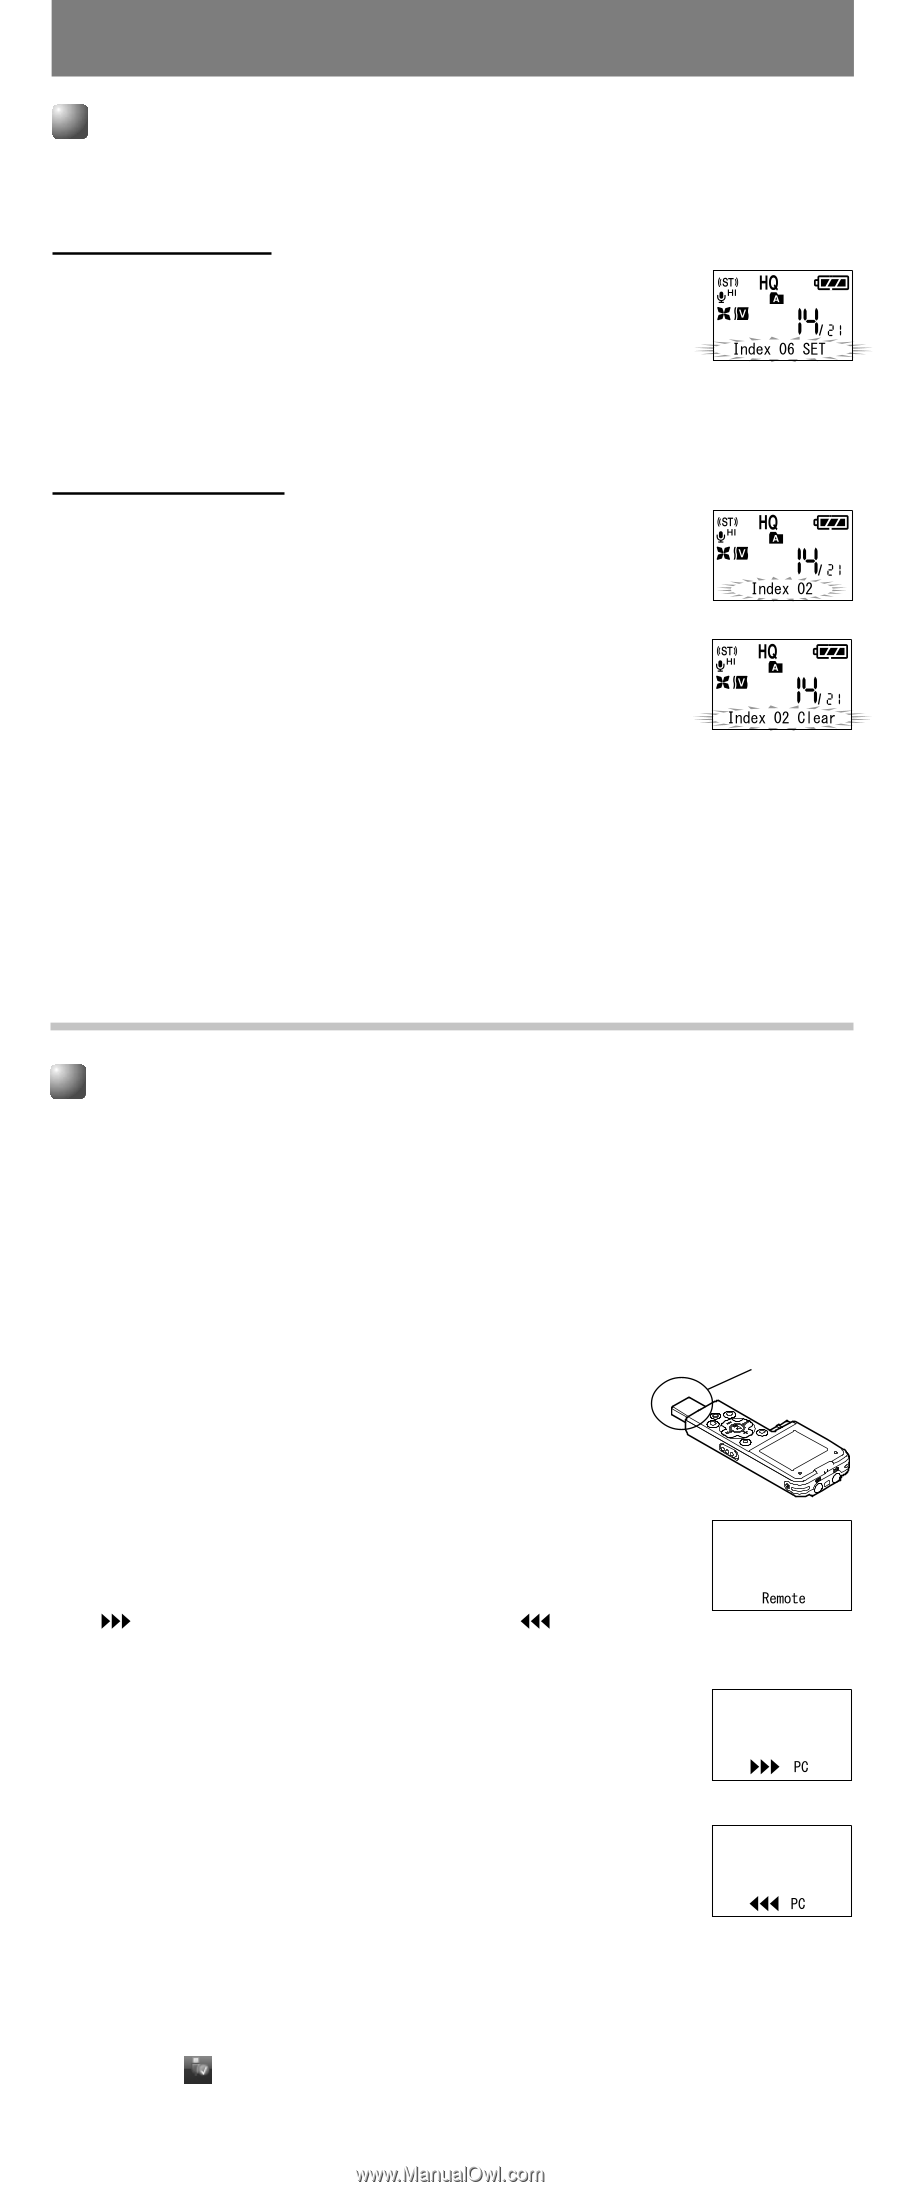
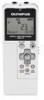
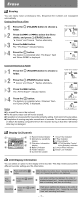
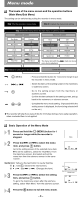
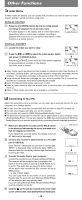
Other Functions Index Marks If index marks are placed, you can quickly find a location you want to listen to in fast forward and fast rewind and when cuing a file. Setting an Index Mark 1 Press the 2 (INDEX) button during recording (pause recording) or playback to set an index mark. A number appears on the display and an index mark will be placed.Even after an index mark is placed, recording or playback will continue so you can place index marks in other locations in a similar manner. Clearing an Index Mark 1 Locate the index you want to clear. 2 Press the 9 or 0 to select the index mark to delete, and press 1 (ERASE) button. Press the 1 (ERASE) button while the index number appears for approximately 2 seconds on the display. The index mark is erased. sIndex marks cannot be placed on files created on machines other than Olympus IC recorders, but temp marks can be placed instead to temporarily remember desired locations. The operation procedure is the same as that of the index mark. sTemp marks are temporary markings, so if you move to another file, or connect the recorder to a computer, they will be automatically erased. sUp to 16 index and temp marks can be set in a file. sIndex or temp numbers after the erased index or temp number will automatically move up. sIndex or temp marks cannot be set or erased in a locked file. ➜ Connecting to Your PC Apart from using this unit as a recorder, you can use it as an external memory for your computer, as a storage device. sYou can save the voice files recorded with this recorder on your PC as back-up. sYou can save images, text data, etc. on this recorder. sThe recorder will record in WMA (Windows Media Audio) format. sThe audio files recorded by this recorder can be played back on your computer using Windows Media Player. You can also transfer the WMA files downloaded with Windows Media Player to your recorder and enjoy them (excluding files with copyright protection). 1 Before you detach the recorder, set the HOLD switch in the direction indicated by the arrow, and make sure that the display is turned off. If you detach the recorder before the display is turned off, data may be damaged. 2 Connect the recorder's USB terminal to a PC USB port or USB hub. Once "Remote" is displayed, you can save or read the data. " PC" is displayed while sending the data. " PC" is displayed and the record/play indicator light flashes while receiving the data. 3 Transfer the audio files to your computer. Connect the recorder to your computer and launch Explorer. The recorder will be recognized as a removable disk. Each of the five folders is named as DSS_FLDA, B, C, D and E. The audio files are saved in these folders. All the audio files recorded by this recorder will be in WMA format. ( i.e. WS_110001.WMA) You can copy them to any folder on your computer. Double click the audio file, and Windows Media Player will be launched and start playing back. If you are using Windows 2000, Windows Media Player must be installed on the PC. 4 Click the on the task bar located at the lower-right corner of the screen. Click [Safely Remove Hardware]. ➜ USB terminal Sending the date Receiving the data - 12 -
-
 1
1 -
2
-
3
-
4
-
5
-
6
-
 7
7 -
 8
8 -
 9
9 -
 10
10 -
 11
11 -
 12
12 -
 13
13 -
 14
14
 |
 |