Panasonic SAAK600 SAAK600 User Guide - Page 16
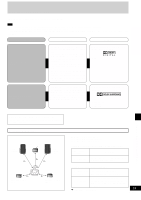
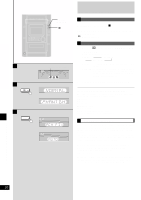
RECORDING OPERATIONS, BEFORE RECORDING, Press, OPEN] and insert the cassette to, be recorded on.
 |
View all Panasonic SAAK600 manuals
Add to My Manuals
Save this manual to your list of manuals |
Page 16 highlights
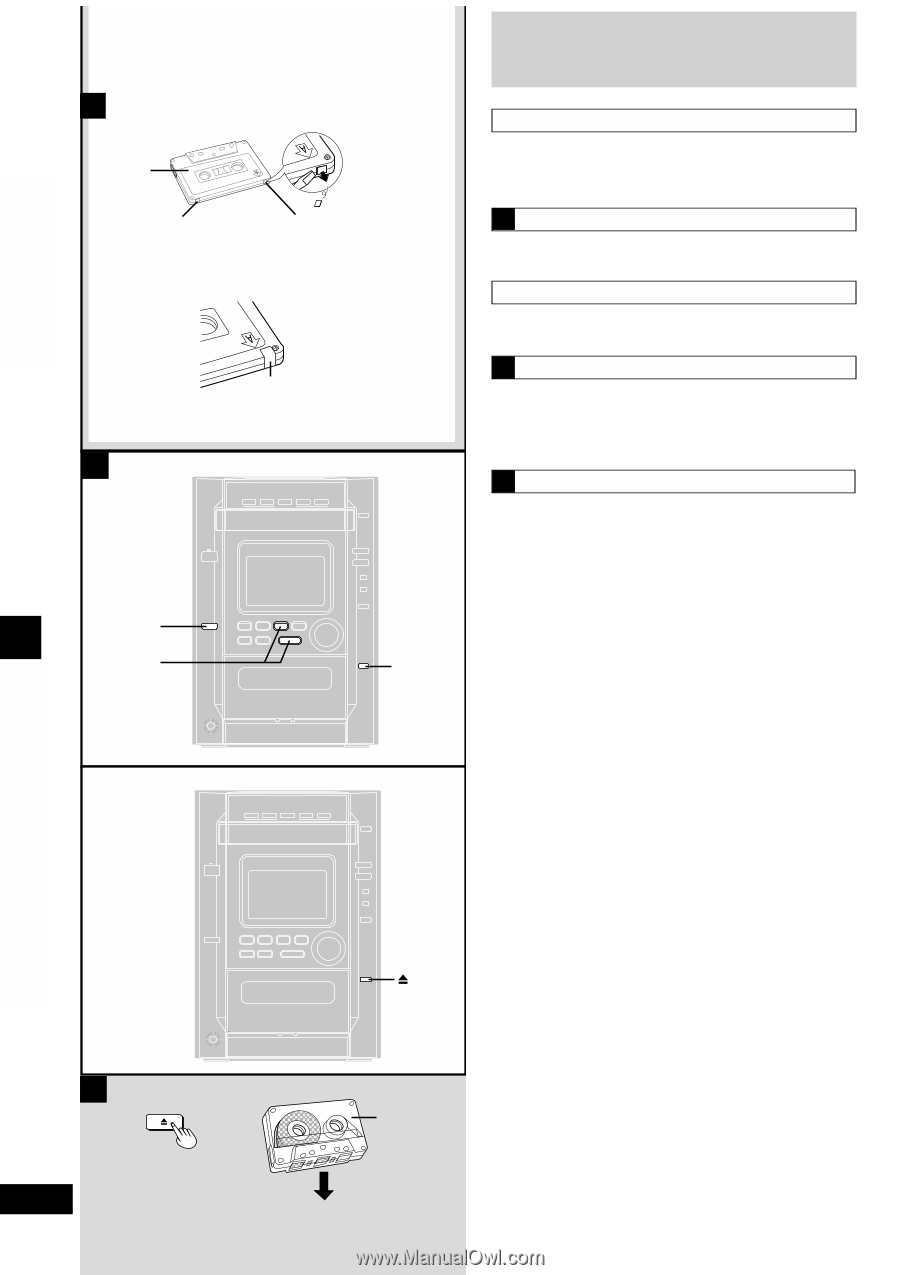
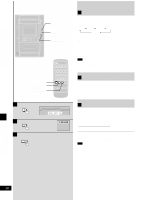
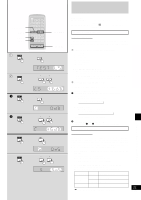
A To protect tapes against further recording Side A Tab for side B Tab for side A To re-record Normal position tape Adhesive tape B 3 1 2 Before recording Selection of tapes for recording Use normal position tapes. High position and metal position tapes can be used, but the unit will not be able to record or erase them correctly. A Erasure prevention The illustration shows how to remove the tabs to prevent recording. To record on the tape again, cover as shown. How volume and sound quality affect recording The tape you are recording is not affected whatsoever by changes in volume and sound quality. B To erase a recorded sound 1 Press [: TAPE ] then [L STOP, -DEMO]. 2 Insert the cassette with the side to be erased facing towards you and the exposed tape facing down. 3 Press [a REC]. C Preparatory steps Do these steps before each recording. Wind up the leader tape so recording can begin immediately. Press [c OPEN] and insert the cassette to be recorded on. Insert with the exposed tape facing down. Recording operations C OPEN 16 RQT6243 OPEN Front side
-
 1
1 -
2
-
3
-
4
-
5
-
6
-
7
-
8
-
9
-
10
-
 11
11 -
 12
12 -
 13
13 -
 14
14 -
 15
15 -
 16
16 -
 17
17 -
 18
18 -
 19
19 -
 20
20 -
 21
21 -
22
-
23
-
24
-
25
-
26
-
27
-
28
-
29
-
30
-
31
-
32
 |
 |