Pfaff select 150 Owner's Manual - Page 40
Changing the light bulb
 |
View all Pfaff select 150 manuals
Add to My Manuals
Save this manual to your list of manuals |
Page 40 highlights
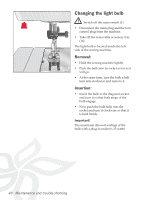
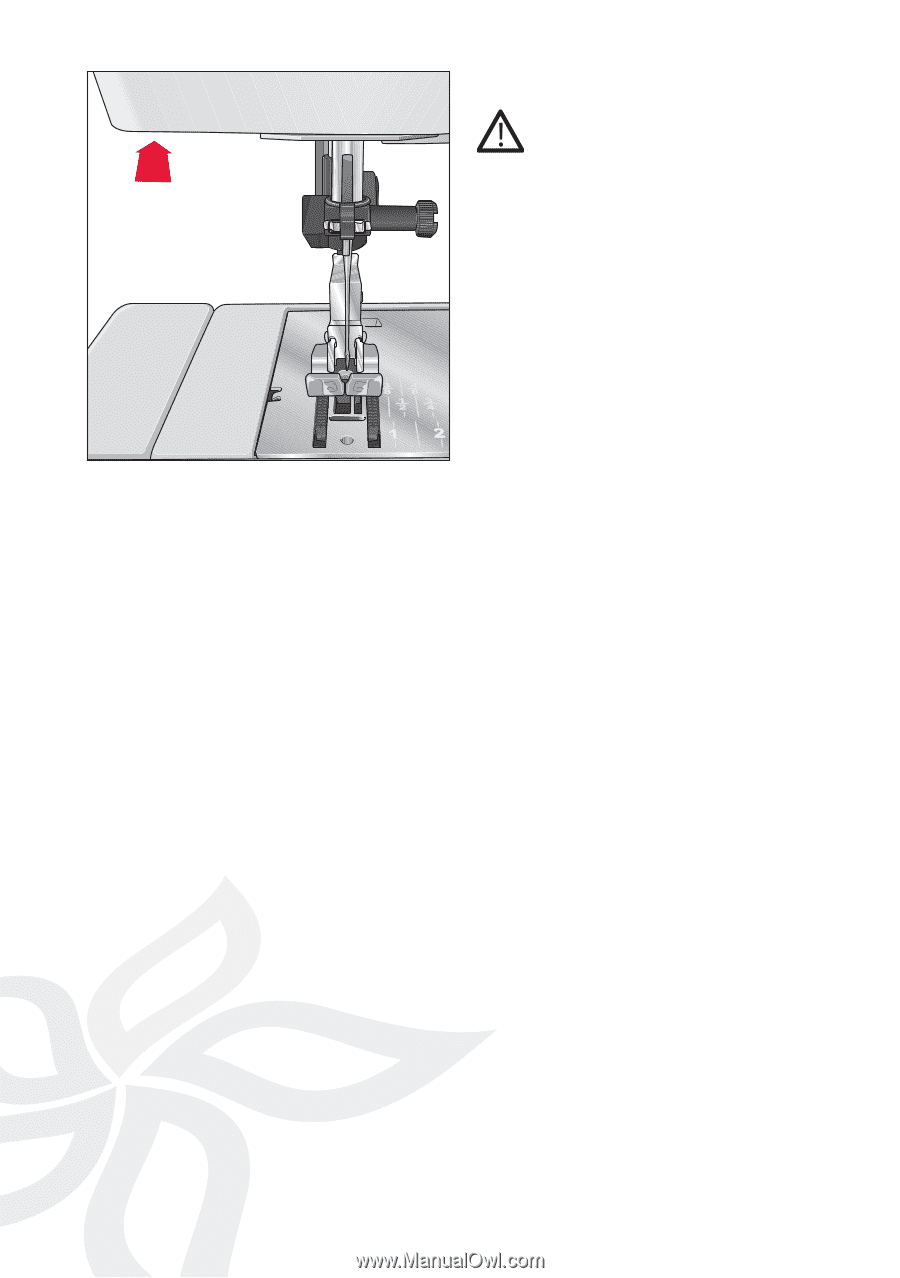
Changing the light bulb Switch off the main switch (1) • Disconnect the main plug and the foot control plug from the machine. • Take off the removable accessory tray (16). The light bulb is located inside the left side of the sewing machine. Removal: • Hold the sewing machine tightly. • Push the bulb into its socket as far as it will go. • At the same time, turn the bulb a half turn anti-clockwise and remove it. Insertion: • Insert the bulb in the diagonal socket and turn it so that both stops of the bulb engage. • Now push the bulb fully into the socket and turn it clockwise so that it is held Àrmly. Important! The maximum allowed wattage of the bulb with a plug-in socket is 15 watts! 40 Maintenance and trouble-shooting
-
 1
1 -
2
-
3
-
4
-
5
-
6
-
7
-
8
-
9
-
10
-
11
-
12
-
13
-
14
-
15
-
16
-
17
-
18
-
19
-
20
-
21
-
22
-
23
-
24
-
25
-
26
-
27
-
28
-
29
-
30
-
31
-
32
-
33
-
34
-
 35
35 -
 36
36 -
 37
37 -
 38
38 -
 39
39 -
 40
40 -
 41
41 -
 42
42 -
 43
43 -
 44
44
 |
 |
40
Maintenance and trouble-shooting
Changing the light bulb
Switch off the main switch (1)
•
Disconnect the main plug and the foot
control plug from the machine.
•
Take off the removable accessory tray
(16).
The light bulb is located inside the left
side of the sewing machine.
Removal:
•
Hold the sewing machine tightly.
•
Push the bulb into its socket as far as it
will go.
•
At the same time, turn the bulb a half
turn anti-clockwise and remove it.
Insertion:
•
Insert the bulb in the diagonal socket
and turn it so that both stops of the
bulb engage.
•
Now push the bulb fully into the
socket and turn it clockwise so that it
is held
À
rmly.
Important!
The maximum allowed wattage of the
bulb with a plug-in socket is 15 watts!