ProForm Power 575i Instruction Manual
ProForm Power 575i Manual
 |
View all ProForm Power 575i manuals
Add to My Manuals
Save this manual to your list of manuals |
ProForm Power 575i manual content summary:
- ProForm Power 575i | Instruction Manual - Page 1
number in the space above for reference. Serial Number Decal CUSTOMER SERVICE UNITED KINGDOM Call: 0330 123 1045 From Ireland: 053 92 36102 Website: iconsupport.eu E-mail: csuk@iconeurope. AUSTRALIA CAUTION Read all precautions and instructions in this manual before using this equipment. Save this - ProForm Power 575i | Instruction Manual - Page 2
7 HOW TO USE THE TREADMILL 18 HOW TO FOLD AND MOVE THE TREADMILL 27 MAINTENANCE AND TROUBLESHOOTING 28 EXERCISE GUIDELINES 31 PART of this manual and request a free replacement decal. Apply the decal in the location shown. Note: The decals may not be shown at actual size. PROFORM and IFIT are - ProForm Power 575i | Instruction Manual - Page 3
plug is damaged, or if the treadmill is not working properly. (See MAINTENANCE AND TROUBLESHOOTING on page 28 if the treadmill is not working properly.) 17. Read, understand, and test the emergency stop procedure before using the treadmill (see HOW TO TURN ON THE POWER on page 20). Always wear the - ProForm Power 575i | Instruction Manual - Page 4
Always unplug the power cord immediately after use, before clean- ing the treadmill, and before performing the maintenance and adjustment procedures described in this manual. Never remove the motor hood unless instructed to do so by an authorized service representative. Servicing other than - ProForm Power 575i | Instruction Manual - Page 5
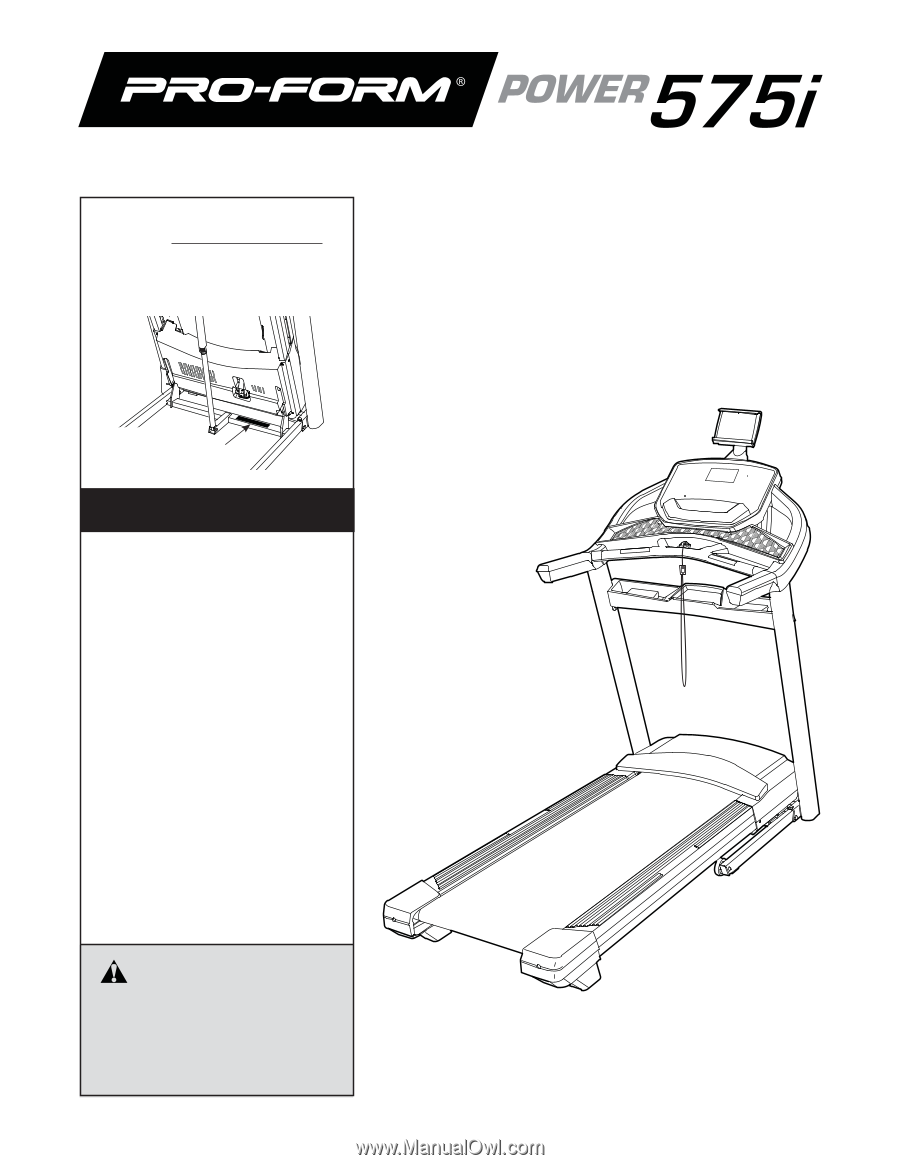
BEFORE YOU BEGIN Thank you for selecting the new PROFORM® POWER 575I treadmill. The POWER 575I treadmill provides an impressive selection of features designed to make your workouts at home more effective and enjoyable. manual. To help us assist you, note the product model number and serial number - ProForm Power 575i | Instruction Manual - Page 6
for assembly. The number in parentheses below each drawing is the key number of the part, from the PART LIST near the end of this manual. The number following the key number is the quantity used for assembly. Note: If a part is not in the hardware kit, check to see whether - ProForm Power 575i | Instruction Manual - Page 7
exterior of the treadmill. This is normal. If there is an oily substance on the treadmill, wipe it power tools. 1. To register your product and activate your warranty in the UK, go to iconsupport.eu. If 1 you do not have internet access, call Customer Service (see the front cover of this manual - ProForm Power 575i | Instruction Manual - Page 8
2. Make sure that the power cord is unplugged. Remove the tie securing the Upright Wire (80) to the front of the Base (88). Next, identify the Right Upright (79). Have a - ProForm Power 575i | Instruction Manual - Page 9
(2), a 3/8" x 1 1/4" 5 Screw (3), a 3/8" x 1 1/2" Screw (4), and three 3/8" Star Washers (6) as shown; do not fully tighten the Screws yet. Attach the Left Upright (not shown) as instructed in steps 4 and 5. Note: There are no wires on the left side. 80 2 E 79 88 2 6 88 6 3 79 4 6 9 - ProForm Power 575i | Instruction Manual - Page 10
6. Remove and save the four indicated 5/16" x 3/4" Screws (13). 6 13 13 7. Attach a Handrail (72) to the Right Upright (79) with two 5/16" x 2" Screws (5) and two 5/16" 7 Star Washers (7); start both Screws, and then tighten them. Make sure not to pinch the Upright Wire (80). Then, remove - ProForm Power 575i | Instruction Manual - Page 11
8. Attach the other Handrail (72) to the Left Upright (78) with two 5/16" x 2" Screws (5) and two 5/16" 8 Star Washers (7); start both Screws, and then tighten them. Then, remove and discard the two indicated screws (F). 5 7 F 72 78 9. Carefully slide the Upright Crossbar (77) between the - ProForm Power 575i | Instruction Manual - Page 12
indicated 5/16" x 3/4" Screws (13). G 10 86 10 75 G 10 85 10 74 13 11. IMPORTANT: To avoid damaging the Pulse Crossbar (75), do not use power tools and do not overtighten the #10 x 3/4" Screws (9). Orient the Pulse Crossbar (75) as shown. Attach the Pulse Crossbar to the Handrails (72) with four - ProForm Power 575i | Instruction Manual - Page 13
not, turn one connector and try again. IF YOU DO NOT CONNECT THE CONNECTORS PROPERLY, THE CONSOLE MAY BECOME DAMAGED WHEN YOU TURN ON THE POWER. Then, remove the wire tie (A) from the Upright Wire. 12 H J 80 72 A K 76 I 75 K 80 13. Set the console assembly (H) on the Handrails (72). Make - ProForm Power 575i | Instruction Manual - Page 14
14. Attach the Pulse Crossbar (75) to the console assembly (H) with four #8 x 3/4" Screws (11); 14 H start all four Screws, and then tighten them. Do not overtighten the Screws. Firmly tighten the four 5/16" x 3/4" Screws (13). 75 13 13 11 11 15. Set the Upright Tray (90) on the Upright - ProForm Power 575i | Instruction Manual - Page 15
16. Set the Left Handrail Cover (70) on the left Handrail (72). Start two #8 x 3/4" Screws (11) into the left Handrail and the Left Handrail Cover. Next, slide the Left Handrail Cover forward against the console assembly (H) as shown. Then, tighten both Screws. Then, attach the Left Handrail Bottom - ProForm Power 575i | Instruction Manual - Page 16
) from the Latch Crossbar (100). Next, orient the Latch Crossbar (100) as shown. Make sure that the "This side toward belt" sticker (L) is facing the treadmill. Attach the Latch Crossbar to the brackets (M) on the Frame (54) with the two 5/16" x 3/4" Screws (13) that you just removed and two 5/16 - ProForm Power 575i | Instruction Manual - Page 17
(98). Do not overtighten the Nut; the Storage Latch (52) must be able to pivot. Then, lower the Frame (54) (see HOW TO LOWER THE TREADMILL FOR USE on page 27). 20 51 O 100 98 54 52 21. Press the two tabs on the Tablet Holder (26) into the slots (P) in - ProForm Power 575i | Instruction Manual - Page 18
is damaged, it must be replaced with a manufacturer-recommended power cord. Follow the steps below to plug in the power cord. 1. Plug the indicated end of the power cord into the socket on the treadmill. Socket on Treadmill DANGER: Improper connection of the equipment-earthing conductor can result - ProForm Power 575i | Instruction Manual - Page 19
guides you through an effective exercise session. You can also connect your tablet to the console and use the iFit®-Smart Cardio Equipment app to record and track your workout information. To turn on the power, see page 20. To use the manual . For simplicity, all instructions in this section refer - ProForm Power 575i | Instruction Manual - Page 20
POWER at the left. 2. Select the manual mode. Plug in the power cord (see page 18). Next, locate the power switch on the treadmill frame near the power cord. Press the power switch into the reset position. Reset If the manual walking belt to slow to a stop. Test the clip by carefully taking a few - ProForm Power 575i | Instruction Manual - Page 21
the approximate intensity level of your exercise. • The workout intensity bar • The approximate number of calories you have burned • The incline level of the treadmill • The number of vertical meters you have climbed • The speed of the walking belt • Your heart rate (see step 6) • The matrix The - ProForm Power 575i | Instruction Manual - Page 22
. Next, remove the key from the console and put it in a secure place. Then, press the power switch into the off position and unplug the power cord. IMPORTANT: If you do not do this, the treadmill's electrical components may wear prematurely. HOW TO USE AN ONBOARD WORKOUT 1. Insert the key into the - ProForm Power 575i | Instruction Manual - Page 23
setting is too high or too low at any time during the workout, you can manually override the setting by pressing the Speed or Incline buttons; however, when the next segment of the workout begins, the treadmill will automatically adjust to the speed and incline settings for the next segment. To stop - ProForm Power 575i | Instruction Manual - Page 24
compatible heart rate monitors. Note: Other BLUETOOTH connections are not supported. 1. Download and install the iFit-Smart Cardio Equipment app on console pairing number will appear in the display. Then, follow the instructions in the iFit-Smart Cardio Equipment app to connect your tablet to the - ProForm Power 575i | Instruction Manual - Page 25
INCLINE CALIBRATION-To calibrate the incline system of the treadmill, press the Incline increase or decrease buttons. The treadmill will automatically rise to the maximum incline level and then return to the minimum level. DISPLAY TEST-The console will test the display to ensure that all areas light - ProForm Power 575i | Instruction Manual - Page 26
while you exercise, helping you to reach your personal fitness goals. To purchase a chest heart rate monitor, please see the front cover of this manual. Note: The console is compatible with all BLUETOOTH Smart heart rate monitors. HOW TO USE THE TABLET HOLDER IMPORTANT: The tablet holder (E) is - ProForm Power 575i | Instruction Manual - Page 27
HOW TO FOLD AND MOVE THE TREADMILL HOW TO FOLD THE TREADMILL HOW TO MOVE THE TREADMILL To avoid damaging the treadmill, adjust the incline to zero before you fold the treadmill. Then, remove the key and unplug the power cord. CAUTION: You must be able to safely lift 45 lbs. (20 kg) to raise, - ProForm Power 575i | Instruction Manual - Page 28
see the front cover of this manual. TROUBLESHOOTING Most treadmill problems can be solved by following the simple steps below. Find the symptom that applies, and follow the steps listed. If further assistance is needed, see the front cover of this manual. SYMPTOM: The power does not turn on a. Make - ProForm Power 575i | Instruction Manual - Page 29
in the power cord, insert the key, and walk on the treadmill for a few treadmill features a walking belt coated with high-performance lubricant. IMPORTANT: Never apply silicone spray or other substances to the walking belt or the walking platform unless instructed to do so by an authorized service - ProForm Power 575i | Instruction Manual - Page 30
left idler roller screw counterclockwise 1/2 of a turn. Be careful not to overtighten the walking belt. Then, plug in the power cord, insert the key, and walk on the treadmill for a few minutes. Repeat until the walking belt is centered. SYMPTOM: The tablet holder does not stay in place a. Rotate - ProForm Power 575i | Instruction Manual - Page 31
especially important for persons over age 35 or persons with pre-existing health problems. The heart rate monitor is not a medical device. Various factors may key to achieving results. You can use your heart rate as a guide to find the proper intensity level. The chart below shows recommended heart - ProForm Power 575i | Instruction Manual - Page 32
SUGGESTED STRETCHES The correct form for several basic stretches is shown at the right. Move slowly as you stretch-never bounce. 1. Toe Touch Stretch Stand with your knees bent slightly and slowly bend forward from 1 your hips. Allow your back and shoulders to relax as you reach down toward - ProForm Power 575i | Instruction Manual - Page 33
NOTES 33 - ProForm Power 575i | Instruction Manual - Page 34
Right Foot Rail Platform Cushion Caution Decal Rear Roller Walking Platform Walking Belt Belt Guide Front Roller/Pulley 3/8" Pin 9/32" Plastic Bushing Controller Plate Plastic Tie Model Incline Frame Incline Motor Spacer Controller Power Cord Receptacle Power Switch Belly Pan Left Handrail Cover - ProForm Power 575i | Instruction Manual - Page 35
2 102 2 103 2 104 1 105 1 Motor Bushing 5/16" Washer M4 x 15mm Screw Filter Reed Switch 106 1 107 1 108 1 * - Clamp Magnet Controller Clamp User's Manual Note: Specifications are subject to change without notice. For information about ordering replacement parts, see the back cover of this - ProForm Power 575i | Instruction Manual - Page 36
EXPLODED DRAWING A 40 33 41 29 25 19 36 15 42 103 105 11 17 106 48 102 101 22 108 49 30 38 25 47 107 27 27 104 29 36 40 45 33 18 7 13 43 29 44 91 18 19 29 19 89 23 19 89 46 89 89 92 89 89 18 29 89 19 7 54 13 39 89 25 15 34 27 27 27 17 48 36 47 18 29 19 - ProForm Power 575i | Instruction Manual - Page 37
EXPLODED DRAWING B Model No. PETL78718.1 R0918A 11 11 11 35 11 35 11 35 11 57 11 58 62 59 60 20 32 36 61 63 21 64 36 36 36 32 60 59 11 11 11 11 65 11 67 68 11 69 11 62 66 11 11 37 - ProForm Power 575i | Instruction Manual - Page 38
EXPLODED DRAWING C Model No. PETL78718.1 R0918A 70 7 72 11 9 1 76 8 5 75 7 13 11 90 11 11 11 11 9 8 71 11 14 37 82 11 7 13 7 13 78 2 3 6 87 77 13 7 13 11 7 16 12 60 6 82 7 11 11 11 6 4 83 81 11 80 5 72 7 13 80 79 60 16 82 4 6 81 84 11 95 36 36 95 82 37 - ProForm Power 575i | Instruction Manual - Page 39
EXPLODED DRAWING D Model No. PETL78718.1 R0918A 26 85 10 10 31 74 10 24 10 11 86 10 10 11 11 11 11 97 11 11 96 11 73 28 28 28 28 28 28 39 - ProForm Power 575i | Instruction Manual - Page 40
of the replacement part(s) (see the PART LIST and the EXPLODED DRAWING near the end of this manual) RECYCLING INFORMATION This electronic product must not be disposed of in municipal waste. To preserve the this product. Part No. 402089 R0918A Printed in China © 2018 ICON Health & Fitness, Inc.
-
 1
1 -
 2
2 -
 3
3 -
 4
4 -
 5
5 -
 6
6 -
 7
7 -
8
-
9
-
10
-
11
-
12
-
13
-
14
-
15
-
16
-
17
-
18
-
19
-
20
-
21
-
22
-
23
-
24
-
25
-
26
-
27
-
28
-
29
-
30
-
31
-
32
-
33
-
34
-
35
-
36
-
37
-
38
-
39
-
40
 |
 |
USER’S MANUAL
Model No. PETL78718.1
Serial No.
Write the serial number in the space
above for reference.
CAUTION
Read all precautions and
instructions in this manual before
using this equipment. Save this
manual for future reference.
Serial Number
Decal
iconeurope.com
CUSTOMER SERVICE
UNITED KINGDOM
Call:
0330 123 1045
From Ireland:
053 92 36102
Website:
iconsupport.eu
E-mail:
Write:
ICON Health & Fitness, Ltd.
Unit 4, Westgate Court
Silkwood Park
OSSETT
WF5 9TT
UNITED KINGDOM
AUSTRALIA
Call:
1800 993 770
E-mail:
Write:
ICON Health & Fitness
PO Box 635
WINSTON HILLS NSW 2153
AUSTRALIA