Samsung SGH-A837 User Manual (user Manual) (ver.f7) (English) - Page 94
Gallery, Camera mode, Shooting mode, Single Shot, Multi-Shot, Mosaic Shot, Frame Shot, Panorama
 |
View all Samsung SGH-A837 manuals
Add to My Manuals
Save this manual to your list of manuals |
Page 94 highlights
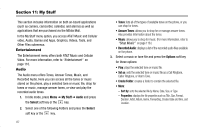
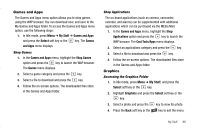
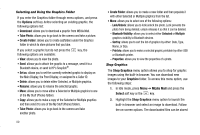
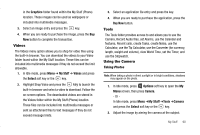
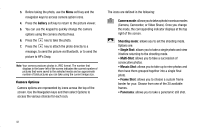
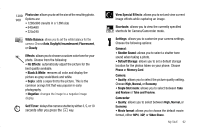
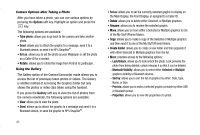
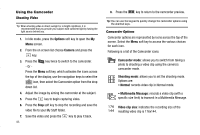
3. Before taking the photo, use the Menu soft key and the navigation keys to access camera option icons. 4. Press the Gallery soft key to return to the picture viewer. 5. You can use the keypad to quickly change the camera options using the camera shortcut keys. 6. Press the key to take the photo. 7. Press the key to attach the photo directly to a message, to send the picture via Bluetooth, or to send the picture to HP's Snap. Note: Your camera produces photos in JPEG format. The number that displays in the lower-left of the screen indicates the current number of pictures that were saved to the selected media and an approximate number of total pictures you can take using the current image size. Camera Options Camera options are represented by icons across the top of the screen. Use the Navigation keys and then select Options to access the various choices for each icon. The icons are defined in the following: Camera mode: allows you to take a photo in various modes (Camera, Camcorder, or Video Share). Once you change the mode, the corresponding indicator displays at the top right of the screen. Shooting mode: allows you to set the shooting mode. Options are: • Single Shot: allows you to take a single photo and view it before returning to the shooting mode. • Multi-Shot: allows you to take a succession of consecutive photos. • Mosaic Shot: allows you to take up to nine photos and then have them grouped together into a single final photo. • Frame Shot: allows you to choose a custom frame border for your. Choose from one of the 20 available frames. • Panorama: allows you to take a panoramic still shot. 91
-
 1
1 -
2
-
3
-
4
-
5
-
6
-
7
-
8
-
9
-
10
-
11
-
12
-
13
-
14
-
15
-
16
-
17
-
18
-
19
-
20
-
21
-
22
-
23
-
24
-
25
-
26
-
27
-
28
-
29
-
30
-
31
-
32
-
33
-
34
-
35
-
36
-
37
-
38
-
39
-
40
-
41
-
42
-
43
-
44
-
45
-
46
-
47
-
48
-
49
-
50
-
51
-
52
-
53
-
54
-
55
-
56
-
57
-
58
-
59
-
60
-
61
-
62
-
63
-
64
-
65
-
66
-
67
-
68
-
69
-
70
-
71
-
72
-
73
-
74
-
75
-
76
-
77
-
78
-
79
-
80
-
81
-
82
-
83
-
84
-
85
-
86
-
87
-
88
-
 89
89 -
 90
90 -
 91
91 -
 92
92 -
 93
93 -
 94
94 -
 95
95 -
 96
96 -
 97
97 -
 98
98 -
 99
99 -
100
-
101
-
102
-
103
-
104
-
105
-
106
-
107
-
108
-
109
-
110
-
111
-
112
-
113
-
114
-
115
-
116
-
117
-
118
-
119
-
120
-
121
-
122
-
123
-
124
-
125
-
126
-
127
-
128
-
129
-
130
-
131
-
132
-
133
-
134
-
135
-
136
-
137
-
138
-
139
-
140
-
141
-
142
-
143
-
144
-
145
-
146
-
147
-
148
-
149
-
150
-
151
-
152
-
153
-
154
-
155
-
156
-
157
-
158
-
159
-
160
-
161
-
162
-
163
-
164
-
165
-
166
-
167
-
168
-
169
-
170
-
171
-
172
-
173
-
174
-
175
-
176
-
177
-
178
-
179
-
180
-
181
-
182
-
183
-
184
-
185
-
186
-
187
 |
 |