Samsung SPH-I330SS User Manual (user Manual) (ver.f5) (English) - Page 119
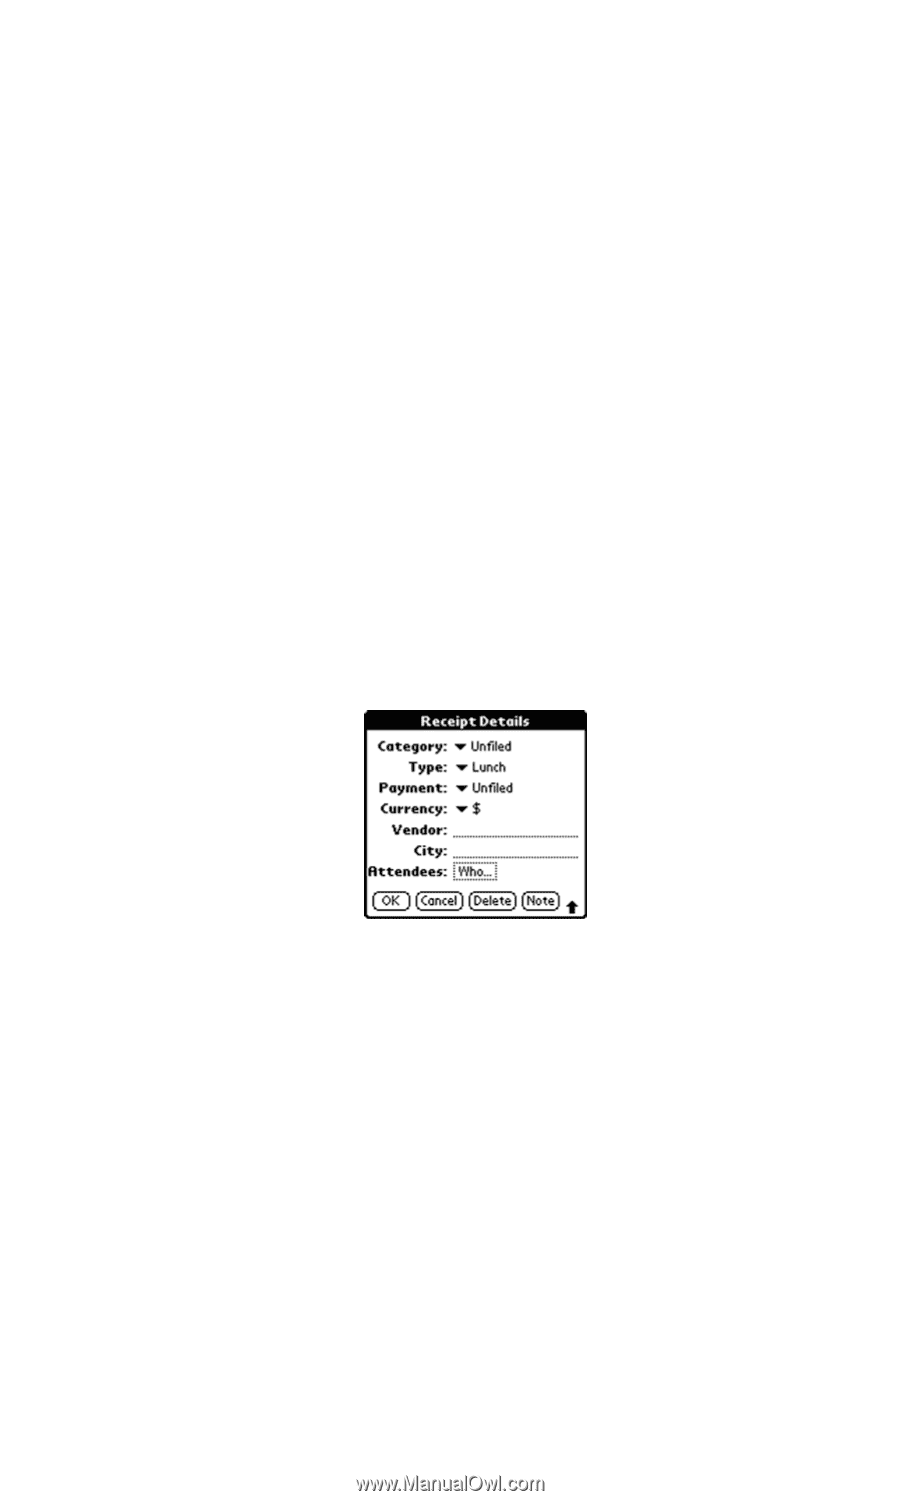
Entering Receipt Details, Tap the drop down menu and select the desired type.
 |
View all Samsung SPH-I330SS manuals
Add to My Manuals
Save this manual to your list of manuals |
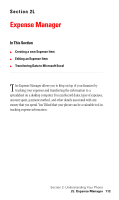
Page 119 highlights
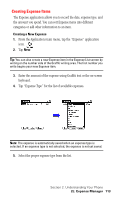
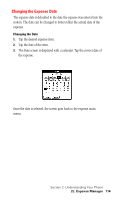
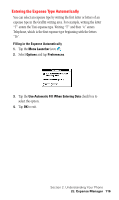
Entering Receipt Details Detailed expense-related information can be added to the item using the details screen. The details screen allows you to add the following information: ᮣ Category - Select one of the default categories or create a custom category for the expense item. ᮣ Type - The type of the expense can be selected from the list. ᮣ Payment - Select the type of payment used for the expense. ᮣ Currency - Select the type of currency used for the expense. ᮣ Vendor and City - Enter the Vendor and City information in the spaces provided. ᮣ Attendees - Enter the attendees of the expense if needed. Adding Receipt Details 1. Tap the desired expense item. 2. Tap the Details button to open the Receipt Details screen. 3. Tap the drop down menu and select the desired category. 4. Tap the drop down menu and select the desired type. 5. Tap the drop down menu and select the desired payment. 6. Tap the drop down menu and select the desired currency. 7. Enter the Vendor and City information. 8. Enter any attendees. 9. Tap OK to save and exit. 115
-
 1
1 -
2
-
3
-
4
-
5
-
6
-
7
-
8
-
9
-
10
-
11
-
12
-
13
-
14
-
15
-
16
-
17
-
18
-
19
-
20
-
21
-
22
-
23
-
24
-
25
-
26
-
27
-
28
-
29
-
30
-
31
-
32
-
33
-
34
-
35
-
36
-
37
-
38
-
39
-
40
-
41
-
42
-
43
-
44
-
45
-
46
-
47
-
48
-
49
-
50
-
51
-
52
-
53
-
54
-
55
-
56
-
57
-
58
-
59
-
60
-
61
-
62
-
63
-
64
-
65
-
66
-
67
-
68
-
69
-
70
-
71
-
72
-
73
-
74
-
75
-
76
-
77
-
78
-
79
-
80
-
81
-
82
-
83
-
84
-
85
-
86
-
87
-
88
-
89
-
90
-
91
-
92
-
93
-
94
-
95
-
96
-
97
-
98
-
99
-
100
-
101
-
102
-
103
-
104
-
105
-
106
-
107
-
108
-
109
-
110
-
111
-
112
-
113
-
 114
114 -
 115
115 -
 116
116 -
 117
117 -
 118
118 -
 119
119 -
 120
120 -
 121
121 -
 122
122 -
 123
123 -
 124
124 -
125
-
126
-
127
-
128
-
129
-
130
-
131
-
132
-
133
-
134
-
135
-
136
-
137
-
138
-
139
-
140
-
141
-
142
-
143
-
144
-
145
-
146
-
147
-
148
-
149
-
150
-
151
-
152
-
153
-
154
-
155
-
156
-
157
-
158
-
159
-
160
-
161
-
162
-
163
-
164
-
165
-
166
-
167
-
168
-
169
-
170
-
171
-
172
-
173
-
174
-
175
-
176
-
177
-
178
-
179
-
180
-
181
-
182
-
183
-
184
-
185
-
186
-
187
-
188
-
189
-
190
-
191
-
192
-
193
-
194
-
195
-
196
-
197
-
198
-
199
-
200
-
201
-
202
-
203
-
204
-
205
-
206
 |
 |