Sanyo VPC HD1 Instruction Manual, VPC-HD1000EX - Page 50
Close the camera's monitor unit, and set the camera in the docking, station.
 |
UPC - 086483059766
View all Sanyo VPC HD1 manuals
Add to My Manuals
Save this manual to your list of manuals |
Page 50 highlights
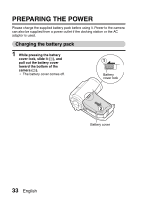
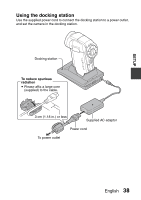
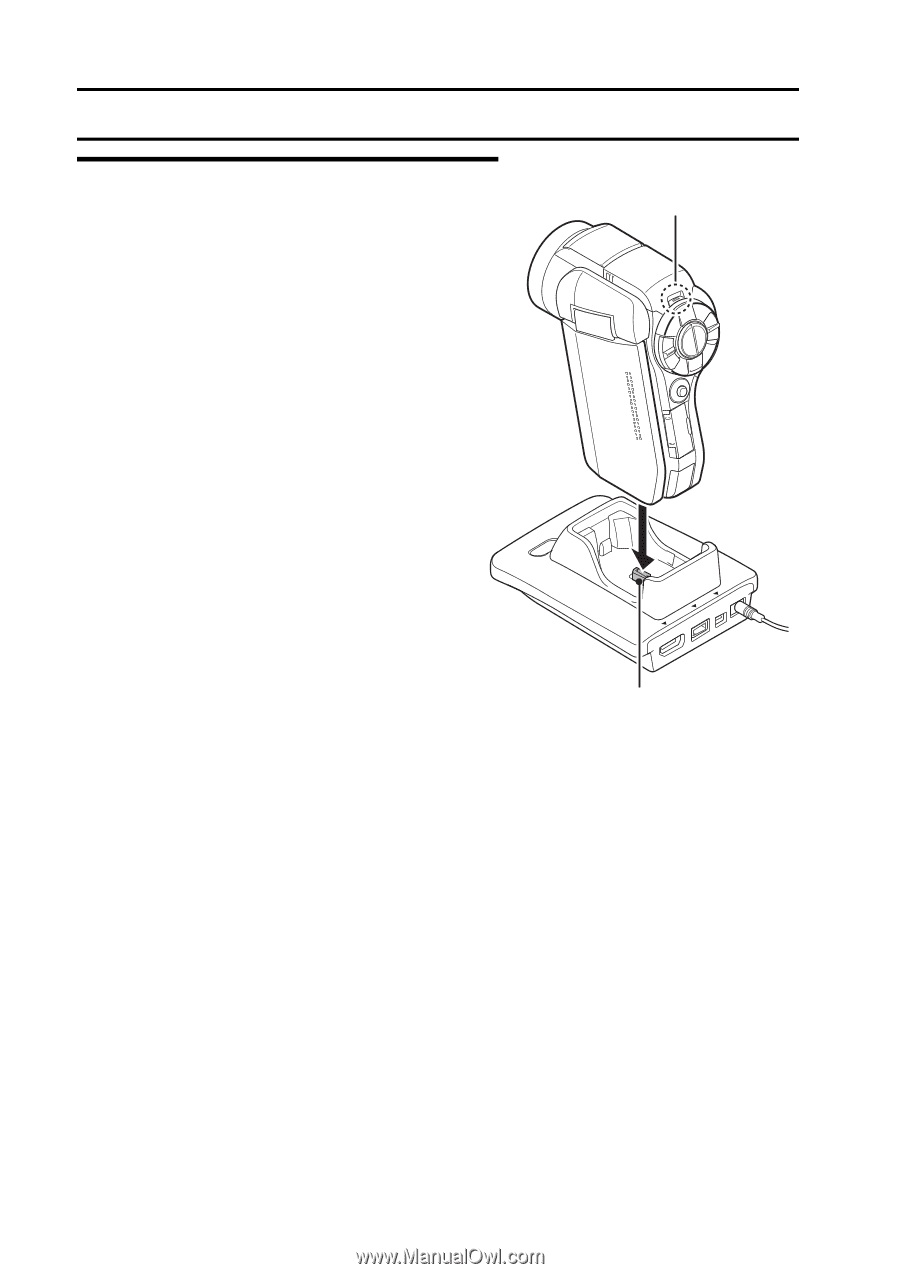
PREPARING THE POWER 5 Close the camera's monitor unit, and set the camera in the docking station. h Set the camera securely, making sure that the camera is correctly oriented in relation to the terminal contacts in the docking station. h Charging begins when the camera is set in the docking station. h During charging, the multiindicator is lit red. When charging is completed, the charge indicator turns off. h If the charge indicator flashes red, it indicates that the battery pack is defective or the camera is not correctly set in the docking station. Reset the camera correctly in the docking station. h The charging time is approx. 250 minutes. Multi-indicator Docking station terminal 35 English
-
 1
1 -
2
-
3
-
4
-
5
-
6
-
7
-
8
-
9
-
10
-
11
-
12
-
13
-
14
-
15
-
16
-
17
-
18
-
19
-
20
-
21
-
22
-
23
-
24
-
25
-
26
-
27
-
28
-
29
-
30
-
31
-
32
-
33
-
34
-
35
-
36
-
37
-
38
-
39
-
40
-
41
-
42
-
43
-
44
-
 45
45 -
 46
46 -
 47
47 -
 48
48 -
 49
49 -
 50
50 -
 51
51 -
 52
52 -
 53
53 -
 54
54 -
 55
55 -
56
-
57
-
58
-
59
-
60
-
61
-
62
-
63
-
64
-
65
-
66
-
67
-
68
-
69
-
70
-
71
-
72
-
73
-
74
-
75
-
76
-
77
-
78
-
79
-
80
-
81
-
82
-
83
-
84
-
85
-
86
-
87
-
88
-
89
-
90
-
91
-
92
-
93
-
94
-
95
-
96
-
97
-
98
-
99
-
100
-
101
-
102
-
103
-
104
-
105
-
106
-
107
-
108
-
109
-
110
-
111
-
112
-
113
-
114
-
115
-
116
-
117
-
118
-
119
-
120
-
121
-
122
-
123
-
124
-
125
-
126
-
127
-
128
-
129
-
130
-
131
-
132
-
133
-
134
-
135
-
136
-
137
-
138
-
139
-
140
-
141
-
142
-
143
-
144
-
145
-
146
-
147
-
148
-
149
-
150
-
151
-
152
-
153
-
154
-
155
-
156
-
157
-
158
-
159
-
160
-
161
-
162
-
163
-
164
-
165
-
166
-
167
-
168
-
169
-
170
-
171
-
172
-
173
-
174
-
175
-
176
-
177
-
178
-
179
-
180
-
181
-
182
-
183
-
184
-
185
-
186
-
187
-
188
-
189
-
190
-
191
-
192
-
193
-
194
-
195
-
196
-
197
-
198
-
199
-
200
-
201
-
202
-
203
-
204
-
205
-
206
-
207
-
208
-
209
-
210
-
211
-
212
-
213
-
214
-
215
-
216
-
217
-
218
-
219
-
220
-
221
-
222
-
223
-
224
-
225
-
226
-
227
-
228
-
229
-
230
-
231
-
232
-
233
-
234
-
235
-
236
-
237
-
238
-
239
-
240
-
241
-
242
-
243
 |
 |
35
English
PREPARING THE POWER
5
Close the camera’s monitor unit,
and set the camera in the docking
station.
h
Set the camera securely, making
sure that the camera is correctly
oriented in relation to the terminal
contacts in the docking station.
h
Charging begins when the camera
is set in the docking station.
h
During charging, the multi-
indicator is lit red. When charging
is completed, the charge indicator
turns off.
h
If the charge indicator flashes red,
it indicates that the battery pack is
defective or the camera is not
correctly set in the docking station.
Reset the camera correctly in the
docking station.
h
The charging time is approx.
250 minutes.
Multi-indicator
Docking station terminal