Seagate Mirra User Guide (Mac) - Page 88
Removing a Folder from Backup, Saving a Folder, New Backup, Con Backup, Backup & Restore
 |
View all Seagate Mirra manuals
Add to My Manuals
Save this manual to your list of manuals |
Page 88 highlights
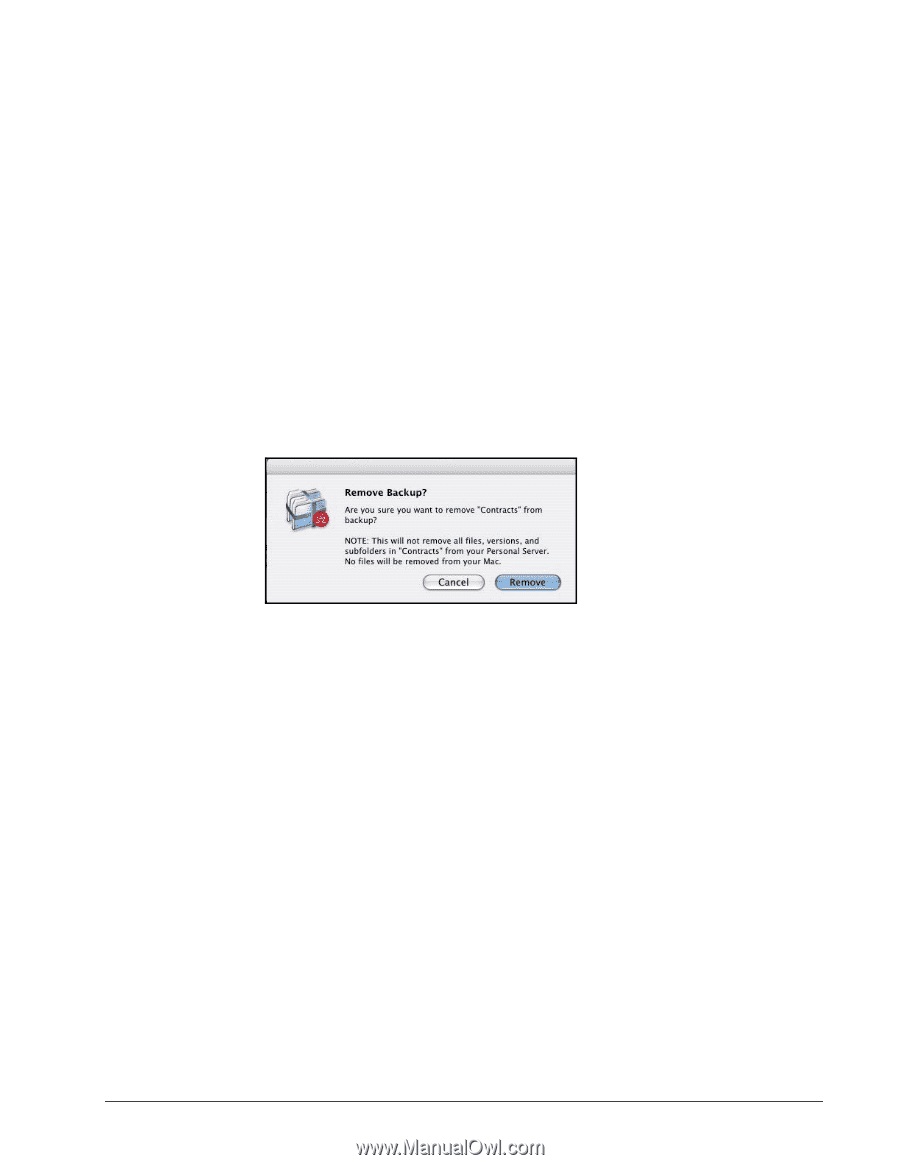
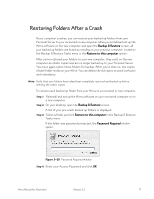
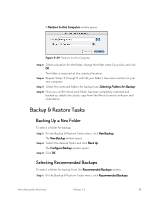
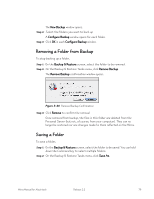
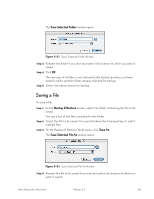
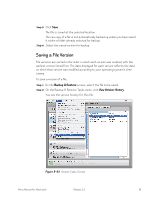
The New Backup window opens. Step 2: Select the folders you want to back up A Configure Backup window opens for each folder. Step 3: Click OK in each Configure Backup window. Removing a Folder from Backup To stop backing up a folder, Step 1: On the Backup & Restore screen, select the folder to be removed. Step 2: On the Backup & Restore Tasks menu, click Remove Backup. The Remove Backup confirmation window opens: Figure 5~30 Remove Backup Confirmation Step 3: Click Remove to confirm the removal. Once removed from backup, the files in this folder are deleted from the Personal Server (but not, of course, from your computer). They can no longer be restored nor are changes made to them reflected on the Mirra. Saving a Folder To save a folder, Step 1: On the Backup & Restore screen, select the folder to be saved. You can hold down the Command key to select multiple folders. Step 2: On the Backup & Restore Tasks menu, click Save As. Mirra Manual for Macintosh Release 2.2 79
-
 1
1 -
2
-
3
-
4
-
5
-
6
-
7
-
8
-
9
-
10
-
11
-
12
-
13
-
14
-
15
-
16
-
17
-
18
-
19
-
20
-
21
-
22
-
23
-
24
-
25
-
26
-
27
-
28
-
29
-
30
-
31
-
32
-
33
-
34
-
35
-
36
-
37
-
38
-
39
-
40
-
41
-
42
-
43
-
44
-
45
-
46
-
47
-
48
-
49
-
50
-
51
-
52
-
53
-
54
-
55
-
56
-
57
-
58
-
59
-
60
-
61
-
62
-
63
-
64
-
65
-
66
-
67
-
68
-
69
-
70
-
71
-
72
-
73
-
74
-
75
-
76
-
77
-
78
-
79
-
80
-
81
-
82
-
 83
83 -
 84
84 -
 85
85 -
 86
86 -
 87
87 -
 88
88 -
 89
89 -
 90
90 -
 91
91 -
 92
92 -
 93
93 -
94
-
95
-
96
-
97
-
98
-
99
-
100
-
101
-
102
-
103
-
104
-
105
-
106
-
107
-
108
-
109
-
110
-
111
-
112
-
113
-
114
-
115
-
116
-
117
-
118
-
119
-
120
-
121
-
122
-
123
-
124
-
125
-
126
-
127
-
128
-
129
-
130
-
131
-
132
-
133
-
134
-
135
-
136
-
137
-
138
-
139
-
140
-
141
-
142
-
143
-
144
-
145
-
146
-
147
-
148
-
149
-
150
-
151
-
152
-
153
-
154
-
155
-
156
-
157
-
158
-
159
-
160
-
161
-
162
-
163
 |
 |