Singer 2263 Simple Instruction Manual - Page 36
Reverse Sewing, Removing the Work, Cutting the Thread
 |
View all Singer 2263 Simple manuals
Add to My Manuals
Save this manual to your list of manuals |
Page 36 highlights
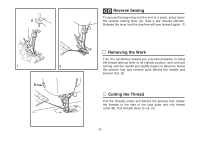
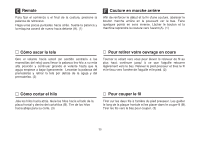
A 1 2 B GB Reverse Sewing To secure the beginning and the end of a seam, press down the reverse sewing lever (A). Sew a few reverse stitches. Release the lever and the machine will sew forward again. (1) Removing the Work Turn the handwheel toward you (counterclockwise) to bring the thread take up lever to its highest position, and continue turning until the needle just slightly begins to descend. Raise the presser foot and remove work behind the needle and presser foot. (2) Cutting the Thread Pull the threads under and behind the presser foot. Guide the threads to the side of the face plate and into thread cutter (B). Pull threads down to cut. (3) 29
-
 1
1 -
2
-
3
-
4
-
5
-
6
-
7
-
8
-
9
-
10
-
11
-
12
-
13
-
14
-
15
-
16
-
17
-
18
-
19
-
20
-
21
-
22
-
23
-
24
-
25
-
26
-
27
-
28
-
29
-
30
-
 31
31 -
 32
32 -
 33
33 -
 34
34 -
 35
35 -
 36
36 -
 37
37 -
 38
38 -
 39
39 -
 40
40 -
 41
41 -
42
-
43
-
44
-
45
-
46
-
47
-
48
-
49
-
50
-
51
-
52
-
53
-
54
-
55
-
56
-
57
-
58
-
59
-
60
-
61
-
62
 |
 |
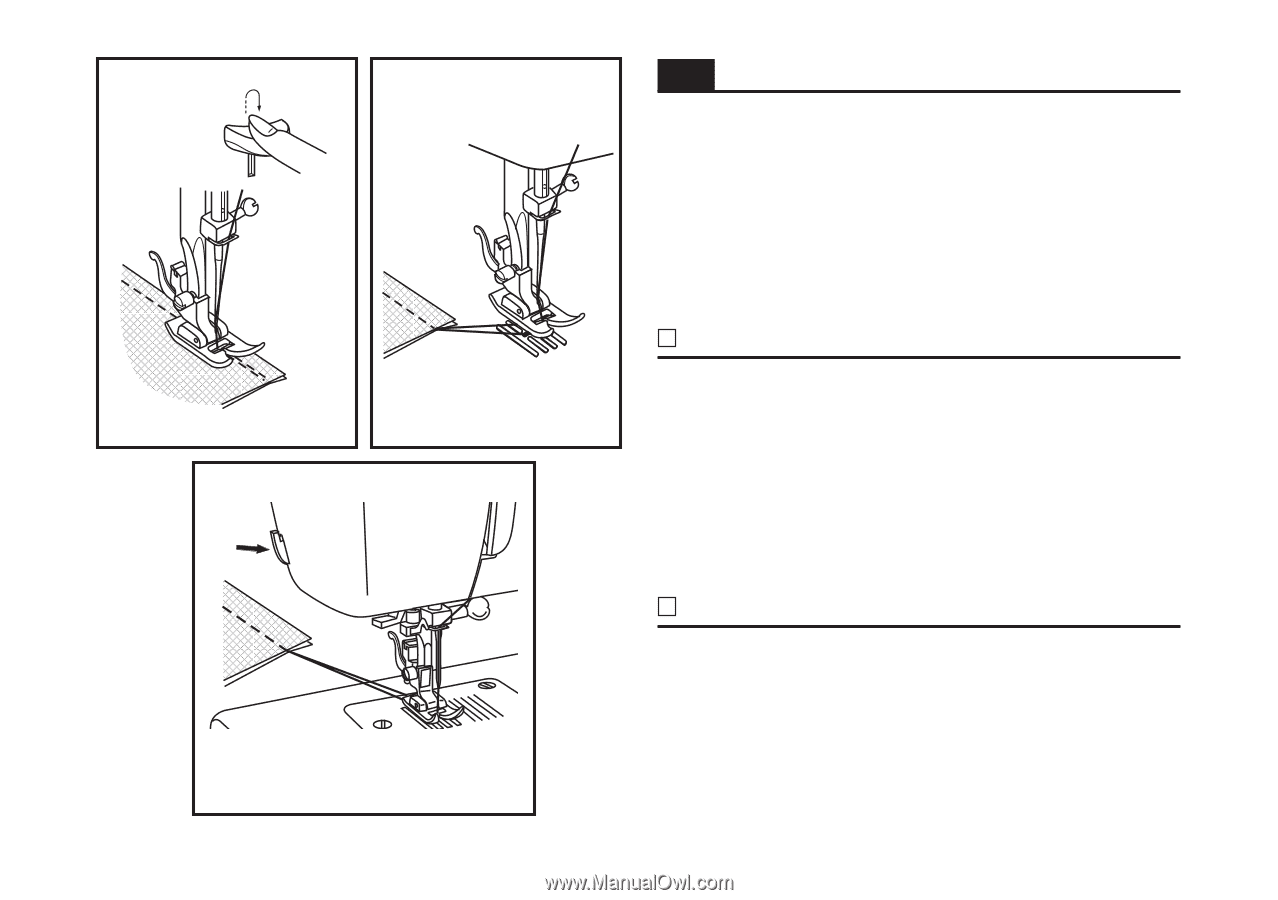
Pull the threads under and behind the presser foot. Guide
the threads to the side of the face plate and into thread
cutter (B). Pull threads down to cut. (3)
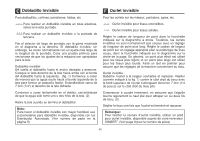
To secure the beginning and the end of a seam, press down
the reverse sewing lever (A). Sew a few reverse stitches.
Release the lever and the machine will sew forward again. (1)
GB
Reverse Sewing
29
1
2
A
Removing the Work
Cutting the Thread
B
Turn the handwheel toward you (counterclockwise) to bring
the thread take up lever to its highest position, and continue
turning until the needle just slightly begins to descend. Raise
the presser foot and remove work behind the needle and
presser foot. (2)