Sony DCR-HC65 Camera Operations Guide - Page 35
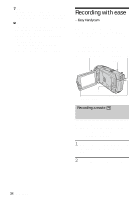
Recording a still image
 |
View all Sony DCR-HC65 manuals
Add to My Manuals
Save this manual to your list of manuals |
Page 35 highlights
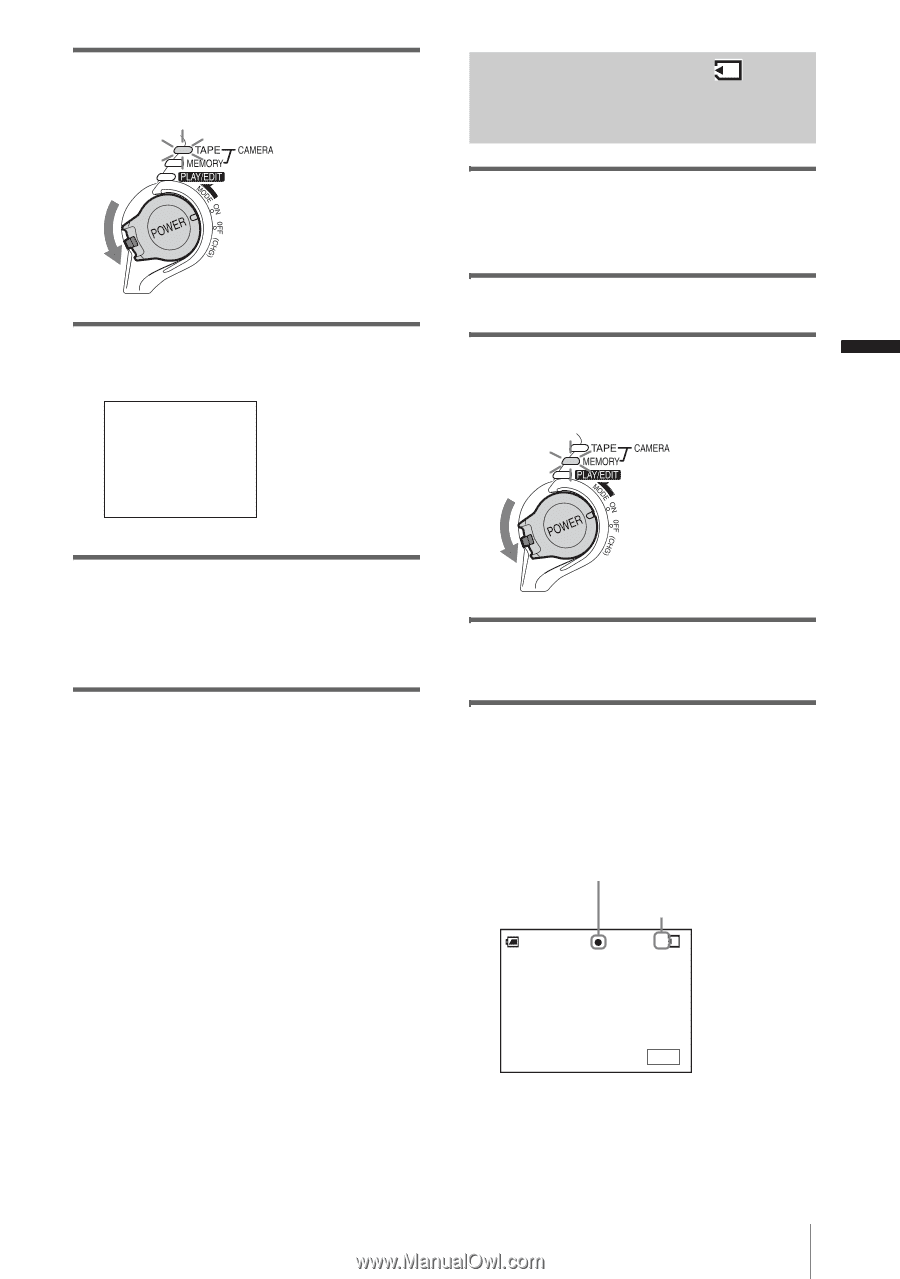
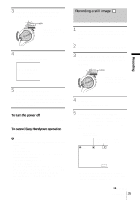
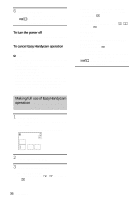
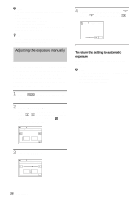
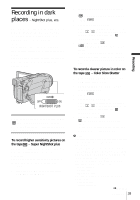
3 Slide the POWER switch until the CAMERA-TAPE lamp lights up. Recording a still image Recording Slide the POWER switch while pressing the green button. 4 Press EASY. The EASY lights up in blue. Easy Handycam operation ON 5 Press REC START/STOP. Recording starts. [REC] appears on the LCD screen and the Camera recording lamp lights up. Press REC START/STOP again to stop recording. To turn the power off Slide the POWER switch up to the OFF (CHG) position. To cancel Easy Handycam operation Press EASY again. b Note • You cannot turn Easy Handycam operation on or off during: - Recording - USB Streaming • During Easy Handycam operation, the following buttons are not available. - LCD BACKLIGHT (p. 18) - BACK LIGHT (p. 37) • During Easy Handycam operation, the settings of the functions that are not displayed on the screen return to their defaults. Previously made settings are restored when you cancel Easy Handycam operation. 1 Remove the lens cap. Pull the lens cap string down and attach it to the grip belt. 2 Press OPEN and open the LCD panel. 3 Slide the POWER switch repeatedly until the CAMERA-MEMORY lamp lights up. Slide the POWER switch while pressing the green button. 4 Press EASY. The EASY lights up in blue. 5 Press and hold PHOTO lightly. You will hear a light beeping sound when the focus and brightness settings are adjusted. Recording does not start at this point. The indicator stops flashing. The number of images that can be recorded.* 60min 8 MENU *The number of images that can be recorded varies depending on the image quality setting and the recording environment. ,continued Recording 35
-
 1
1 -
2
-
3
-
4
-
5
-
6
-
7
-
8
-
9
-
10
-
11
-
12
-
13
-
14
-
15
-
16
-
17
-
18
-
19
-
20
-
21
-
22
-
23
-
24
-
25
-
26
-
27
-
28
-
29
-
 30
30 -
 31
31 -
 32
32 -
 33
33 -
 34
34 -
 35
35 -
 36
36 -
 37
37 -
 38
38 -
 39
39 -
 40
40 -
41
-
42
-
43
-
44
-
45
-
46
-
47
-
48
-
49
-
50
-
51
-
52
-
53
-
54
-
55
-
56
-
57
-
58
-
59
-
60
-
61
-
62
-
63
-
64
-
65
-
66
-
67
-
68
-
69
-
70
-
71
-
72
-
73
-
74
-
75
-
76
-
77
-
78
-
79
-
80
-
81
-
82
-
83
-
84
-
85
-
86
-
87
-
88
-
89
-
90
-
91
-
92
-
93
-
94
-
95
-
96
-
97
-
98
-
99
-
100
-
101
-
102
-
103
-
104
-
105
-
106
-
107
-
108
-
109
-
110
-
111
-
112
-
113
-
114
-
115
-
116
-
117
-
118
-
119
-
120
-
121
-
122
-
123
-
124
-
125
-
126
-
127
-
128
-
129
-
130
-
131
-
132
-
133
-
134
-
135
-
136
-
137
-
138
-
139
-
140
-
141
-
142
-
143
-
144
-
145
-
146
-
147
-
148
-
149
-
150
-
151
-
152
 |
 |