Sony DVP-FX94 Operating Instructions - Page 18
Adjusting the Picture, Size and Quality
 |
UPC - 027242788145
View all Sony DVP-FX94 manuals
Add to My Manuals
Save this manual to your list of manuals |
Page 18 highlights
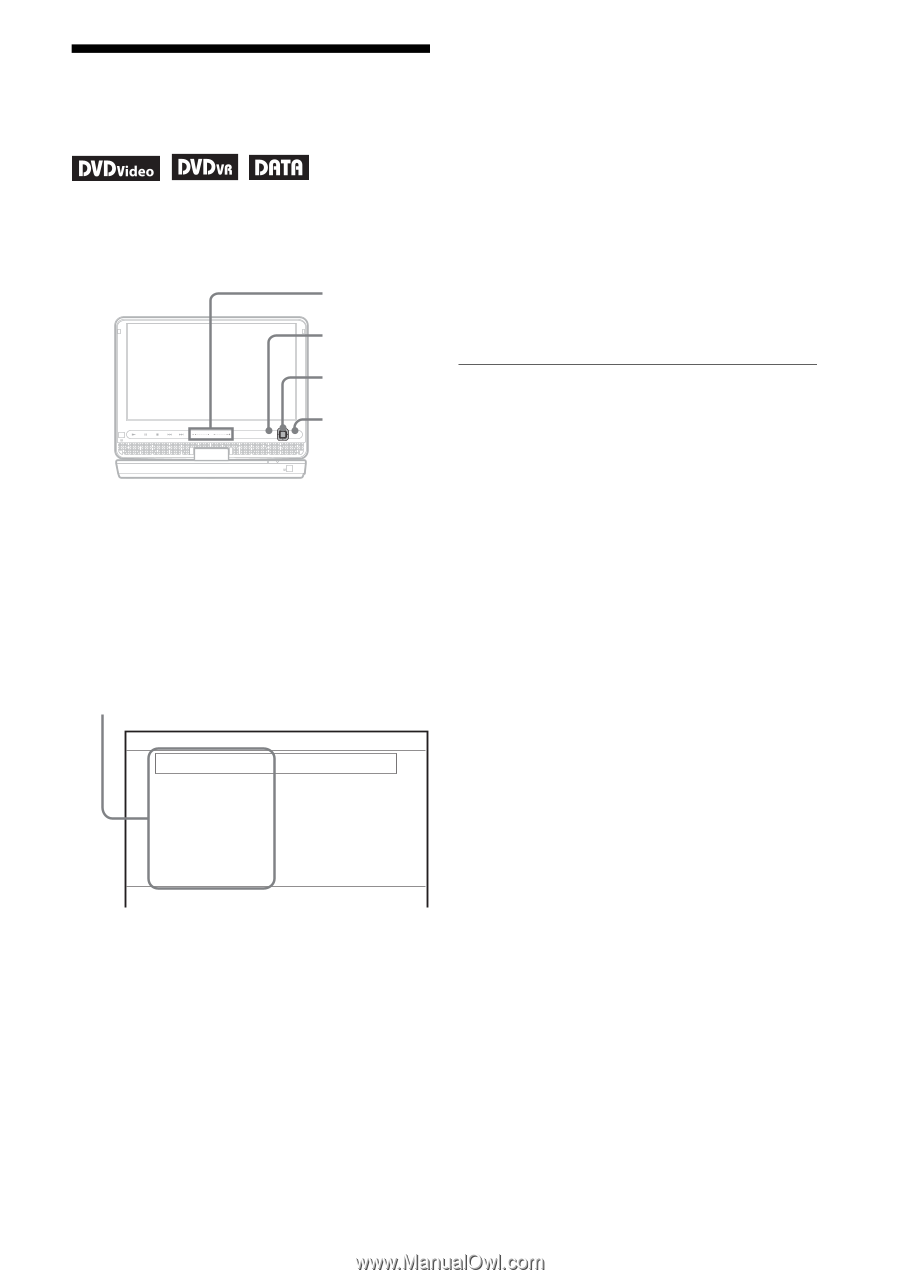
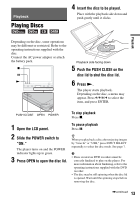
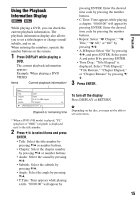
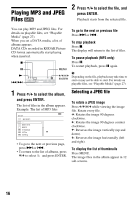
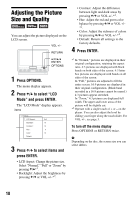
Adjusting the Picture Size and Quality You can adjust the picture displayed on the LCD screen. VOL +/- RETURN • Contrast: Adjust the difference between light and dark areas by pressing C/c or VOL +/-*2. • Hue: Adjust the red and green color balance by pressing C/c or VOL +/- *2. • Color: Adjust the richness of colors by pressing C/c or VOL +/-*2. • Default: Return all settings to the factory defaults. 4 Press ENTER. C/X/x/c ENTER OPTIONS VOL DISPLAY MENU RETURN OPTIONS POWER CHARGE 1 Press OPTIONS. The menu display appears. 2 Press X/x to select "LCD Mode" and press ENTER. The "LCD Mode" display appears. items LCD Mode LCD Aspect : Full Backlight : 10 Contrast : 10 Hue : 0 Color : 10 Default 3 Press X/x to select items and press ENTER. • LCD Aspect: Change the picture size. Select "Normal," "Full" or "Zoom" by pressing X/x*1. • Backlight: Adjust the brightness by pressing C/c or VOL +/-*2. *1 In "Normal," pictures are displayed in their original configuration, retaining the aspect ratio. 4:3 pictures are displayed with black bands on both sides of the screen. 4:3 letter box pictures are displayed with bands on all sides of the screen. In "Full," pictures are adjusted to fill the entire screen. 16:9 pictures are displayed in their original configuration. (Black band recorded in a 16:9 picture cannot be erased.) 4:3 pictures appear stretched. In "Zoom," 4:3 pictures are displayed full width. The upper and lower areas of the picture will be slightly cut. *2 Operate with a single touch of + or - on the player. You can also adjust the level by sliding your finger along the touch slider. For VOL +/-, see page 5. To turn off the menu display Press OPTIONS or RETURN twice. b Depending on the disc, the screen size you can select differs. 18
-
 1
1 -
2
-
3
-
4
-
5
-
6
-
7
-
8
-
9
-
10
-
11
-
12
-
 13
13 -
 14
14 -
 15
15 -
 16
16 -
 17
17 -
 18
18 -
 19
19 -
 20
20 -
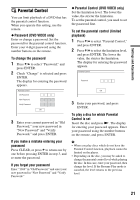 21
21 -
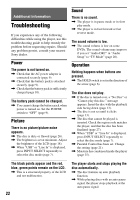 22
22 -
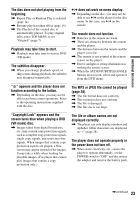 23
23 -
24
-
25
-
26
-
27
-
28
-
29
-
30
-
31
-
32
-
33
-
34
-
35
-
36
-
37
-
38
-
39
-
40
 |
 |