Sony HCD-EX5 Operating Instructions - Page 13
Tuner, Presetting radio stations
 |
View all Sony HCD-EX5 manuals
Add to My Manuals
Save this manual to your list of manuals |
Page 13 highlights
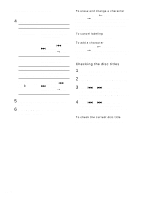
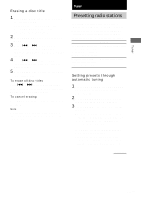
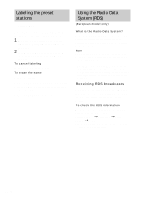
Tuner Erasing a disc title 1 Press FUNCTION repeatedly to switch the function to CD. If "SHUFFLE" or "PROGRAM" appears, press PLAY MODE on the remote repeatedly until both disappear. 2 Press MENU/NO on the remote in stop mode. 3 Press . or > on the remote repeatedly until "Name Erase?" appears, then press ENTER/YES on the remote. 4 Press . or > on the remote repeatedly to select the disc title you want to erase. 5 Press ENTER/YES on the remote again. "Complete!" appears. To erase all disc titles Press . or > on the remote repeatedly until "All Erase?" appears in step 3, then press ENTER/YES on the remote twice. To cancel erasing Press MENU/NO on the remote during steps 1 through 4. Note The disc titles are saved in the system memory for about a day even if you disconnect the power cord or a power failure occurs. Tuner Presetting radio stations The system can store a total of 30 preset stations (20 for FM and 10 for AM). You can then tune in any of those stations simply by selecting the corresponding preset number. There are two ways to store the preset stations. To Method Automatically tune in all of the stations that can be received in your area and then store them manually Automatic Tuning Preset Manually tune in and Manual Tuning Preset store the radio frequency of your favorite stations Setting presets through automatic tuning 1 Press TUNER/BAND (or TUNER BAND on the remote) repeatedly to select "FM" or "AM". 2 Press TUNING MODE on the remote repeatedly until "AUTO" appears. 3 Press TUNING - or + (or - or + on the remote). The frequency indication changes and the scanning stops when the system tunes in a station. "TUNED" and "STEREO" (for a stereo program only) appear. If "TUNED" does not appear and the scanning does not stop Set the frequency of the desired radio station as described in steps 2 through 8 of "Setting presets through manual tuning". continued 13GB
-
 1
1 -
2
-
3
-
4
-
5
-
6
-
7
-
 8
8 -
 9
9 -
 10
10 -
 11
11 -
 12
12 -
 13
13 -
 14
14 -
 15
15 -
 16
16 -
 17
17 -
 18
18 -
19
-
20
-
21
-
22
-
23
-
24
-
25
-
26
-
27
-
28
 |
 |