Sony NW-MS11 Operating Instructions - Page 20
To erase music data from
 |
View all Sony NW-MS11 manuals
Add to My Manuals
Save this manual to your list of manuals |
Page 20 highlights
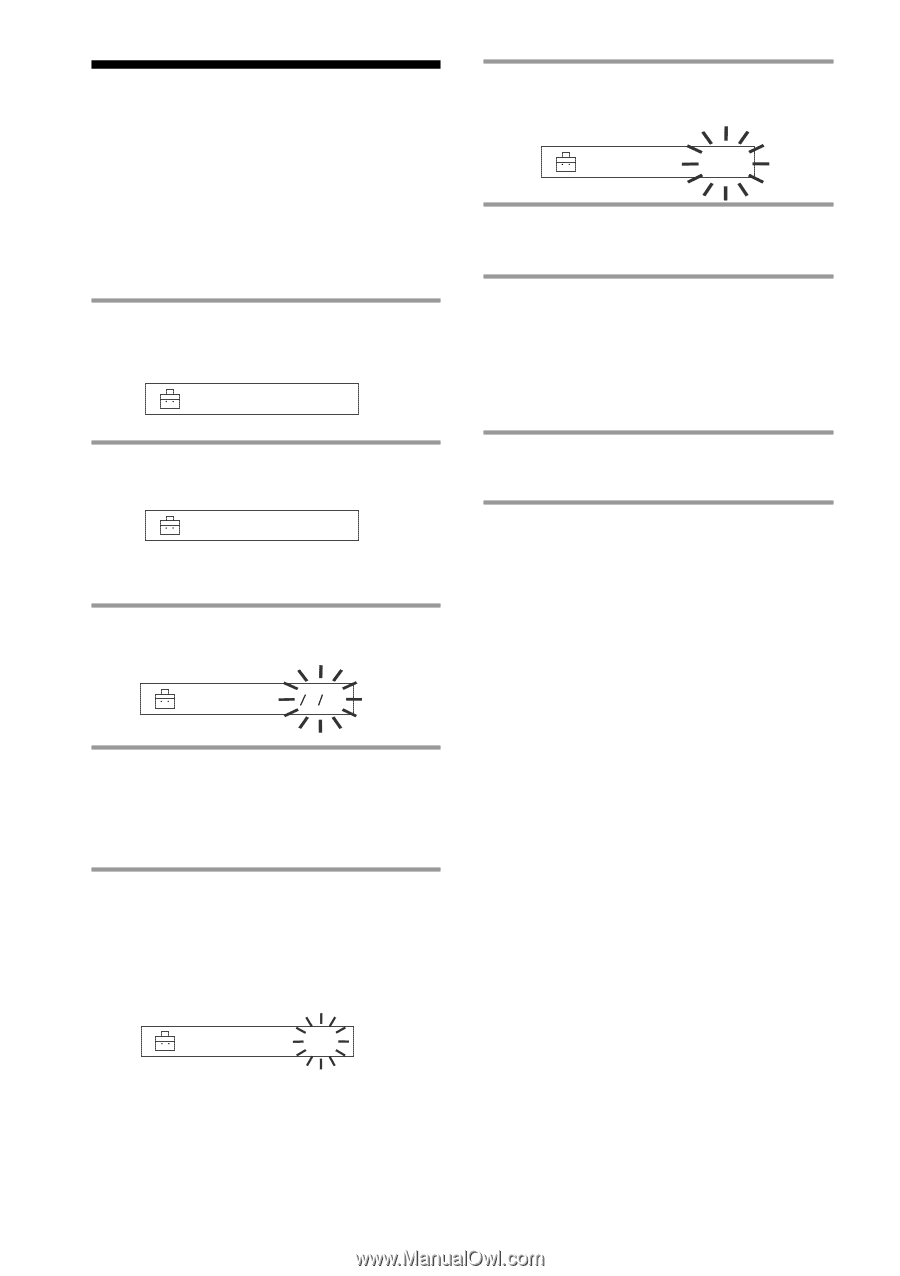
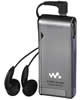
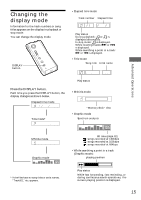
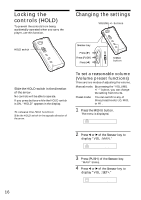
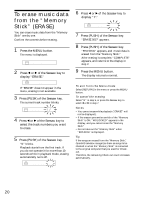
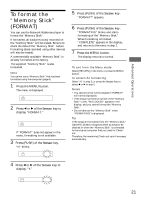
To erase music data from the "Memory Stick" (ERASE) You can erase music data from the "Memory Stick" one by one. Confirm the contents before erasing. 1 Press the MENU button. The menu is displayed. REP : OFF 2 Press b or B of the Seesaw key to display "ERASE." ERASE> If "ERASE" does not appear in the menu, erasing is not available. 3 Press (PUSH) of the Seesaw key. The current track number blinks. ERASE : 0 0 1 4 Press b or B of the Seesaw key to select the track numbers you want to erase. 5 Press (PUSH) of the Seesaw key. "N" blinks. Playback starts from the first track. If you do not operate it for more than 10 seconds while in playback mode, erasing automatically turns off. ERASE : N 6 Press b or B of the Seesaw key to display "Y." ERASE : Y> 7 Press (PUSH) of the Seesaw key. "ERASE 001?" appears. 8 Press (PUSH) of the Seesaw key. "ERASING" appears, and music data is erased from the "Memory Stick." After erasing is complete, "COMPLETE" appears, and returns to the display in step 2. 9 Press the MENU button. The display returns to normal. To exit from the Menu mode Select [RETURN] in the menu or press the MENU button. To cancel the erasing Select "N" in step 5, or press the Seesaw key to select b or B in step 7. Notes • You cannot erase while playback ("ERASE" will not be displayed). • If the erasure prevention switch of the "Memory Stick" is ON, "MS LOCKED" appears in the display, and you cannot erase the "Memory Stick." • Do not take out the "Memory Stick" when "ERASING" is displayed. Tip If the songs are erased from the "Memory Stick," OpenMG Jukebox recognizes them as songs to be checked in when the "Memory Stick" is connected to the original computer that you used for Checkout. Therefore, the remaining Check-out count increases automatically. 20
-
 1
1 -
2
-
3
-
4
-
5
-
6
-
7
-
8
-
9
-
10
-
11
-
12
-
13
-
14
-
 15
15 -
 16
16 -
 17
17 -
 18
18 -
 19
19 -
 20
20 -
 21
21 -
 22
22 -
 23
23 -
 24
24 -
 25
25 -
26
-
27
-
28
-
29
-
30
-
31
-
32
-
33
-
34
-
35
-
36
 |
 |