TP-Link TL-WR543G User Guide - Page 56
Domain Filtering, Delete All, Previous, For example, Enable, Add or Modify
 |
UPC - 845973051204
View all TP-Link TL-WR543G manuals
Add to My Manuals
Save this manual to your list of manuals |
Page 56 highlights
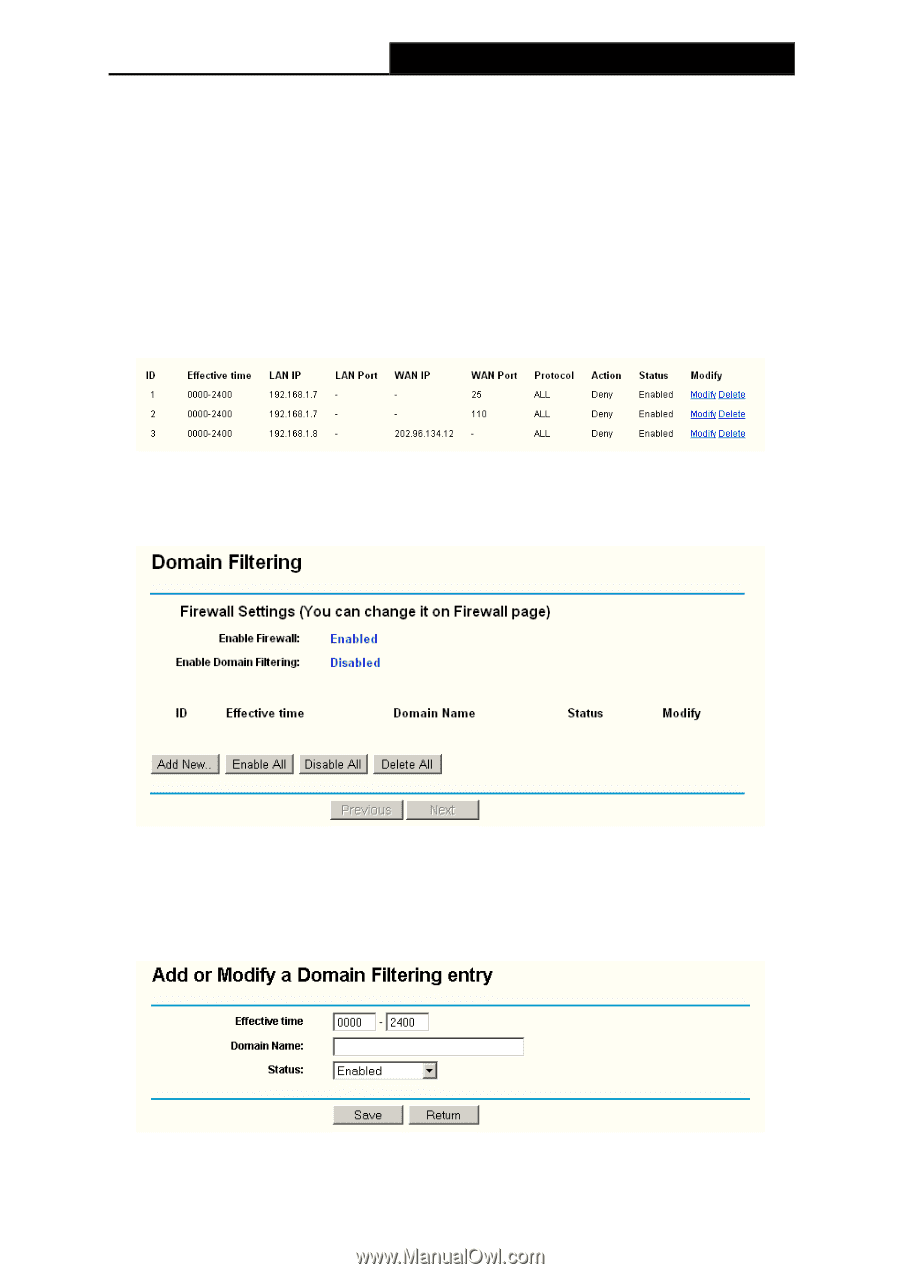
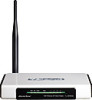
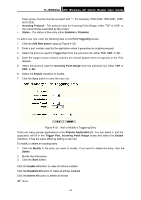
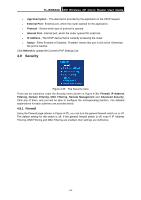
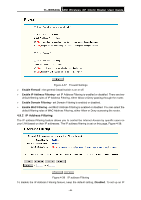
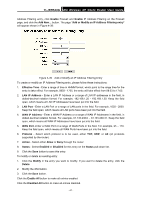
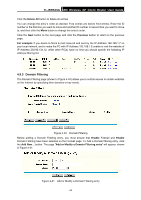
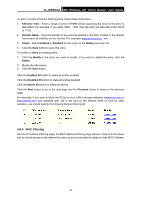
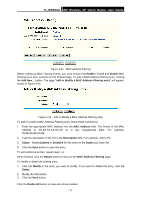
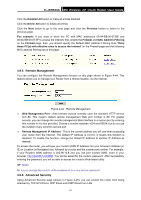
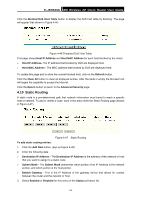
TL-WR543G 54M Wireless AP Client Router User Guide Click the Delete All button to delete all entries You can change the entry's order as desired. Fore entries are before hind entries. Enter the ID number in the first box you want to move and another ID number in second box you want to move to, and then click the Move button to change the entry's order. Click the Next button to the next page and click the Previous button to return to the previous page. For example: If you desire to block E-mail received and sent by the IP Address 192.168.1.7 on your local network, and to make the PC with IP Address 192.168.1.8 unable to visit the website of IP Address 202.96.134.12, while other PC(s) have no limit you should specify the following IP address filtering list: 4.9.3 Domain Filtering The Domain Filtering page (shown in Figure 4-40) allows you to control access to certain websites on the Internet by specifying their domains or key words. Figure 4-40 Domain Filtering Before adding a Domain Filtering entry, you must ensure that Enable Firewall and Enable Domain Filtering have been selected on the Firewall page. To Add a Domain filtering entry, click the Add New... button. The page "Add or Modify a Domain Filtering entry" will appear, shown in Figure 4-41: Figure 4-41 Add or Modify a Domain Filtering entry - 48 -
-
 1
1 -
2
-
3
-
4
-
5
-
6
-
7
-
8
-
9
-
10
-
11
-
12
-
13
-
14
-
15
-
16
-
17
-
18
-
19
-
20
-
21
-
22
-
23
-
24
-
25
-
26
-
27
-
28
-
29
-
30
-
31
-
32
-
33
-
34
-
35
-
36
-
37
-
38
-
39
-
40
-
41
-
42
-
43
-
44
-
45
-
46
-
47
-
48
-
49
-
50
-
 51
51 -
 52
52 -
 53
53 -
 54
54 -
 55
55 -
 56
56 -
 57
57 -
 58
58 -
 59
59 -
 60
60 -
 61
61 -
62
-
63
-
64
-
65
-
66
-
67
-
68
-
69
-
70
-
71
-
72
-
73
-
74
-
75
-
76
-
77
-
78
-
79
-
80
-
81
-
82
-
83
 |
 |