Toshiba HDNB120XKEG1 Canivo Personal Cloud User Manual (English) - Page 25
To Delete a User, To Create a Public or Private Share Area
 |
View all Toshiba HDNB120XKEG1 manuals
Add to My Manuals
Save this manual to your list of manuals |
Page 25 highlights
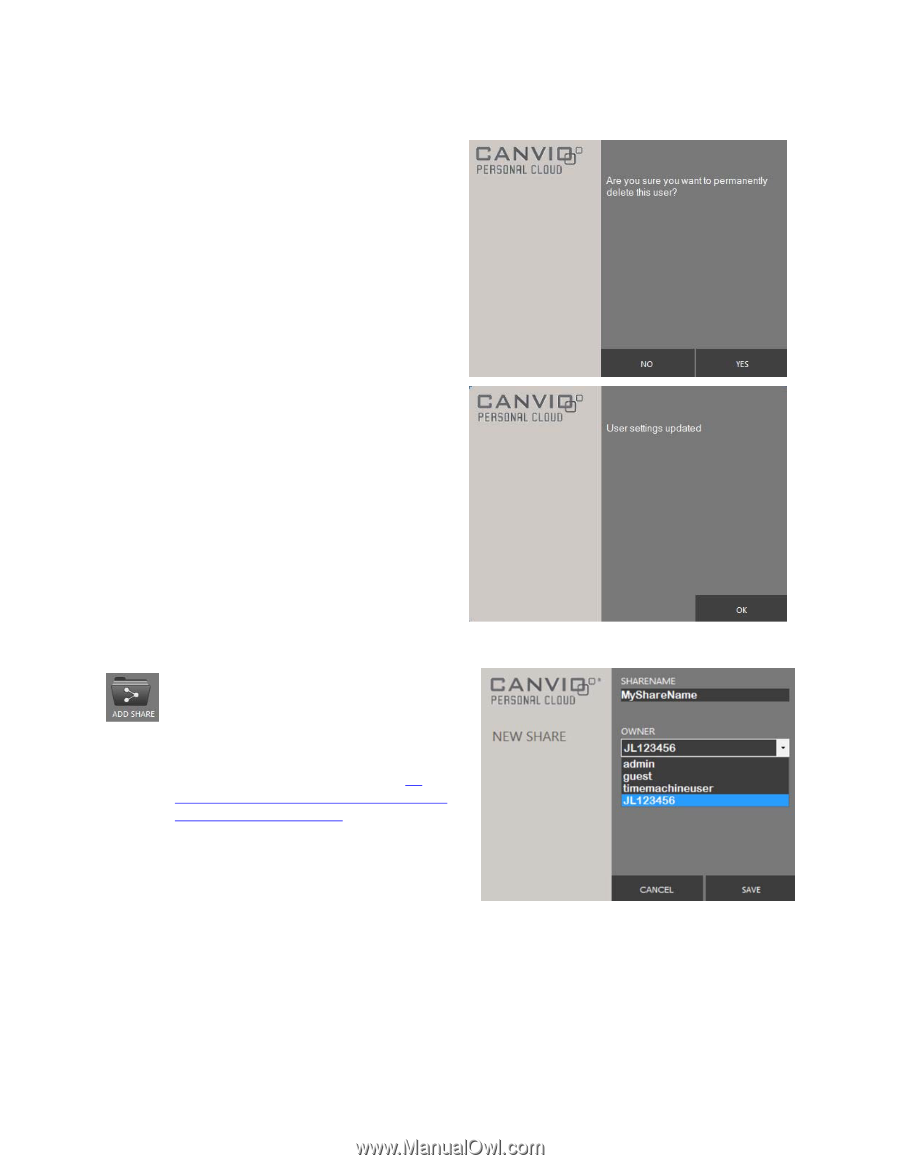
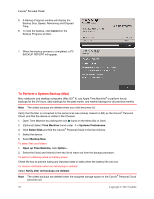
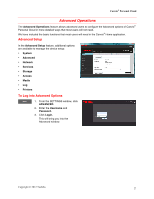
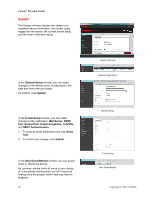
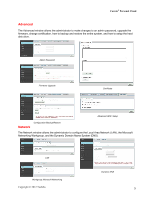
To Delete a User 1. Double-click the name of the user from the MANAGE USERS list. 2. The USERS window will appear. 3. To remove the user from the list, click DELETE. 4. To confirm the changes, click YES. 8. A message will appear to confirm the change. 9. To exit, click OK. Canvio® Personal Cloud To Create a Public or Private Share (Area) You can create a share (area) in the Canvio® Personal Cloud. In the share, you can store files that are accessible only to a single user or a selected group of users. To create a share (area), the user must have administrator rights. (Refer to To Change a Userʼs Password and Grant the User Administrator Rights). 1. Click the ADD SHARE icon. 2. Enter a NEW SHARE name. 3. Select the user who will have access to the share. If there is more than one user, select the name from the OWNER drop-down menu. 4. To confirm, click SAVE. Copyright © 2012 Toshiba 25
-
 1
1 -
2
-
3
-
4
-
5
-
6
-
7
-
8
-
9
-
10
-
11
-
12
-
13
-
14
-
15
-
16
-
17
-
18
-
19
-
 20
20 -
 21
21 -
 22
22 -
 23
23 -
 24
24 -
 25
25 -
 26
26 -
 27
27 -
 28
28 -
 29
29 -
 30
30 -
31
-
32
-
33
-
34
-
35
-
36
-
37
-
38
-
39
-
40
 |
 |