Vivitar DVR 988HD User Manual
Vivitar DVR 988HD Manual
 |
View all Vivitar DVR 988HD manuals
Add to My Manuals
Save this manual to your list of manuals |
Vivitar DVR 988HD manual content summary:
- Vivitar DVR 988HD | User Manual - Page 1
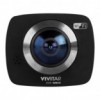
DVR 988HD Wi-Fi Action Camera Dual Lens 360° View User Manual © 2016 Sakar International, Inc. All rights reserved. Windows and the Windows logo are registered trademarks of Microsoft Corporation. All other trademarks are the property of their respective companies. - Vivitar DVR 988HD | User Manual - Page 2
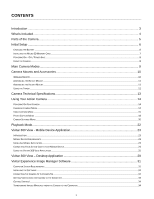
...23 CONNECTING YOUR ACTION CAM TO YOUR MOBILE DEVICE...24 USING THE VIVITAR 360 VIEW APPLICATION ...25 Vivitar 360 View - Desktop Application 29 Vivitar Experience Image Manager Software 31 COMPUTER SYSTEM REQUIREMENTS ...31 INSTALLING THE SOFTWARE...32 CONNECTING THE CAMERA TO THE COMPUTER - Vivitar DVR 988HD | User Manual - Page 3
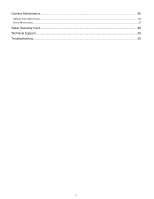
Camera Maintenance ...36 MEMORY CARD MAINTENANCE ...36 DEVICE MAINTENANCE ...37 Sakar Warranty Card...38 Technical Support...39 Troubleshooting...39 2 - Vivitar DVR 988HD | User Manual - Page 4
Thank you for purchasing the Vivitar DVR 988D HD Wi-Fi Action Cam with Dual Lens 360° View. Everything you need to take high definition digital videos and photos is included with your camera. This unique, ultraportable camera design is adapted specifically for this camera and can be used to - Vivitar DVR 988HD | User Manual - Page 5
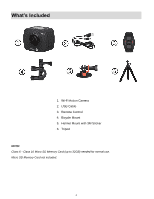
What's Included 1. Wi-Fi Action Camera 2. USB Cable 3. Remote Control 4. Bicycle Mount 5. Helmet Mount with 3M Sticker 6. Tripod NOTE: Class 6 - Class 10 Micro SD Memory Card (up to 32GB) needed for normal use. Micro SD Memory Card not included. 4 - Vivitar DVR 988HD | User Manual - Page 6
Parts of the Camera 1. LCD Display 2. Power / Mode Button 3. Wi-Fi Indicator (red) 4. Power Indicator (red) / Charging Indicator (blue) 5. Wi-Fi / Menu Button 6. Busy Indicator (red) 7. Shutter / OK Button 8. - Vivitar DVR 988HD | User Manual - Page 7
it is within 5V/0.5A ~ 5V/2.0A. While the device is charging it cannot be used to capture images. Make sure the camera is powered off when recharging. The camera must be fully charged in order to use features such as the Wi-Fi connection. BATTERY INDICATOR: Battery Indicator Description The - Vivitar DVR 988HD | User Manual - Page 8
shown below before use. Micro SD Memory card not included. INSTALLING THE MEMORY CARD: To properly insert the Micro SD Card, follow the instructions below: 1. Power off the camera. 2. Insert the Micro SD Card into the Micro SD Card slot in the direction as shown above. 3. Gently press the Micro SD - Vivitar DVR 988HD | User Manual - Page 9
for about 3 seconds and release. 2. The LCD displays "GOODBYE" and turns off. POWER SAVE: Your camera also has an auto power off feature that automatically turns off your camera after a specific period of time that your camera is left idle. The auto power off settings can be set from the 'Power Save - Vivitar DVR 988HD | User Manual - Page 10
the Shutter/OK button again to stop recording. The video is automatically saved to your camera's memory card. Photo Capture Mode Use this mode to capture pictures with your camera. To take a photo, please check that the camera is in Photo Mode. If the photo icon is not displayed on the LCD screen - Vivitar DVR 988HD | User Manual - Page 11
any button the indicator lamps at both sides will light in red at the same time. Using the action camcorder by remote control: 1. Press and hold the Power Button until the indicator goes off, and the saved to the memory card automatically. 4. To turn off the camera, press the Power Button again. 10 - Vivitar DVR 988HD | User Manual - Page 12
ASSEMBLING THE BICYCLE MOUNT ASSEMBLING THE HELMET MOUNT 11 - Vivitar DVR 988HD | User Manual - Page 13
USING THE TRIPOD Screw the tripod nut attached into the tripod socket on the bottom of the camera. It serves both as a hand-held or fixed device. Fix to use tripod Hold to use tripod 12 - Vivitar DVR 988HD | User Manual - Page 14
Camera Technical Specifications Image Sensor Video Resolution Photo Resolution File Format External Memory LCD Display Screen Size Lens Exposure White Balance (via mobile app) Microphone Speaker Auto Power Off (Power Save) Language Interface System Requirements for Vivitar Experience Battery CMOS - Vivitar DVR 988HD | User Manual - Page 15
Using Your Action Camera POWERING ON YOUR CAMERA 1. Press and hold the POWER button for about 2 seconds and then release the button to turn on the camera. The LCD screen briefly displays the 'VIVITAR' screen and opens to the Video Capture Mode. 2. Press and hold the POWER button again for about 3 - Vivitar DVR 988HD | User Manual - Page 16
VIDEO CAPTURE MODE The Video Capture Mode allows you to capture videos with your action cam. To enter Video Capture Mode, power on your camera and then if needed, short press the POWER/MODE button until the camera displays the Video icon on the top left of the LCD screen, indicating that Video - Vivitar DVR 988HD | User Manual - Page 17
's submenu list and saves the selected submenu option. LONG PRESS - OPENS/EXITS MENU: Opens and exits the menu WI-FI / MENU / DOWN options for Camera Settings. NOTE: Short press the Wi-Fi/Down button to navigate within the menu options. SHORT PRESS - CONNECTS/DISCONNECTS WI-FI: Turns on the - Vivitar DVR 988HD | User Manual - Page 18
as per selected Movie Size and memory card size. Record Mode: Record Indicator Displays the elapsed time as the video is being recorded. NOTE: The camera's red LED light flashes while recording is in progress. Displays the set time and date. Displays the current status of the battery level. The - Vivitar DVR 988HD | User Manual - Page 19
the top left of the LCD screen, indicating that Photo Capture Mode is active. TAKING A PHOTO 1. Selecting the Scene with the LCD Display: Direct the camera at the scene you would like to capture. 2. Take a Picture: Press the SHUTTER/OK button to capture the photo. The amount of photos that can - Vivitar DVR 988HD | User Manual - Page 20
PHOTO CAPTURE MODE LCD ICON STATUS DESCRIPTION The following icons appear on the LCD screen and indicate the camera status. 1 2 4 3 Item Function 1 Mode Selection Photo Counter 2 3 Time and Date 4 Battery Indicator Description Displays the current selected Mode: Photo Capture Mode - Vivitar DVR 988HD | User Manual - Page 21
SETTINGS MENU To access the Camera Settings menu: 1. Long press the Wi-Fi/MENU (Down) button for about 2 seconds to open the menu. 2. Short press the Wi-Fi/MENU (Down) button - Vivitar DVR 988HD | User Manual - Page 22
& Time MM/DD/YY The 'Date & Time' menu allows you to set your camera's date and time. This date and time will appear on the captured images when the Video Capture Mode menu. HR:MIN. Language You can select your camera's language setting by selecting the desired language from the Language menu. - Vivitar DVR 988HD | User Manual - Page 23
the content that is currently on your camera's memory card. This option will Vivitar 360 View Mobile or desktop application. Please see the "Vivitar 360 View - Mobile Device Application" section for more information. Vivitar Experience Image Manager desktop application. Please see the "Vivitar - Vivitar DVR 988HD | User Manual - Page 24
INTRODUCTION The Vivitar 360 View mobile application allows you to enjoy 360 degree video recording and 360 degree photo capture remotely. After connecting the DVR 988HD action cam and your smart device, you can: Live view the camera video stream Start 360° video recording Take a 360° picture - Vivitar DVR 988HD | User Manual - Page 25
CONNECTING YOUR ACTION CAM TO YOUR MOBILE DEVICE SETTING UP THE WI-FI CONNECTION ON YOUR CAMERA: 1. Make sure you have installed a TF card. 2. Power on your camera. 3. Press the Wi-Fi button to enable the Wi-Fi connection. - 'Wi-Fi ON' first appears on the LCD screen, then the following details are - Vivitar DVR 988HD | User Manual - Page 26
's red LED Wi-Fi light stops blinking to indicate the successful connection. The camera's LCD screen displays the Wi-Fi icon as below: 5. Launch the Vivitar 360 View application: Tap the Vivitar 360 View application icon on the Home Screen or from the App list of the smartphone or tablet to - Vivitar DVR 988HD | User Manual - Page 27
4. DOWNLOAD: Enter the camera folder, select the file to be downloaded and click to download video or picture playing effect. Before connection, make sure the SD card is properly inserted into the camera. After connection, it will not affect 4G communication function of mobile phone or tablet. Do not - Vivitar DVR 988HD | User Manual - Page 28
a file or multiple files. A red check mark appears on the selected file. The following options appear: file(s); Download files(s) Deselect/Select All, Delete selected Live Camera Mode: Opens the Live Camera Mode screen. 27 - Vivitar DVR 988HD | User Manual - Page 29
Video Capture Mode Photo Capture Mode, Tap to toggle to Video Capture Mode Tap to take a picture Tap to open Files list screen Camera Settings: The following options/details are shown Photo Resolution Video Resolution White Balance Format Change Wi-Fi Password Product Name SDK Version - Vivitar DVR 988HD | User Manual - Page 30
AND INSTALL THE PLAYER: Open the browser and download and install the "Vivitar 360 View" player and converter via the following online links: Windows OS: http://vivitar.com/downloads/dvr988win.zip MAC OS: http://vivitar.com/downloads/dvr988mac.zip NOTE: Click on one of the links above to - Vivitar DVR 988HD | User Manual - Page 31
show the different effects. Click and move the mouse, and you can enjoy the video with full angle 360 degrees. 6. EDIT AND SHARE FILE: The videos and photos that are recorded by the camera can be edited and shared, as shown in the picture below. They can be shared to YouTube, Facebook - Vivitar DVR 988HD | User Manual - Page 32
download videos and photos to your computer using the 'Vivitar Experience Image Manager' Software, you will need the following minimum configuration: WINDOWS OS MICROSOFT® Windows XP with Service Pack 3, Windows Vista with Service Pack 1 or Windows 7 Pentium® 4 processor (or above) 1 GB RAM - Vivitar DVR 988HD | User Manual - Page 33
4. Double click on the downloaded application file to install the Vivitar Experience Image Manager Software. 5. Follow all instructions 6. Once installation is complete, the Vivitar Experience Image Manager opens automatically. CONNECTING THE CAMERA TO THE COMPUTER 1. Use the supplied USB cable to - Vivitar DVR 988HD | User Manual - Page 34
CAMERA . 4. Select your camera (removable disk) from the device window. If your camera is the only USB " button to transfer the files from your camera to your computer. 9. A media download progress photos downloaded from your DVR 988HD camera and viewed using the Vivitar Experience Image Manager appear - Vivitar DVR 988HD | User Manual - Page 35
" with built in Google Maps For more details on how to use the Vivitar Experience Image Manager open the Help file or click the "Take a Tour" button on the application's Home screen. TRANSFERRING IMAGES MANUALLY FROM THE CAMERA TO THE COMPUTER WINDOWS OS 1. Use the supplied USB cable to connect your - Vivitar DVR 988HD | User Manual - Page 36
. 4. Using an iPad SD Card Reader: Connect the SD Card Reader to your iPad, then insert your digital camera's Micro SD Memory card into the slot to import photos and videos directly from your camera's SD card. NOTE: iPad SD Card Reader not included. This may be purchased separately. After you make - Vivitar DVR 988HD | User Manual - Page 37
camera off before plugging in or taking out the memory card. Keep the memory card clean and prevent it from contacting liquid. In case of liquid contacted, clean and dry it with a piece of soft cloth. In case materials. 8. The service life of the memory card has expired (please replace the - Vivitar DVR 988HD | User Manual - Page 38
cause explosion or other dangers. 5. The product may radiate heat due to long-time use or exposure to direct sunlight. This is normal. 6. If the camera stops working or fails to respond to any operation during use, use a needle to press and hold Reset button for about 3 seconds to restart the - Vivitar DVR 988HD | User Manual - Page 39
of the problem. 3. Your return address and telephone number (Daytime). MAIL TO ADDRESS BELOW: Sakar US Sakar International Attention: Service Department 195 Carter Drive Edison, NJ 08817 Sakar UK/Europe Sakar Australia Attention: Service Department Return faulty camera - Vivitar DVR 988HD | User Manual - Page 40
vivitar.com. You can find manuals, software and FAQ's at the website. Can't find what you are looking for? E-mail us at [email protected] and one of our technical support team members will answer your questions. For phone support This camera requires a Micro SD card for normal use. If the camera
-
 1
1 -
 2
2 -
 3
3 -
 4
4 -
 5
5 -
 6
6 -
 7
7 -
8
-
9
-
10
-
11
-
12
-
13
-
14
-
15
-
16
-
17
-
18
-
19
-
20
-
21
-
22
-
23
-
24
-
25
-
26
-
27
-
28
-
29
-
30
-
31
-
32
-
33
-
34
-
35
-
36
-
37
-
38
-
39
-
40
 |
 |
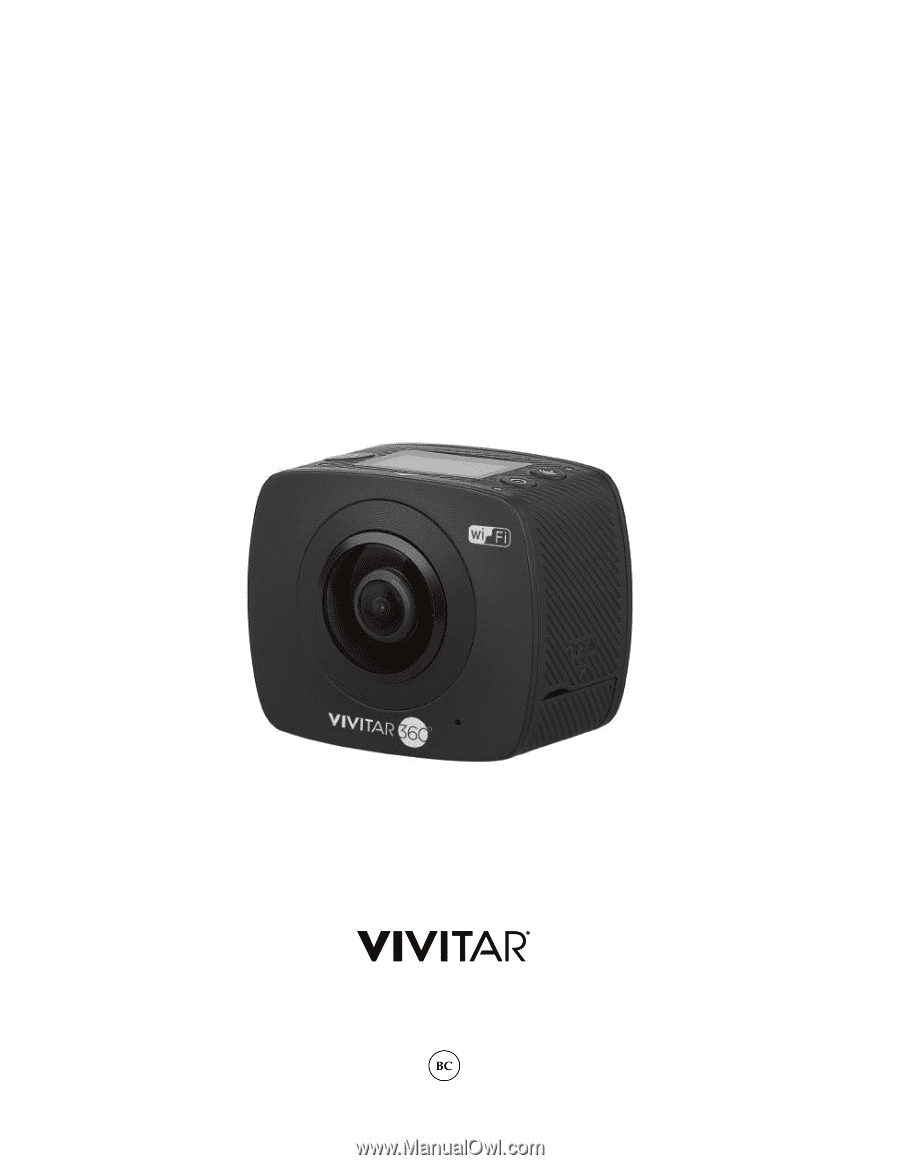
DVR 988HD
Wi-Fi Action Camera
Dual Lens 360° View
User Manual
© 2016 Sakar International, Inc. All rights reserved.
Windows and the Windows logo are registered trademarks of Microsoft Corporation.
All other trademarks are the property of their respective companies.