Whirlpool KGSK901SSS Installation Instructions - Page 11
Whirlpool KGSK901SSS Manual
 |
View all Whirlpool KGSK901SSS manuals
Add to My Manuals
Save this manual to your list of manuals |
Page 11 highlights
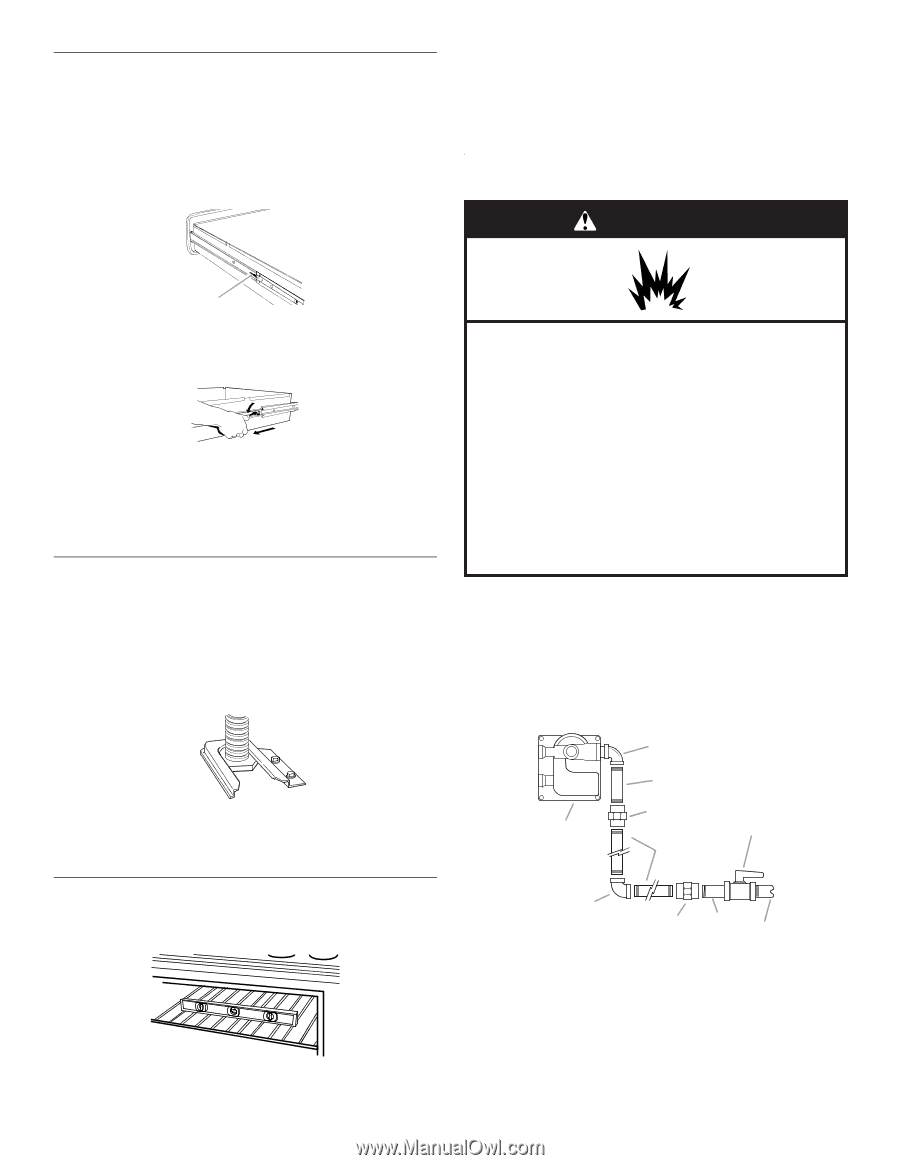
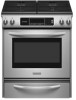
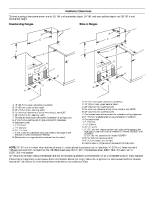
Remove Warming or Storage Drawer Remove the warming or storage drawer to gain access to the lower section of the range. This will be necessary for some of the following installation steps. If range is not level, pull range forward until rear leveling leg is removed from the anti-tip bracket. Use a wrench or pliers to adjust leveling legs up or down until the range is level. Push range back into position. Check that rear leveling leg is engaged in the anti-tip bracket. NOTE: Range must be level for satisfactory baking performance. To Remove Warming Drawer: 1. Open drawer to its fully open position. 2. Locate the black loops on both sides of the drawer. Make Gas Connection WARNING A A. Loop Explosion Hazard 3. Pull both loops forward at the same time, then pull drawer out another inch. Use a new CSA International approved gas supply line. Install a shut-off valve. Securely tighten all gas connections. If connected to LP, have a qualified person make sure gas pressure does not exceed 14" (36 cm) water column. Examples of a qualified person include: licensed heating personnel, authorized gas company personnel, and authorized service personnel. Failure to do so can result in death, explosion, or fire. 4. Holding the drawer by its sides, not its front, gently pull it all the way out. To Remove Storage Drawer: 1. Pull drawer straight out to the first stop. 2. Lift up the back of the drawer and pull out. Verify Anti-Tip Bracket Location IMPORTANT: On models with a warming drawer, the rear range foot must be viewed from the front and slightly to one side of the range. 1. Making sure the anti-tip bracket is installed: s Look for the anti-tip bracket securely attached to floor. s Typical rigid pipe connection A combination of pipe fittings must be used to connect the range to the existing gas line. Your connections may be different, according to the supply line type, size and location. 1. Apply pipe-joint compound made for use with LP gas to all pipe thread connections. 2. Using a pipe wrench to tighten, connect the gas supply to the range. Slide range back so rear range foot is under anti-tip bracket. B C 2. If installing the range in a mobile home, you must secure the range to the floor. Any method of securing the range is adequate as long as it conforms to the standards in the "Location Requirements" section. D A E F Level Range Place rack in oven. Place level on rack and check levelness of the range, first side to side; then front to back. J I A. Gas pressure regulator B. 90° elbow (must have ½" male pipe thread) C. Nipple D. Union E. Black iron pipe H G F. Manual gas shutoff valve G. ½" or ¾" gas pipe H. Nipple I. Union J. 90° elbow 11
-
 1
1 -
2
-
3
-
4
-
5
-
 6
6 -
 7
7 -
 8
8 -
 9
9 -
 10
10 -
 11
11 -
 12
12 -
 13
13 -
 14
14 -
 15
15 -
 16
16 -
17
-
18
-
19
-
20
-
21
-
22
-
23
-
24
-
25
-
26
-
27
-
28
-
29
-
30
-
31
-
32
-
33
-
34
-
35
-
36
-
37
-
38
-
39
-
40
 |
 |