Xerox 4510N Advanced Features Guide - Page 51
Changing the Power Saver Timeout, Up Arrow, Down Arrow, Address, Properties, General, Warmup
 |
UPC - 095205427813
View all Xerox 4510N manuals
Add to My Manuals
Save this manual to your list of manuals |
Page 51 highlights
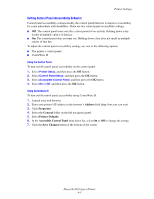
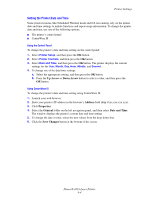
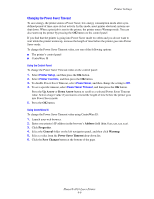
Printer Settings Changing the Power Saver Timeout To save energy, the printer enters a Power Saver, low-energy consumption mode after a predefined period of time since its last activity. In this mode, most printer electrical systems are shut down. When a print job is sent to the printer, the printer enters Warmup mode. You can also warm up the printer by pressing the OK button on the control panel. If you find that the printer is going into Power Saver mode too often and you do not want to wait while the printer warms up, increase the length of time before the printer goes into Power Saver mode. To change the Power Saver Timeout value, use one of the following options: ■ The printer's control panel ■ CentreWare IS Using the Control Panel To change the Power Saver Timeout value on the control panel: 1. Select Printer Setup, and then press the OK button. 2. Select Printer Controls, and then press the OK button. 3. To disable Power Saver Timeout, select Power Saver, and then change the setting to Off. 4. To set a specific timeout, select Power Saver Timeout, and then press the OK button. Press the Up Arrow or Down Arrow button to scroll to a selected Power Saver Timeout value. Select a larger value if you want to extend the length of time before the printer goes into Power Saver mode. 5. Press the OK button. Using CentreWare IS To change the Power Saver Timeout value using CentreWare IS: 1. Launch your web browser. 2. Enter your printer's IP address in the browser's Address field (http://xxx.xxx.xxx.xxx). 3. Click Properties. 4. Select the General folder on the left navigation panel, and then click Warmup. 5. Select a value from the Power Saver Timeout drop-down list. 6. Click the Save Changes button at the bottom of the page. Phaser® 4510 Laser Printer 4-6
-
 1
1 -
2
-
3
-
4
-
5
-
6
-
7
-
8
-
9
-
10
-
11
-
12
-
13
-
14
-
15
-
16
-
17
-
18
-
19
-
20
-
21
-
22
-
23
-
24
-
25
-
26
-
27
-
28
-
29
-
30
-
31
-
32
-
33
-
34
-
35
-
36
-
37
-
38
-
39
-
40
-
41
-
42
-
43
-
44
-
45
-
 46
46 -
 47
47 -
 48
48 -
 49
49 -
 50
50 -
 51
51 -
 52
52 -
 53
53 -
 54
54 -
 55
55 -
 56
56 -
57
-
58
-
59
-
60
-
61
-
62
-
63
-
64
-
65
-
66
-
67
-
68
-
69
-
70
-
71
-
72
-
73
-
74
-
75
-
76
-
77
-
78
-
79
-
80
 |
 |
