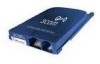
3Com 3C3FEM656C User Guide - Page 12
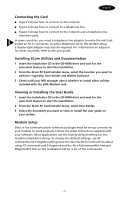
Connecting the Card, Installing 3Com Utilities and Documentation, Viewing or Installing the User - installation cd
 |
UPC - 662705346670
View all 3Com 3C3FEM656C manuals
Add to My Manuals
Save this manual to your list of manuals |
Page 12 highlights
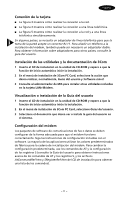
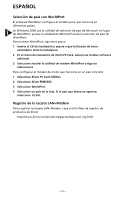
English Connecting the Card Figure 3 shows how to connect to the network. Figure 4 shows how to connect to a telephone line. Figure 5 shows how to connect to the network and a telephone line simultaneously. In some countries, you need a telephone line adapter to make the wall jack accept an RJ-11 connector. To add a telephone set to the modem setup, a duplex-style adapter may also be required. For information on adapters for other countries, refer to the user guide. Installing 3Com Utilities and Documentation 1 Insert the Installation CD in the CD-ROM drive and wait for the auto-start feature to start the installation. 2 From the 3Com PC Card Installer menu, select the function you want to perform-typically, User Guides and Mobile Software. 3 Check with your MIS manager about whether to install other utilities included with the LAN+Modem card. Viewing or Installing the User Guide 1 Insert the Installation CD in the CD-ROM drive and wait for the auto-start feature to start the installation. 2 From the 3Com PC Card Installer menu, select User Guides. 3 Select the document you want to view or install the user guide on your system. Modem Setup Data or fax communications software packages must be set up correctly for your modem to work properly. Follow the setup instructions supplied with your software. Most applications use the factory-default setting for the modem initialisation string. To change the default settings, use AT commands and S-Register settings (see the User Guide for instructions about using AT commands and S-Registers and the files AtCommandRef.htm and SRegisterRef.htm on the Installation CD for a list of the commands). - 7 -
-
 1
1 -
2
-
3
-
4
-
5
-
6
-
 7
7 -
 8
8 -
 9
9 -
 10
10 -
 11
11 -
 12
12 -
 13
13 -
 14
14 -
 15
15 -
 16
16 -
 17
17 -
18
-
19
-
20
-
21
-
22
-
23
-
24
-
25
-
26
-
27
-
28
-
29
-
30
-
31
-
32
-
33
-
34
-
35
-
36
-
37
-
38
-
39
-
40
-
41
-
42
-
43
-
44
-
45
-
46
-
47
-
48
-
49
-
50
-
51
-
52
-
53
 |
 |