3M MP8640 Operation Guide
3M MP8640 - MP XGA LCD Projector Manual
 |
UPC - 051125589963
View all 3M MP8640 manuals
Add to My Manuals
Save this manual to your list of manuals |
3M MP8640 manual content summary:
- 3M MP8640 | Operation Guide - Page 1
Guide de l'opérateur MP8640 Multimedia-Projektor Benutzerhandbuch Proyector de Multimedia MP8640 Manual del Usuario MP8640 Proiettore Multimediale Manuale dell'operatore MP8640 Bruksanvisning for multimediaprojektor MP8640 Multimedia Projector Gebruiksaanwijzing © 3M 1997 3M™ Multimedia Projector - 3M MP8640 | Operation Guide - Page 2
Section 6: Maintenance 23 6.1 Cleaning the Air Filter 23 6.2 Message Table ...23 6.3 Lamp ...24 6.4 When You Think Something Is Wrong 25 Section 7: Technical Specifications 26 7.1 Specifications ...26 7.2 Accessories ...26 7.3 Dimension Diagram ...27 3M™ Multimedia Projector MP8640 2 © 3M 1997 - 3M MP8640 | Operation Guide - Page 3
all ventilation openings free of any obstructions. 14. Always open the lens shutter when the projection lamp is on. SAVE THESE INSTRUCTIONS The information contained in this manual will help you operate and maintain your 3M MP8640 Multimedia Projector. © 3M 1997 3M™ Multimedia Projector MP8640 3 - 3M MP8640 | Operation Guide - Page 4
Thank you for choosing 3M Multimedia Projector equipment. This product has been produced in accordance with 3M's highest quality and safety standards to ensure smooth and trouble free use in the years to come. For optimum performance, please follow the operating instructions carefully. We hope you - 3M MP8640 | Operation Guide - Page 5
unpack and verify that you have all of the items shown below in Figure 1.1. MP8640 Multimedia Projector Remote Control Transmitter (batteries included) Power Cord 110V - US 220V - UK, Europe 3-Conductor Video/Audio Cable VGA Cable (15-15 pin M/M) Adapter with dip switch Figure 1.1 Inventory - 3M MP8640 | Operation Guide - Page 6
push of a button on the remote control keypad or control panel keypad. The MP8640 Multimedia Projector offers the following features: • 650 lumens (A highly efficient optical system with a metal halide lamp ensures high brightness) • SVGA resolution (3 separate 800 x 600 LCD panels are used for the - 3M MP8640 | Operation Guide - Page 7
AC IN socket Connect the provided power cord. RGB input terminal RGB input terminal AUDIO input terminal Stereo mini jack RGB output terminal RGB output terminal AUDIO output terminal (RGB/VIDEO) Stereo mini jack CONTROL terminal D-sub 15pin terminal © 3M 1997 3M™ Multimedia Projector MP8640 7 - 3M MP8640 | Operation Guide - Page 8
power off to all devices before making connections. Never plug anything into the projector or computer while any device is in operation. The MP8640 must be powered make note of the current Manufacturer and Model); select "Standard Mouse Type" for 3M™ Multimedia Projector MP8640 8 © 3M 1997 - 3M MP8640 | Operation Guide - Page 9
2.4 Remote Control Transmitter Identification STANDBY / ON button Power ON/OFF button. OFF sets the unit in standby mode. ZOOM button Adjusts down on it. 2. Insert the batteries as illustrated inside the battery compartment. 3. Replace the cover. © 3M 1997 3M™ Multimedia Projector MP8640 9 - 3M MP8640 | Operation Guide - Page 10
Section 3: Basic Operations 3.1 Installation Example of the Multimedia projector and screen installation. Determine picture size and projection distance as illustrated below. Minimum Zoom that the image is the proper size at the proper distance. 3M™ Multimedia Projector MP8640 10 © 3M 1997 - 3M MP8640 | Operation Guide - Page 11
section 2.3. 7 Press the INPUT button on the projector or the INPUT SELECT (VIDEO or RGB) button on the remote to select the source of the signal to be projected the last selected input source before power was turned off. Example on-screen display © 3M 1997 3M™ Multimedia Projector MP8640 11 - 3M MP8640 | Operation Guide - Page 12
the MAIN POWER switch before pressing the STANDBY/ON button. After the STANDBY/ON button is pressed, the fan rotates for about 1 minute to cool the projector. 3 Close the lens shutter. • Push up on the lens cover switch to close. 4 Disconnect cables. 3M™ Multimedia Projector MP8640 12 © 3M 1997 - 3M MP8640 | Operation Guide - Page 13
RESET 1 1 Press the MENU ( ) buttons on projector or remote control MENU button. • On-screen menus are displayed on VIDEO2, RGB1 and RGB2 input terminals. Adjustments are saved after power off. To return to the factory default setting: √ Highlight 3M 1997 3M™ Multimedia Projector MP8640 13 - 3M MP8640 | Operation Guide - Page 14
then lock the foot adjusters. For fine adjustments, rotate the foot adjusters. Caution: Do not unlock the foot adjusters if the projector is not supported. If the foot adjusters do not lock completely, turn the foot adjusters slightly before locking. 3M™ Multimedia Projector MP8640 14 © 3M 1997 - 3M MP8640 | Operation Guide - Page 15
N=Normal; B=stronger Blue Note: • TINT cannot be adjusted with a PAL video signal input. • TINT, COLOR and SHARPNESS cannot be adjusted with an RGB signal input. • V. POSIT, H. POSIT, H. PHASE and H. SIZE cannot be adjusted with a VIDEO signal input. © 3M 1997 3M™ Multimedia Projector MP8640 15 - 3M MP8640 | Operation Guide - Page 16
RGB 2 terminal. Selects the VIDEO 1 terminal. Selects the VIDEO 2 terminal. Selects the TEST PATTERN. (Start up screen). SYSTEM Selects the video signal format. 4.5 IMAGE The IMAGE INVERT H&V : INVERT SETUP INPUT IMAGE OPT. REVEAL FAST MEDIUM SLOW 3M™ Multimedia Projector MP8640 16 © 3M 1997 - 3M MP8640 | Operation Guide - Page 17
600 1024 X 768 Option Normal Large Normal Large Normal Large Video Normal Large Description Displays in 640x480 window centered on screen. stick switch. Displays video in a 640x480 window centered on screen. Expands video to fill 800x600 screen © 3M 1997 3M™ Multimedia Projector MP8640 17 - 3M MP8640 | Operation Guide - Page 18
timer (in minutes). Selects the language on-screen menu. (English, French, German, Spanish, Italian, Norwegian, Dutch) Selects how long projector will stay on, if no input is detected. Select 0 to disable this function. Enable/Disable Startup Screen. 3M™ Multimedia Projector MP8640 18 © 3M 1997 - 3M MP8640 | Operation Guide - Page 19
signal (Red) 9 N.C 2 Video signal (Green) 10 Ground 3 Video signal (Blue) 11 Ground 4 N.C 12 N.C 5 N.C 13 Horizontal/Composite sync signal 6 Ground (for R) 14 Vertical sync signal 7 Ground (for G) 15 N.C 8 Ground (for B) D-sub 15pin (Male) © 3M 1997 3M™ Multimedia Projector MP8640 19 - 3M MP8640 | Operation Guide - Page 20
-interlaced Note: 2 V: Positive Note 1: MAC adapter is necessary to set the resolution mode. Projector is compatible with 13 inch mode and 16 inch mode. Set all dip switches OFF except those properly because they are not compatible with the projector. 3M™ Multimedia Projector MP8640 20 © 3M 1997 - 3M MP8640 | Operation Guide - Page 21
: Turn off the power to both the projector and computer before connecting. Connect the computer to the control terminal of the projector using the appropriate cable. PS/2 mouse D-sub 15pin (Female) PS/2 port ADB mouse D-sub 15pin (Female) © 3M 1997 3M™ Multimedia Projector MP8640 ADB port 21 - 3M MP8640 | Operation Guide - Page 22
) D-sub 15pin (Female) Serial Mouse cable b. RS 232 Control Cable (not included with basic packout) This cable is used to directly control the projector without using the Remote Control or Operator's Panel. D-sub 15pin (Female) (male) RS-232 cable 3M™ Multimedia Projector MP8640 22 © 3M 1997 - 3M MP8640 | Operation Guide - Page 23
Cool projector by power off for 20 minutes. Ensure filter is closed. Let projector cool 20 minutes. Check air flow and filter. call your dealer *When the LAMP indicator lights or blinks, turn the power off. If the problem persists, contact your dealer. © 3M 1997 3M™ Multimedia Projector MP8640 - 3M MP8640 | Operation Guide - Page 24
aside.. 6.3.2 Retaining screws: Use a standard screwdriver to unscrew the lamp module retaining screws. Note: There are three lamp module screws that must be loosened. These screws are self-containing screws that cannot be removed from the lamp module. 3M™ Multimedia Projector MP8640 24 © 3M 1997 - 3M MP8640 | Operation Guide - Page 25
on. • The power cord is disconnected. • Turn the MAIN POWER switch on. • Insert the power cord into an AC socket. No picture and sound • The setting of the input source is not correct. • Set the correct input using the input select button of the projector or the remote control. •RGB/Video/Audio - 3M MP8640 | Operation Guide - Page 26
Section 7: Technical Specifications 7.1 Specifications Note: All specifications are subject to change without notice. Product name Multimedia projector Model Name MP8640 Display system 3 beam poly-silicon LCD Liquid crystal panel Panel size Drive system Number of pixels 1.3 inches (33 mm) - 3M MP8640 | Operation Guide - Page 27
7.3 Dimension Diagram © 3M 1997 3M™ Multimedia Projector MP8640 27 - 3M MP8640 | Operation Guide - Page 28
N6A 4T1 3M Mexico, S.A. de C.V. Apartado Postal 14-139 Mexico, D.F. 07000 Mexico 3M Europe Boulevard de l'Oise 95006 Cerge Pontoise Cedex France Printed on 50% recycled wastepaper, including 10% post-consumer Litho in USA © 3M 1997 78-6970-7912-3 3M™ Multimedia Projector MP8640 28 © 3M 1997
-
 1
1 -
 2
2 -
 3
3 -
 4
4 -
 5
5 -
 6
6 -
 7
7 -
8
-
9
-
10
-
11
-
12
-
13
-
14
-
15
-
16
-
17
-
18
-
19
-
20
-
21
-
22
-
23
-
24
-
25
-
26
-
27
-
28
 |
 |
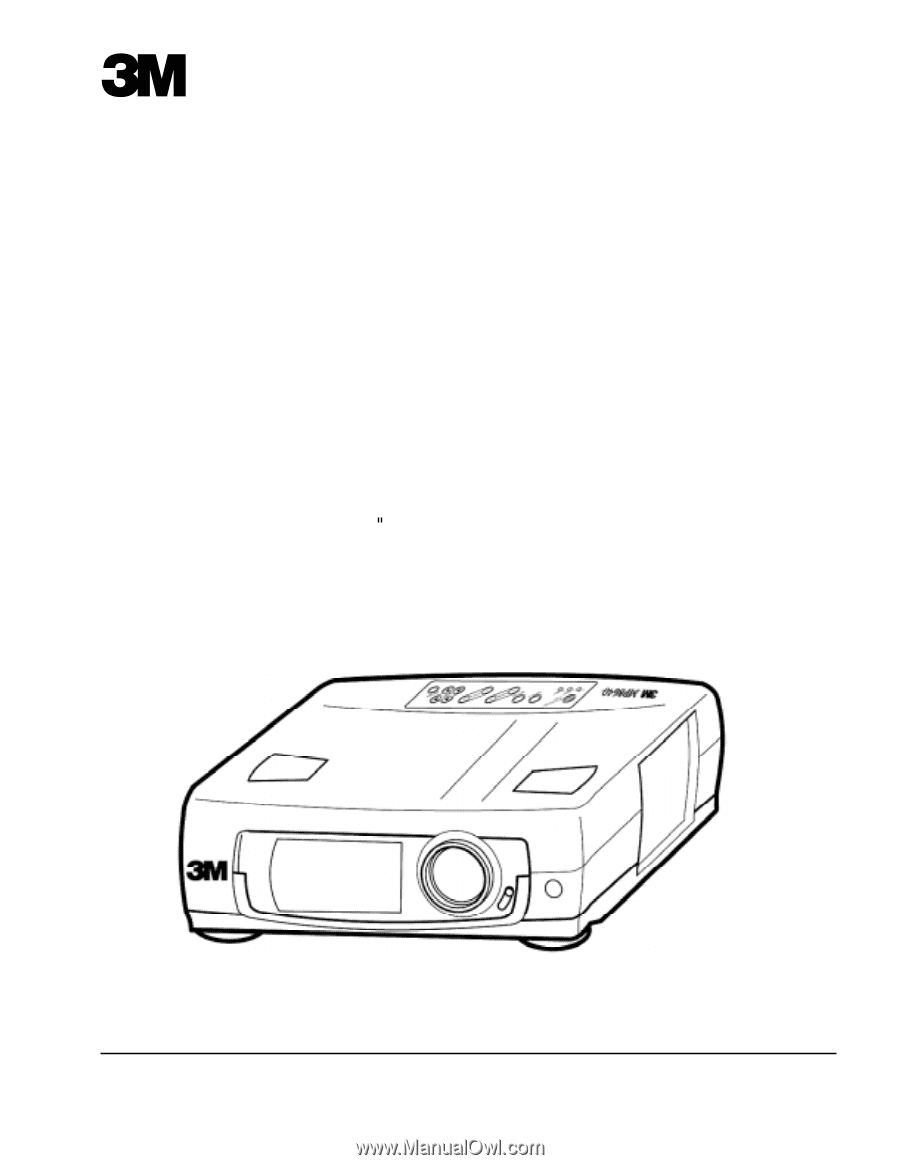
MP8640 Multimedia Projector
Operator's Guide
MP8640 Projecteur multimédia Guide de l'opérateur
MP8640 Multimedia-Projektor Benutzerhandbuch
Proyector de Multimedia MP8640 Manual del Usuario
MP8640 Proiettore Multimediale Manuale dell'operatore
MP8640 Bruksanvisning for multimediaprojektor
MP8640 Multimedia Projector Gebruiksaanwijzing