Acer Aspire 4925 Acer Aspire User's Guide - Page 89
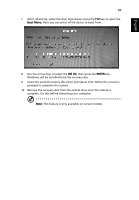
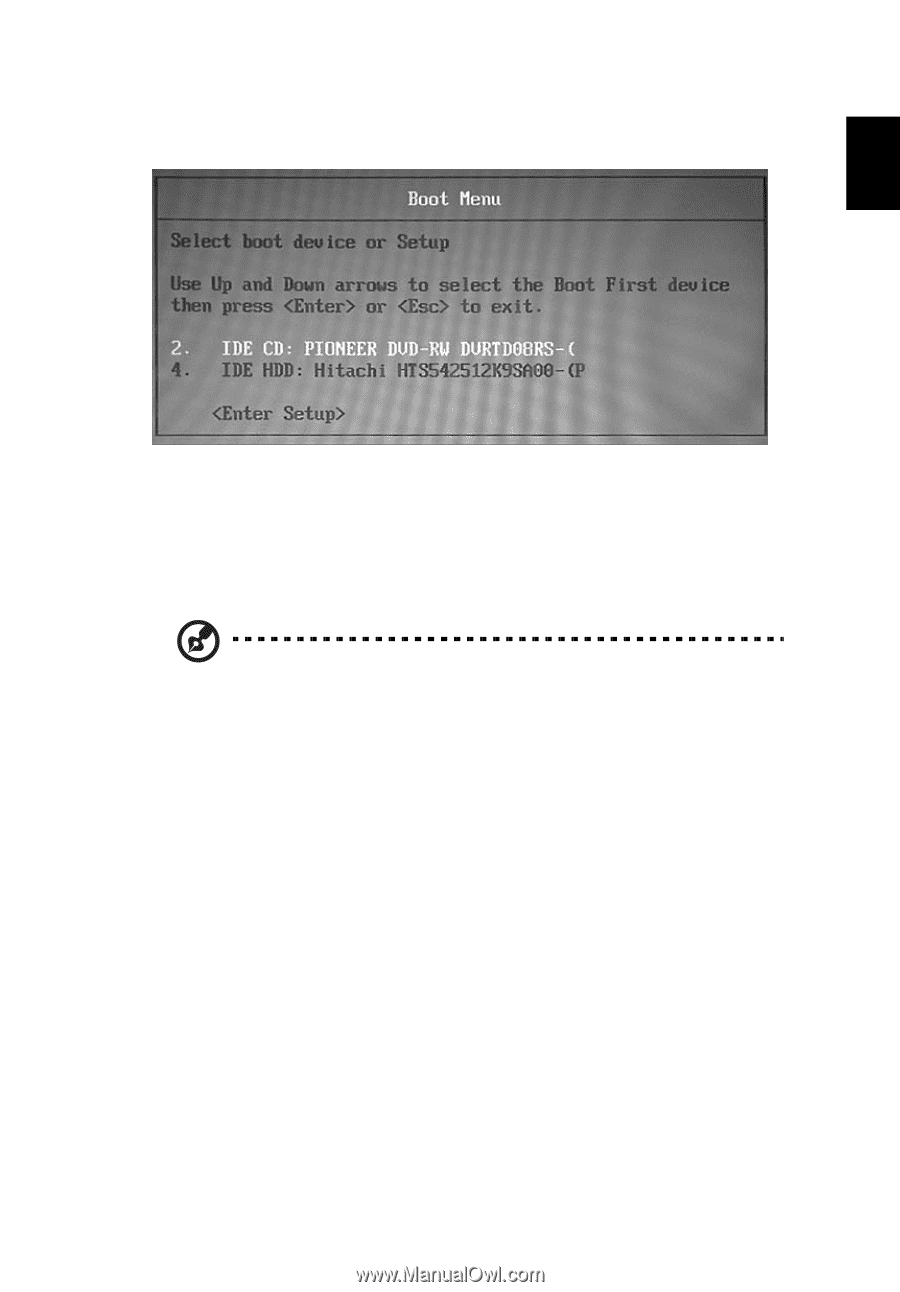
Boot Menu, IDE CD, ENTER, prompts to complete the restore.
 |
View all Acer Aspire 4925 manuals
Add to My Manuals
Save this manual to your list of manuals |
Page 89 highlights
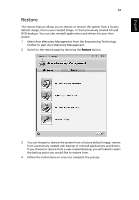
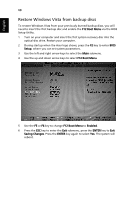
English 69 7 After rebooting, when the Acer logo shows, press the F12 key to open the Boot Menu. Here you can select which device to boot from. 8 Use the arrow keys to select the IDE CD, then press the ENTER key. Windows will be installed from the recovery disc. 9 Insert the second recovery disc when prompted, then follow the onscreen prompts to complete the restore. 10 Remove the recovery disc from the optical drive once the restore is complete. Do this before rebooting your computer. Note: This feature is only available on certain models.
-
 1
1 -
2
-
3
-
4
-
5
-
6
-
7
-
8
-
9
-
10
-
11
-
12
-
13
-
14
-
15
-
16
-
17
-
18
-
19
-
20
-
21
-
22
-
23
-
24
-
25
-
26
-
27
-
28
-
29
-
30
-
31
-
32
-
33
-
34
-
35
-
36
-
37
-
38
-
39
-
40
-
41
-
42
-
43
-
44
-
45
-
46
-
47
-
48
-
49
-
50
-
51
-
52
-
53
-
54
-
55
-
56
-
57
-
58
-
59
-
60
-
61
-
62
-
63
-
64
-
65
-
66
-
67
-
68
-
69
-
70
-
71
-
72
-
73
-
74
-
75
-
76
-
77
-
78
-
79
-
80
-
81
-
82
-
83
-
 84
84 -
 85
85 -
 86
86 -
 87
87 -
 88
88 -
 89
89 -
 90
90 -
 91
91 -
 92
92 -
 93
93 -
 94
94 -
95
-
96
-
97
-
98
-
99
-
100
-
101
-
102
-
103
 |
 |
69
English
7
After rebooting, when the Acer logo shows, press the
F12
key to open the
Boot Menu
. Here you can select which device to boot from.
8
Use the arrow keys to select the
IDE CD
, then press the
ENTER
key.
Windows will be installed from the recovery disc.
9
Insert the second recovery disc when prompted, then follow the onscreen
prompts to complete the restore.
10
Remove the recovery disc from the optical drive once the restore is
complete. Do this before rebooting your computer.
Note:
This feature is only available on certain models.