Acer B1-740 User Manual - Page 34
Camera settings, Taking a photo
 |
View all Acer B1-740 manuals
Add to My Manuals
Save this manual to your list of manuals |
Page 34 highlights
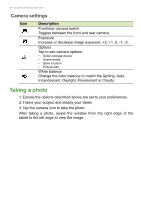
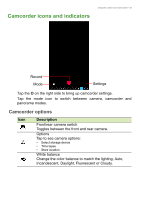
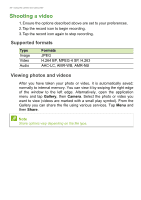
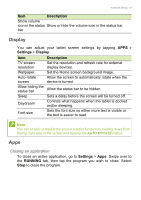
34 - Using the camera and camcorder Camera settings Icon Description Front/rear camera switch Toggles between the front and rear camera. Exposure Increase or decrease image exposure: +2, +1, 0, -1, -2. Options Tap to see camera options: • Select storage device • Scene mode • Store location • Picture size White balance Change the color balance to match the lighting: Auto, Incandescent, Daylight, Fluorescent or Cloudy. Taking a photo 1. Ensure the options described above are set to your preferences. 2. Frame your subject and steady your tablet. 3. Tap the camera icon to take the photo. After taking a photo, swipe the window from the right edge of the tablet to the left edge to view the image.
-
 1
1 -
2
-
3
-
4
-
5
-
6
-
7
-
8
-
9
-
10
-
11
-
12
-
13
-
14
-
15
-
16
-
17
-
18
-
19
-
20
-
21
-
22
-
23
-
24
-
25
-
26
-
27
-
28
-
 29
29 -
 30
30 -
 31
31 -
 32
32 -
 33
33 -
 34
34 -
 35
35 -
 36
36 -
 37
37 -
 38
38 -
 39
39 -
40
-
41
-
42
-
43
-
44
-
45
-
46
-
47
-
48
-
49
-
50
-
51
-
52
 |
 |
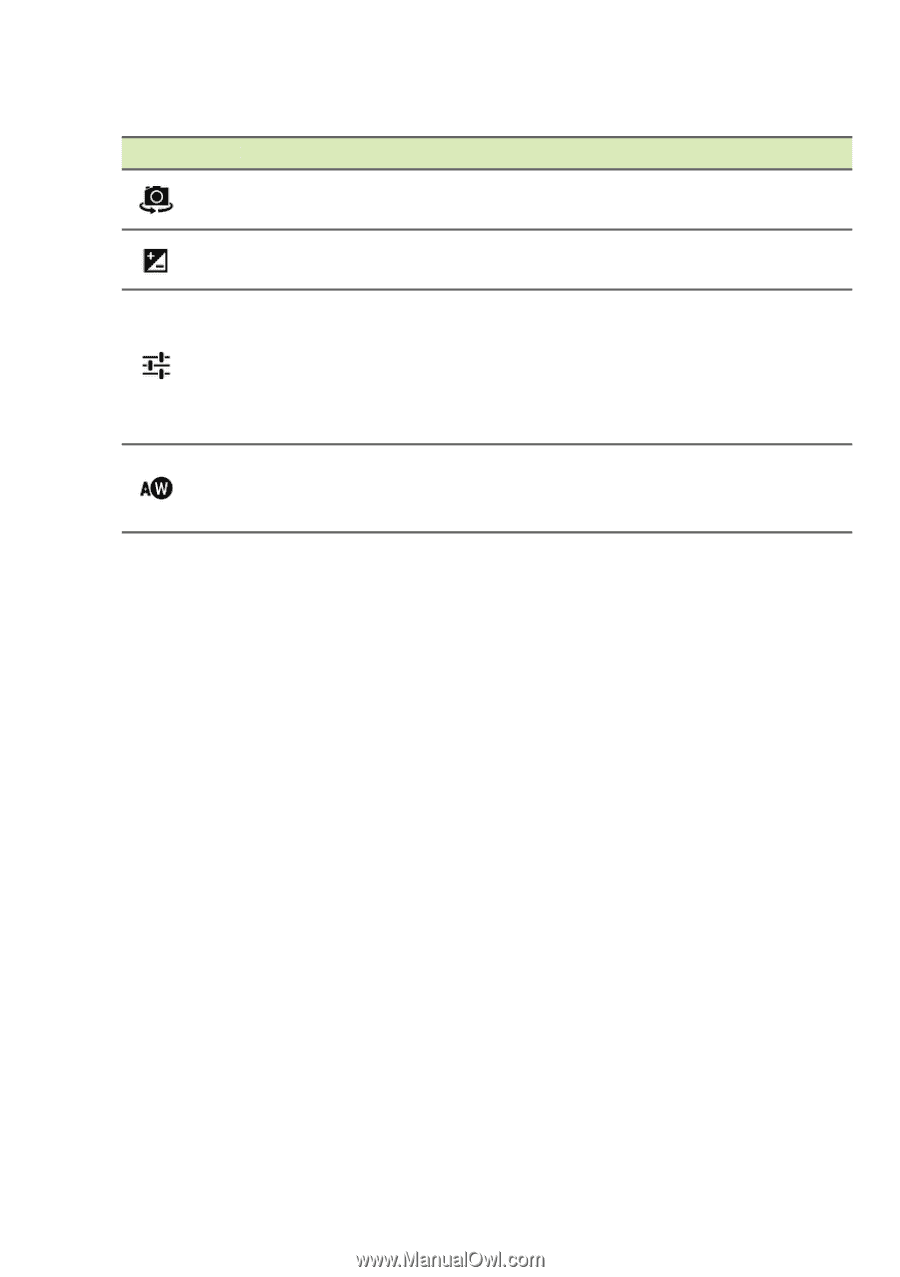
34 - Using the camera and camcorder
Camera settings
Icon
Description
Front/rear camera switch
Toggles between the front and rear camera.
Exposure
Increase or decrease image exposure: +2, +1, 0, -1, -2.
Options
Tap to see camera options:
•
Select storage device
•
Scene mode
•
Store location
•
Picture size
White balance
Change the color balance to match the lighting: Auto,
Incandescent, Daylight, Fluorescent or Cloudy.
Taking a photo
1.Ensure the options described above are set to your preferences.
2.Frame your subject and steady your tablet.
3.Tap the camera icon to take the photo.
After taking a photo, swipe the window from the right edge of the
tablet to the left edge to view the image.