Acer ED242QR User Manual - Page 21
The Function Picture
 |
View all Acer ED242QR manuals
Add to My Manuals
Save this manual to your list of manuals |
Page 21 highlights
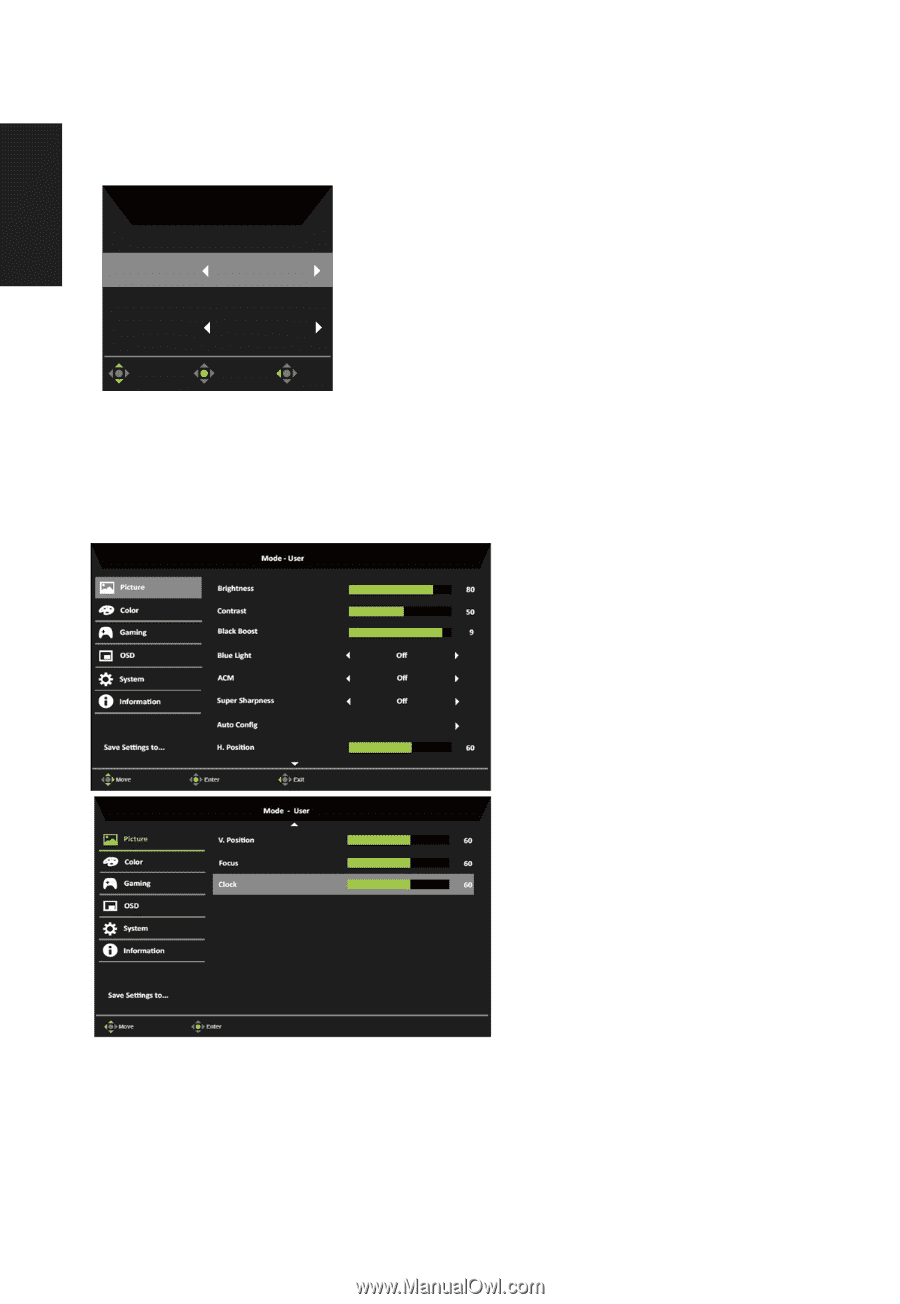
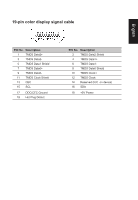
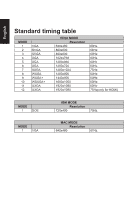
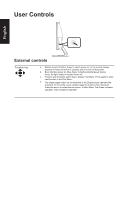
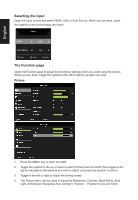
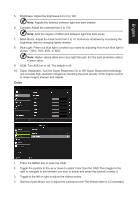
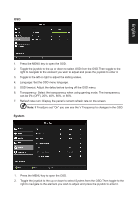
English Selecting the input Open the Input control and select HDMI, VGA or Auto Source. When you are done, press the joystick to exit current page and store. Input Input VGA Auto Source On Move Enter Exit The Function page Open the Function page to adjust the functions, settings which you want using the arrows. When you are done, toggle the joystick to the left or right to go back one level. Picture 1. Press the MENU key to open the OSD. 2. Toggle the joystick to the up or down to select Picture from the OSD.Then toggle to the right to navigate to the element you wish to adjust and press the joystick to enter it. 3. Toggle to the left or right to adjust the sliding scales. 4. The Picture menu can be used to adjust the Brightness, Contrast, Black Boost, Blue Light, ACM,Super Sharpness,Auto Config,H. Position, . Position,Focus and Clock.
-
 1
1 -
2
-
3
-
4
-
5
-
6
-
7
-
8
-
9
-
10
-
11
-
12
-
13
-
14
-
15
-
 16
16 -
 17
17 -
 18
18 -
 19
19 -
 20
20 -
 21
21 -
 22
22 -
 23
23 -
 24
24 -
 25
25 -
 26
26
 |
 |