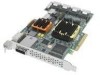
Adaptec 52445 Quick Start Guide - Page 6
Step 1 Install the Controller - cards
 |
UPC - 760884155653
View all Adaptec 52445 manuals
Add to My Manuals
Save this manual to your list of manuals |
Page 6 highlights
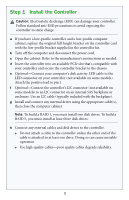
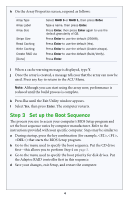
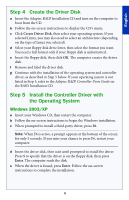
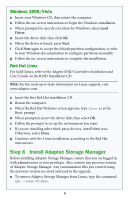
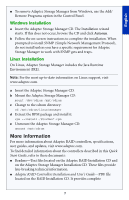
Step 1 Install the Controller ! Caution: Electrostatic discharge (ESD) can damage your controller. Follow standard anti-ESD precautions to avoid exposing the controller to static charge. a If you have a low-profile controller and a low-profile computer cabinet, replace the original full-height bracket on the controller card with the low-profile bracket supplied in the controller kit. b Turn off the computer and disconnect the power cord. c Open the cabinet. Refer to the manufacturer's instructions as needed. d Insert the controller into an available PCIe slot that's compatible with your controller and secure the controller bracket to the chassis. e Optional-Connect your computer's disk activity LED cable to the LED connector on your controller (not available on some models). Attach the positive lead to pin 1. f Optional-Connect the controller's I2C connector (not available on some models) to an I2C connector on an internal SAS backplane or enclosure. Use an I2C cable (typically included with the backplane). g Install and connect any internal drives using the appropriate cable(s), then close the computer cabinet. Note: To build a RAID 1, you must install two disk drives. To build a RAID 5, you must install at least three disk drives. h Connect any external cables and disk drives to the controller. ● Do not attach a cable to the controller unless the other end of the cable is attached to at least one drive. Doing so can cause unstable operation. ● Use high-quality cables-poor quality cables degrade reliability. 2
-
 1
1 -
 2
2 -
 3
3 -
 4
4 -
 5
5 -
 6
6 -
 7
7 -
 8
8 -
 9
9 -
 10
10 -
 11
11 -
 12
12 -
13
-
14
-
15
-
16
-
17
-
18
-
19
-
20
-
21
-
22
-
23
-
24
-
25
-
26
-
27
-
28
-
29
-
30
-
31
-
32
-
33
-
34
-
35
-
36
-
37
-
38
-
39
-
40
-
41
-
42
-
43
-
44
-
45
-
46
-
47
-
48
-
49
-
50
-
51
-
52
-
53
-
54
-
55
-
56
-
57
-
58
-
59
-
60
-
61
-
62
-
63
-
64
-
65
-
66
-
67
-
68
-
69
-
70
-
71
-
72
-
73
-
74
-
75
-
76
-
77
-
78
-
79
-
80
-
81
-
82
-
83
-
84
-
85
-
86
 |
 |