Asus AP2000 Hardware Reference - Page 17
Front Cooling Fans, Rear Cooling Fan Control Board Settings
 |
View all Asus AP2000 manuals
Add to My Manuals
Save this manual to your list of manuals |
Page 17 highlights
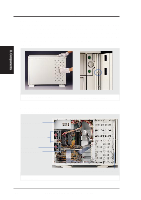
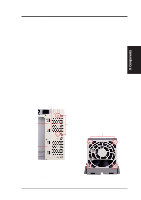
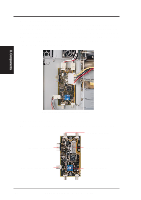
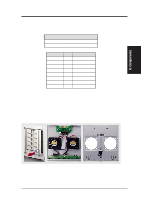
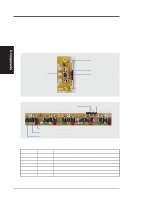
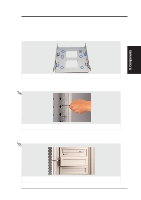
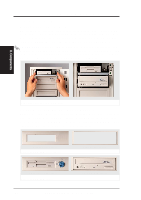
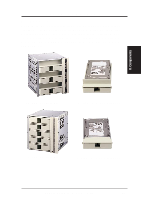
II. Components II. System Components Rear Cooling Fan Control Board Settings The rear fan control board has DIP switches to allow controlling the number of fans and the control board. DIP Switch SET1 Fan control setting ON (momentarily) Reset Control Board OFF Normal (Default) SET2 SET3 ON ON ON ON ON OFF ON OFF OFF ON OFF ON OFF OFF OFF OFF SET4 ON OFF ON OFF ON OFF ON OFF Number of Fans 1 2 (Default) 3 4 5 6 7 8 Front Cooling Fans The hard disk drive fan module can be removed by using a small screw driver to push the eject lever in the fan module. The eject lever is behind a small hole as circled below. There are two individual 2 1/4 inch (6cm) fans secured by four screws on each fan. The ASMA software will report an error message when any of these two fans malfunction. Removing the front The control boards mount with The front fan module frame fan module the component side face down AP2000 Hardware Reference Guide 17
-
 1
1 -
2
-
3
-
4
-
5
-
6
-
7
-
8
-
9
-
10
-
11
-
 12
12 -
 13
13 -
 14
14 -
 15
15 -
 16
16 -
 17
17 -
 18
18 -
 19
19 -
 20
20 -
 21
21 -
 22
22 -
23
-
24
-
25
-
26
-
27
-
28
-
29
-
30
-
31
-
32
-
33
-
34
-
35
-
36
-
37
-
38
-
39
-
40
 |
 |
