Asus N4L-VM DH N4L-VM DH User's Manual English Edition - Page 131
Read the License Agreement
 |
View all Asus N4L-VM DH manuals
Add to My Manuals
Save this manual to your list of manuals |
Page 131 highlights
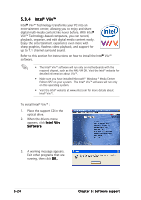
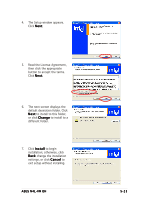
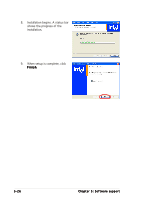
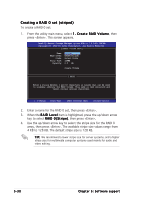
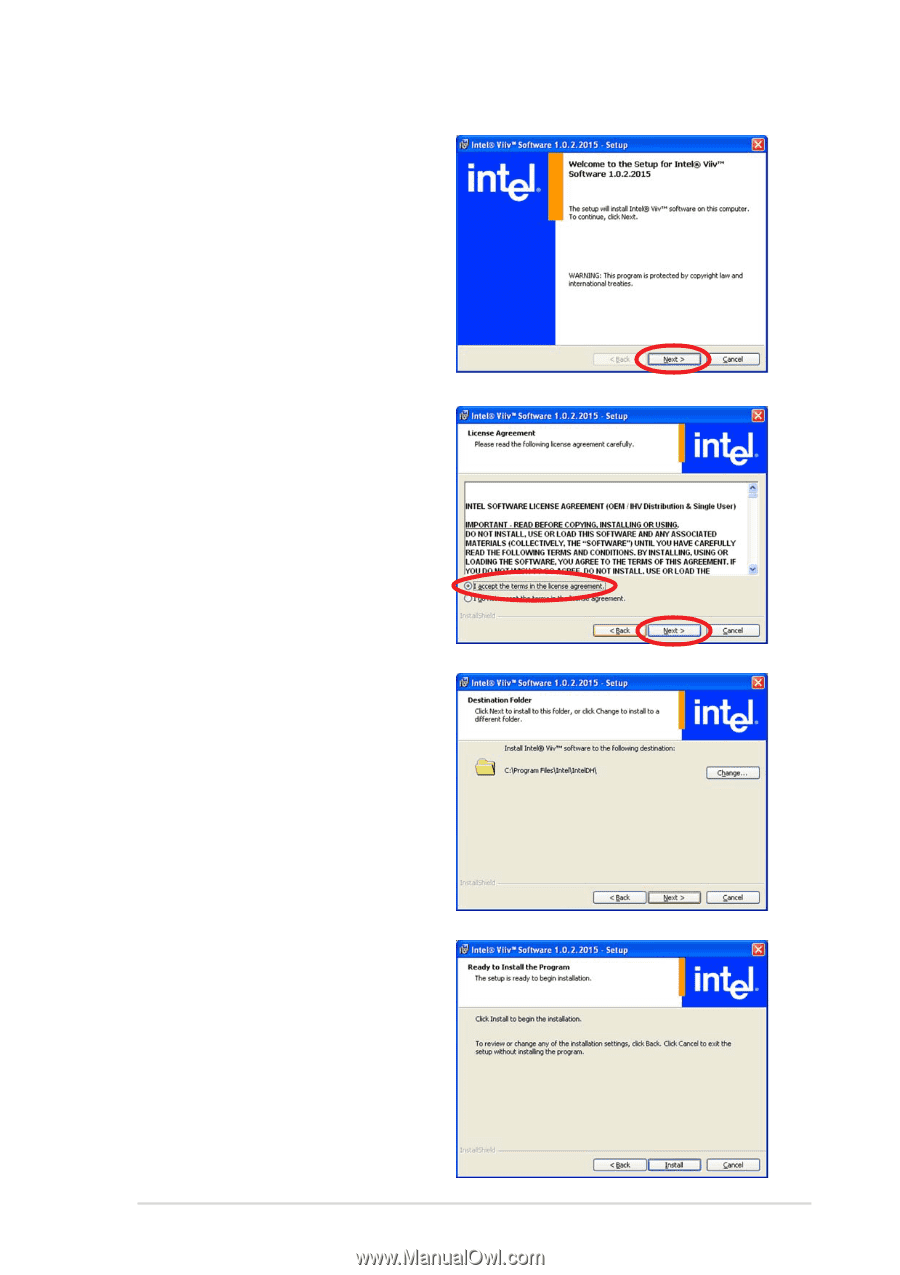
4. The Setup window appears. Click N e x t. 5. Read the License Agreement, then click the appropriate button to accept the terms. Click N e x t. 6. The next screen displays the default desination folder. Click N e x t to install to this folder, or click C h a n g e to install to a different folder. 7. Click I n s t a l l to begin installation; otherwise, click B a c k change the installation settings, or click C a n c e l to exit setup without installing. ASUS N4L-VM DH 5-25
-
 1
1 -
2
-
3
-
4
-
5
-
6
-
7
-
8
-
9
-
10
-
11
-
12
-
13
-
14
-
15
-
16
-
17
-
18
-
19
-
20
-
21
-
22
-
23
-
24
-
25
-
26
-
27
-
28
-
29
-
30
-
31
-
32
-
33
-
34
-
35
-
36
-
37
-
38
-
39
-
40
-
41
-
42
-
43
-
44
-
45
-
46
-
47
-
48
-
49
-
50
-
51
-
52
-
53
-
54
-
55
-
56
-
57
-
58
-
59
-
60
-
61
-
62
-
63
-
64
-
65
-
66
-
67
-
68
-
69
-
70
-
71
-
72
-
73
-
74
-
75
-
76
-
77
-
78
-
79
-
80
-
81
-
82
-
83
-
84
-
85
-
86
-
87
-
88
-
89
-
90
-
91
-
92
-
93
-
94
-
95
-
96
-
97
-
98
-
99
-
100
-
101
-
102
-
103
-
104
-
105
-
106
-
107
-
108
-
109
-
110
-
111
-
112
-
113
-
114
-
115
-
116
-
117
-
118
-
119
-
120
-
121
-
122
-
123
-
124
-
125
-
 126
126 -
 127
127 -
 128
128 -
 129
129 -
 130
130 -
 131
131 -
 132
132 -
 133
133 -
 134
134 -
 135
135 -
 136
136 -
137
-
138
-
139
-
140
-
141
-
142
-
143
-
144
-
145
-
146
-
147
-
148
 |
 |
ASUS N4L-VM DH
ASUS N4L-VM DH
ASUS N4L-VM DH
ASUS N4L-VM DH
ASUS N4L-VM DH
5-25
5-25
5-25
5-25
5-25
4.
The Setup window appears.
Click Next
Next
Next
Next
Next.
5.
Read the License Agreement,
then click the appropriate
button to accept the terms.
Click Next
Next
Next
Next
Next.
6.
The next screen displays the
default desination folder. Click
Next
Next
Next
Next
Next to install to this folder,
or click Change
Change
Change
Change
Change to install to a
different folder.
7.
Click Install
Install
Install
Install
Install to begin
installation; otherwise, click
Back
Back
Back
Back
Back change the installation
settings, or click Cancel
Cancel
Cancel
Cancel
Cancel to
exit setup without installing.