Asus Prodigy P4S Prodigy P4 User's Manual E1099 for English Version
Asus Prodigy P4S Manual
 |
View all Asus Prodigy P4S manuals
Add to My Manuals
Save this manual to your list of manuals |
Asus Prodigy P4S manual content summary:
- Asus Prodigy P4S | Prodigy P4 User's Manual E1099 for English Version - Page 1
® Prodigy Book Size Barebone System User's Guide - Asus Prodigy P4S | Prodigy P4 User's Manual E1099 for English Version - Page 2
by the digit before and after the period of the manual revision number. Manual updates are represented by the third digit in the manual revision number. For previous or updated manuals, BIOS, drivers, or product release information, contact ASUS at http://www.asus.com.tw or through any of the means - Asus Prodigy P4S | Prodigy P4 User's Manual E1099 for English Version - Page 3
Email: 150 Li-Te Road, Peitou, Taipei, Taiwan 112 +886-2-2894-3447 +886-2-2894-3449 [email protected] Technical Support MB/Others (Tel): Notebook (Tel): Desktop/Server (Tel): Support Fax: Support Email: Web Site: Newsgroup: +886-2-2890-7121 (English) +886-2-2890-7122 (English) +886-2-2890-7123 - Asus Prodigy P4S | Prodigy P4 User's Manual E1099 for English Version - Page 4
. This equipment generates, uses and can radiate radio frequency energy and, if not installed and used in accordance with manufacturer's instructions, may cause harmful interference to radio communications. However, there is no guarantee that interference will not occur in a particular installation - Asus Prodigy P4S | Prodigy P4 User's Manual E1099 for English Version - Page 5
Table of contents Disclaimer/Copyrights 2 ASUS contact information 3 Notices 4 Table of Contents 5 System package contents 6 About this guide 7 Chapter 1: System Introduction 9 1.1 Front panel features 10 1.2 Rear panel features 11 1.3 Internal features 12 Chapter 2: System Assembly 13 - Asus Prodigy P4S | Prodigy P4 User's Manual E1099 for English Version - Page 6
8) Motherboard Support CD 9) 1 UltraDMA/33/66 IDE Cable 10) 1 Floppy Cable 11) Powered-by ASUS name plate 12) 56K PCI Modem Card (optional) 13) TV Connector Module (optional) 14) 2 Foot Stands 15) 4 Rubber Footpads 16) Motherboard User's Manual 17) Prodigy Book Size Barebone System User's Guide If - Asus Prodigy P4S | Prodigy P4 User's Manual E1099 for English Version - Page 7
About this guide Audience This guide provides general information and installation instructions about the ASUS Prodigy Book Size Barebone System. This guide is intended for experienced users and integrators with hardware knowledge of personal computers. How this guide is organized This document - Asus Prodigy P4S | Prodigy P4 User's Manual E1099 for English Version - Page 8
8 - Asus Prodigy P4S | Prodigy P4 User's Manual E1099 for English Version - Page 9
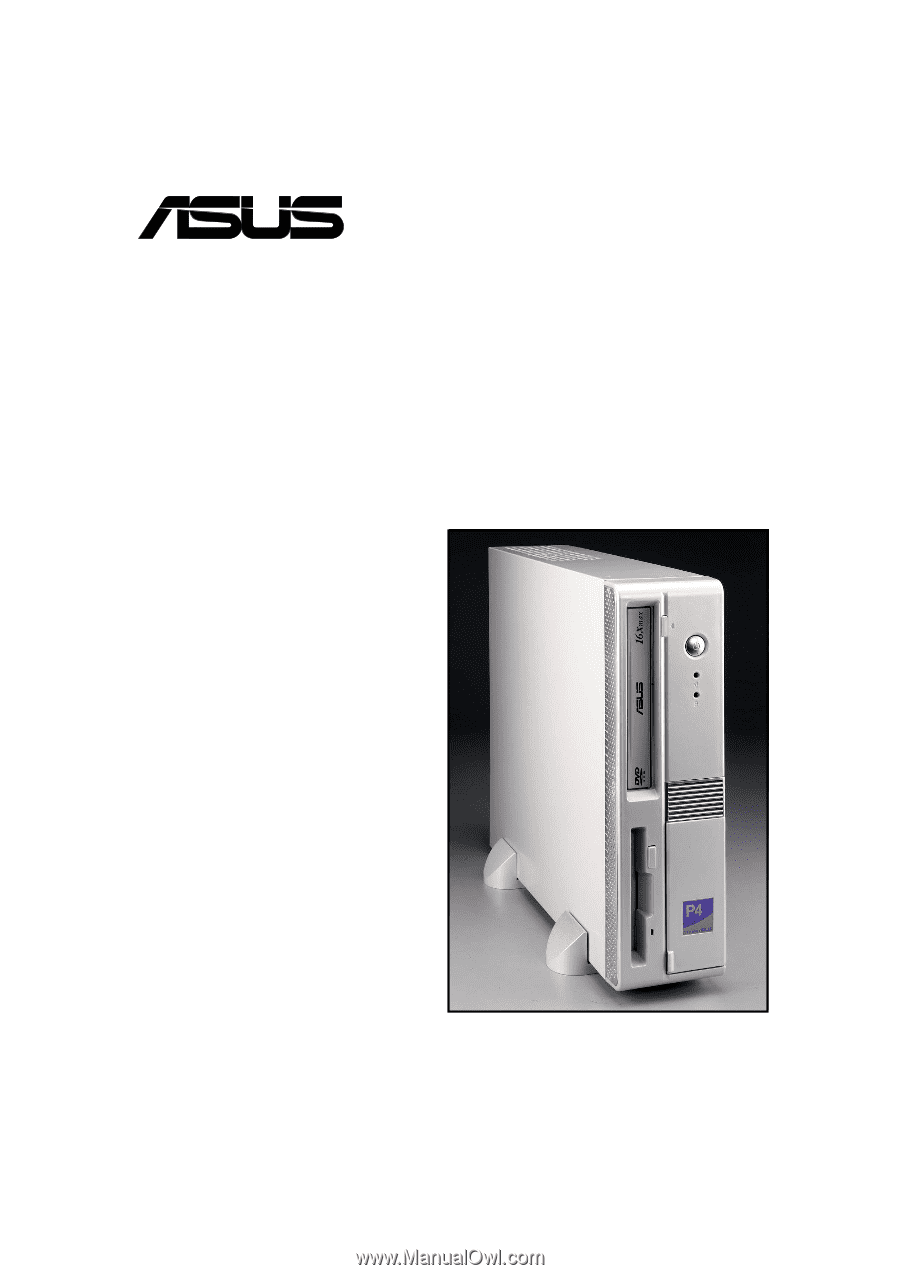
Chapter 1 All about the ASUS Prodigy Book Size Barebone System: the front and rear panel features, and the internal layout and design. System Introduction ASUS Prodigy Book Size Barebone System 9 - Asus Prodigy P4S | Prodigy P4 User's Manual E1099 for English Version - Page 10
1.1 Front Panel Features The ASUS Prodigy Book Size Barebone System includes the ASUS motherboard, a power supply, a CD-ROM LED CD-ROM / DVD Drive Floppy Drive I/O Panel, (behind door) "Powered by ASUS" name plate USB Ports (2&3) SPDIF out (optional) PCMCIA (optional) Microphone Headphone 6-pin - Asus Prodigy P4S | Prodigy P4 User's Manual E1099 for English Version - Page 11
1.2 Rear Panel Features The rear panel of the ASUS Prodigy Book Size Barebone System includes the standard PC99 I/O connectors for external devices, power supply (optional) NOTE The rear panel optional features may vary as shown in the above pictures. ASUS Prodigy Book Size Barebone System 11 - Asus Prodigy P4S | Prodigy P4 User's Manual E1099 for English Version - Page 12
1.3 Internal Features The figure below shows the system from above. The standard components are already installed. ASUS Motherboard CPU Cooler CD / DVD ROM Drive Power Supply PCI Riser Card 3.5" Floppy Drive 12 Chapter 1: System Introduction - Asus Prodigy P4S | Prodigy P4 User's Manual E1099 for English Version - Page 13
System Assembly Chapter 2 Step-by-step instructions on how to install basic components. IMPORTANT: ASUS has designed the Prodigy to accept an ASUS "Flex ATX" motherboard with dimensions between 19.1 x 22.9 cm, (or 7.5 x 9 inches). It is not advisable to install other boards. Before installing any - Asus Prodigy P4S | Prodigy P4 User's Manual E1099 for English Version - Page 14
2.1 Opening the chassis 1. Remove the two screws on each end of the back panel. This frees the the top cover from the chassis. 2. Seperate the case and top cover: use your thumbs to pull it off, from the front to the back, then lift it off the chassis. 3. Open the case, lifting the top cover. 14 - Asus Prodigy P4S | Prodigy P4 User's Manual E1099 for English Version - Page 15
4. Lift the link-up bar to gain access to the components. 5. Gently detach the three front bezel hooks from the case front so that it may be removed. 6. Remove the front bezel and set it aside. Prodigy Book Size Barebone System 15 - Asus Prodigy P4S | Prodigy P4 User's Manual E1099 for English Version - Page 16
2.2 Remove the disk drive assembly 1. Press your right thumb firmly down on the right edge of the chassis while gripping your fingers under both sides of the CD and floppy disk drive assembly. It will come loose. Firmly lift the assembly up and out. 2. Lift out the CD/floppy drive module. 3. Slide - Asus Prodigy P4S | Prodigy P4 User's Manual E1099 for English Version - Page 17
hard disk drive. Locate the P3 power cable and connect it to the hard disk drive. IDE Cable Power Cable (P3) (Red strip to Pin 1) Prodigy Book Size Barebone System 17 - Asus Prodigy P4S | Prodigy P4 User's Manual E1099 for English Version - Page 18
system memory 1. Set the CD and floppy disk drive assemply on the side of the chassis. 2. Locate the two DDR SDRAM DIMM sockets on the ASUS motherboard. 104 Pins ® 184-Pin DDR DIMM Sockets CAUTION A DDR DIMM is keyed with a notch so that it fits in only one direction. DO NOT - Asus Prodigy P4S | Prodigy P4 User's Manual E1099 for English Version - Page 19
cable if it is too short. 4. Lift the heatsink assembly up and out. CPU Fan power cable 5. Locate the CPU Socket 478 on the motherboard. Prodigy Book Size Barebone System 19 - Asus Prodigy P4S | Prodigy P4 User's Manual E1099 for English Version - Page 20
Socket Lever 6. Unlock the socket by pressing the socket lever sideways, then lift it up to 90 - 100 a 90°-100° angle. NOTE Make sure that the socket lever is lifted up to 90°-100° angle, otherwise the CPU does not fit in completely. 7. Position the CPU above the socket such that its marked - Asus Prodigy P4S | Prodigy P4 User's Manual E1099 for English Version - Page 21
retaining clips: hook on one side then press the spring retainer down on the other until it clicks into the slot. 4. Replace the front bezel. Prodigy Book Size Barebone System 21 - Asus Prodigy P4S | Prodigy P4 User's Manual E1099 for English Version - Page 22
5. Lower the link-up bar and snap it gently into place. 6. Replace the top cover. To make sure the inner tabs slide into place properly, lay the cover down flush on top of the chassis about one centimeter behind the edge of the front bezel. Then, slide the cover forward while pressing in on the - Asus Prodigy P4S | Prodigy P4 User's Manual E1099 for English Version - Page 23
Chapter 3 How to install optional components. Optional Procedures Prodigy Book Size Barebone System 23 - Asus Prodigy P4S | Prodigy P4 User's Manual E1099 for English Version - Page 24
3.1 Removing the PCI I/O cover The Prodigy chassis accommodates two PCI expansion card through a PCI riser card. Before installing a new PCI card, it is necessary to detach the I/O cover. 1. To remove the I/O - Asus Prodigy P4S | Prodigy P4 User's Manual E1099 for English Version - Page 25
plug the PCI card into the slot. 3. For card stability, make sure that the card bracket end goes into the cleft on the slot frame. Prodigy Book Size Barebone System 25 - Asus Prodigy P4S | Prodigy P4 User's Manual E1099 for English Version - Page 26
26 Chapter 3: Optional Procedures - Asus Prodigy P4S | Prodigy P4 User's Manual E1099 for English Version - Page 27
Chapter 4 Two system placement options help to maximize work space and afford more convenience. System Placement Prodigy Book Size Barebone System 27 - Asus Prodigy P4S | Prodigy P4 User's Manual E1099 for English Version - Page 28
4.1 Vertical placement Normally, the Prodigy Book Size Barebone System is placed upright on the desk. If you desire to position the system this way, fit the two foot stands on the bottom of the system chassis. A "Powered by ASUS" nameplate is supplied, too. Position the foot stands beneath the - Asus Prodigy P4S | Prodigy P4 User's Manual E1099 for English Version - Page 29
up in a horizontal position. The Prodigy is supplied with four rubber footpads to protect the chassis and the surface below. If you wish to place the system in the horizontal position, attach the four rubber footpads to the bottom of the chassis. Rubber footpad Prodigy Book Size Barebone System 29 - Asus Prodigy P4S | Prodigy P4 User's Manual E1099 for English Version - Page 30
30 Chapter 4: System Placement
-
 1
1 -
 2
2 -
 3
3 -
 4
4 -
 5
5 -
 6
6 -
 7
7 -
8
-
9
-
10
-
11
-
12
-
13
-
14
-
15
-
16
-
17
-
18
-
19
-
20
-
21
-
22
-
23
-
24
-
25
-
26
-
27
-
28
-
29
-
30
 |
 |
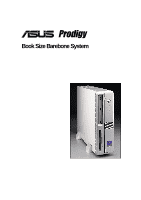
Book Size Barebone System
®
Prodigy
User’s Guide