Behringer DEQ1024 Manual - Page 8
Equalizer in the monitor path - ultragraph digital eq
 |
View all Behringer DEQ1024 manuals
Add to My Manuals
Save this manual to your list of manuals |
Page 8 highlights
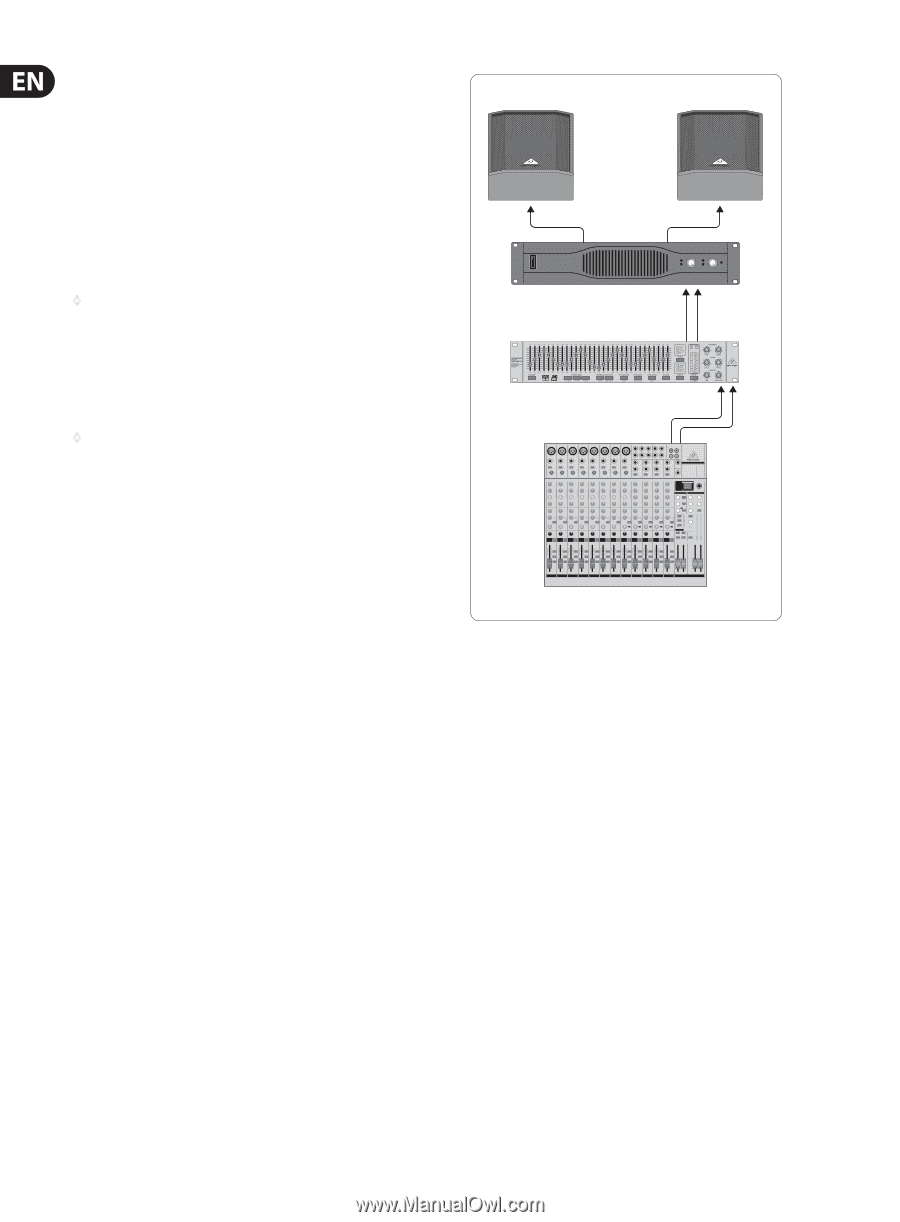
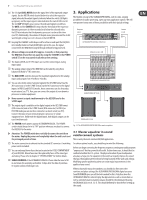
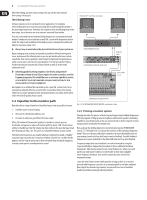
8 ULTRAGRAPH DIGITAL DEQ1024 After this editing, you have a basic setup; now, you can do some manual fine-tuning, if necessary. EUROLIVE F1520 Floor monitors The following is true: A linear response curve is not ideal for every application. For example, when dealing with voice transmission, being able to understand the speaker is the most important factor. Therefore, the response curve should drop away in the bass range, since the voice can carry subsonic noise and floor rumble. As a rule, extremely low and extremely high frequencies are transmitted much weaker. It makes no sense to burden a small P.A. system with frequencies below 50 Hz; the only result in addition to the higher power consumption would most likely be expensive repair costs. ◊ Always keep in mind where the physical limitations of your system are. Upon setting up your system as accurately as possible to the desired response curve, walk around the listening area so you can get an idea what your system sounds like from various positions. Don't forget to implement frequent pauses and a various music selection into your program. You will get a better feeling for the transmission characteristic of your system as well as of the room/ auditorium itself. EUROPOWER EP1500 Outputs L & R ULTRAGRAPH DIGITAL DEQ1024 ◊ Achieving good EQ settings requires a lot of time and patience! If extreme settings of your EQ are required in order to produce a useful frequency response, this should be seen as an alarm sign that a serious error or defect is present somewhere in your sound system, be it in room acoustics or in your equipment. Aux sends 1 & 2 An equalizer is no solution that can make up for a poor P.A. system, but it is an extremely useful and effective sound tool for musical fine tuning. Fine tuning often lets you create amazing results and improvements in acoustic penetration and in the overall quality of your sound. 3.2 Equalizer in the monitor path Basically, the on-stage volume level should be kept as low as possible, because: EURORACK UB2222FX-PRO Fig. 3.2: The ULTRAGRAPH DIGITAL DEQ1024 in a monitor system 1. it will be easier on your hearing, 2. there are less feedback problems, and 3. it's easier to achieve a good front-of-house sound. Often, the volume of the monitor speakers is raised as a concert goes on. Use breaks and pauses to reduce all monitor paths by about 3 dB. The musicians will not or hardly hear that the volume has been reduced, because during a break their hearing can relax a bit. This gives you valuable headroom in your system. Extremely low frequencies are usually faded out completely to avoid a "muddy" sound on stage caused by low-frequency feedback. Use the low-cut filter for this purpose and set it up in such a way so that extremely deep feedback disappears, creating a transparent-sounding monitor sound. 3.2.1 Priming a monitor system Priming describes the process of detecting and suppressing feedback frequencies. After placing and setting up your microphones and monitor speakers (including amplifiers), you should crank up the aux send controls on all the channels of your mixing console needed for the monitor mix. Now, activate the feedback detection system by pressing the FB INDICATOR switch (4). The fader LEDs (11) indicate the intensity of the individual frequency bands. Then, use the aux send master controls to increase the amplification on your mixing console until you first begin to notice feedback. Possible feedback frequencies are now indicated on the fader LEDs that are lit up most brightly. Frequency ranges that cause feedback can now be lowered by using the respective EQ faders. Repeat this procedure to detect additional feedback frequencies. After having worked on all critical frequencies, when you crank up the aux send master control, you will be able to hear only negligible multi-frequency feedback. Your monitor system has now achieved its maximum volume. Leave the other faders in the middle position as long as there is no need to proceed with frequency correction (e.g. measuring with a real-time analyzer). Now, adjust the desired stage volume, and you will have tons of available headroom without causing feedback problems.
-
 1
1 -
2
-
 3
3 -
 4
4 -
 5
5 -
 6
6 -
 7
7 -
 8
8 -
 9
9 -
 10
10 -
 11
11 -
 12
12
 |
 |