Belkin F8E888 F8E888 User Manual - Page 10
Step 3, Step 4
 |
View all Belkin F8E888 manuals
Add to My Manuals
Save this manual to your list of manuals |
Page 10 highlights
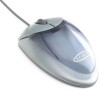
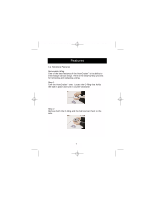
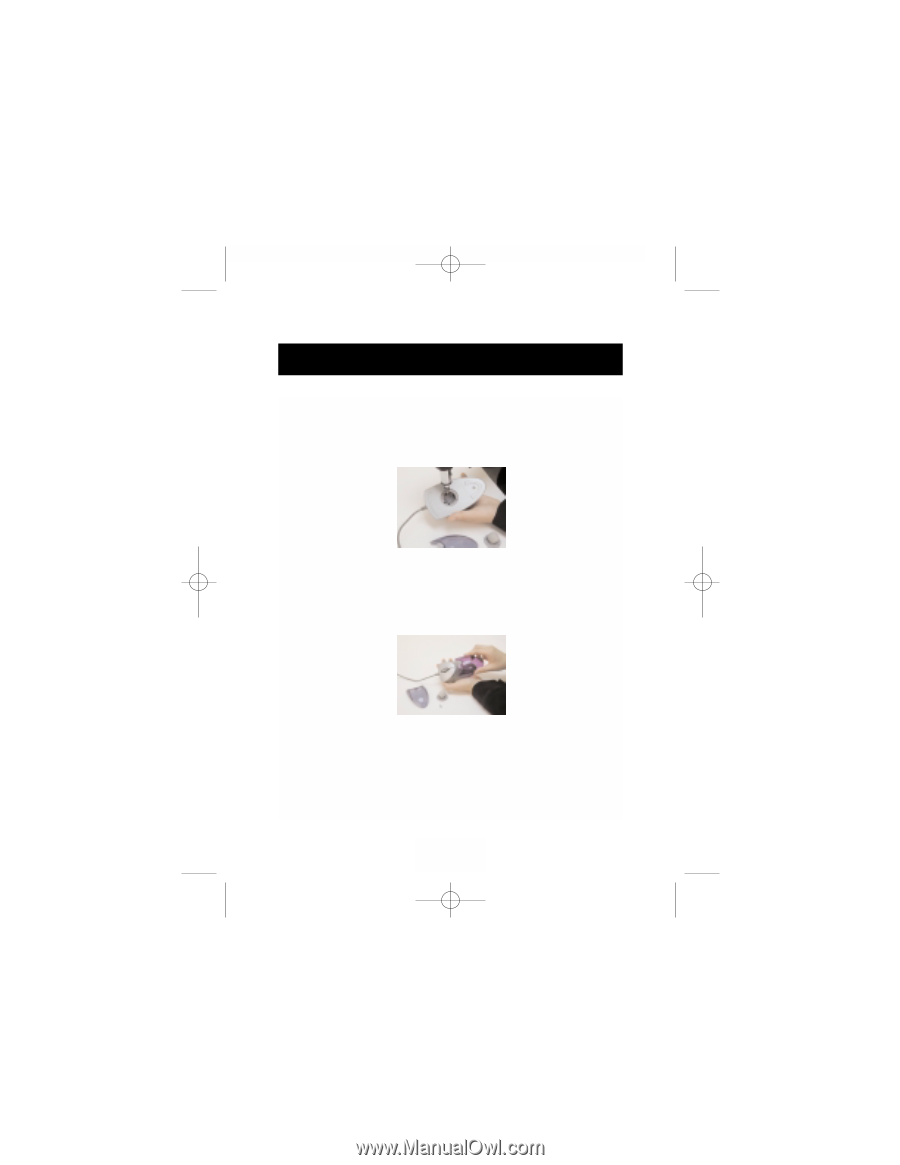
P73356-F8E888-Aerocrsr-man.qxd 1/14/01 2:10 PM Page 8 Features (continued) Step 3 Inside of the ball cage is a screw. Use a Phillips Head screwdriver to remove the screw (turn counter-clockwise). Take the screw out of the cage and set it to the side. Step 4 Now, remove the wing by sliding it back away from the main body of the mouse. Replace with the new wing of your choice and follow the steps above in reverse order to reassemble the AeroCruiser™. 8
-
 1
1 -
2
-
3
-
4
-
 5
5 -
 6
6 -
 7
7 -
 8
8 -
 9
9 -
 10
10 -
 11
11 -
 12
12 -
 13
13 -
 14
14
 |
 |
Features
(continued)
8
Step 3
Inside of the ball cage is a screw.
Use a Phillips Head
screwdriver to remove the screw (turn counter-clockwise).
Take
the screw out of the cage and set it to the side.
Step 4
Now, remove the wing by sliding it back away from the main
body of the mouse.
Replace with the new wing of your choice
and follow the steps above in reverse order to reassemble the
AeroCruiser
™
.
P73356-F8E888-Aerocrsr-man.qxd
1/14/01
2:10 PM
Page 8