Beltronics RX75 Owner's Manual - Page 4
Quick Reference Guide, Controls and Features - installation
 |
UPC - 065789230758
View all Beltronics RX75 manuals
Add to My Manuals
Save this manual to your list of manuals |
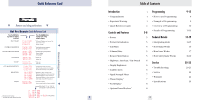
Page 4 highlights
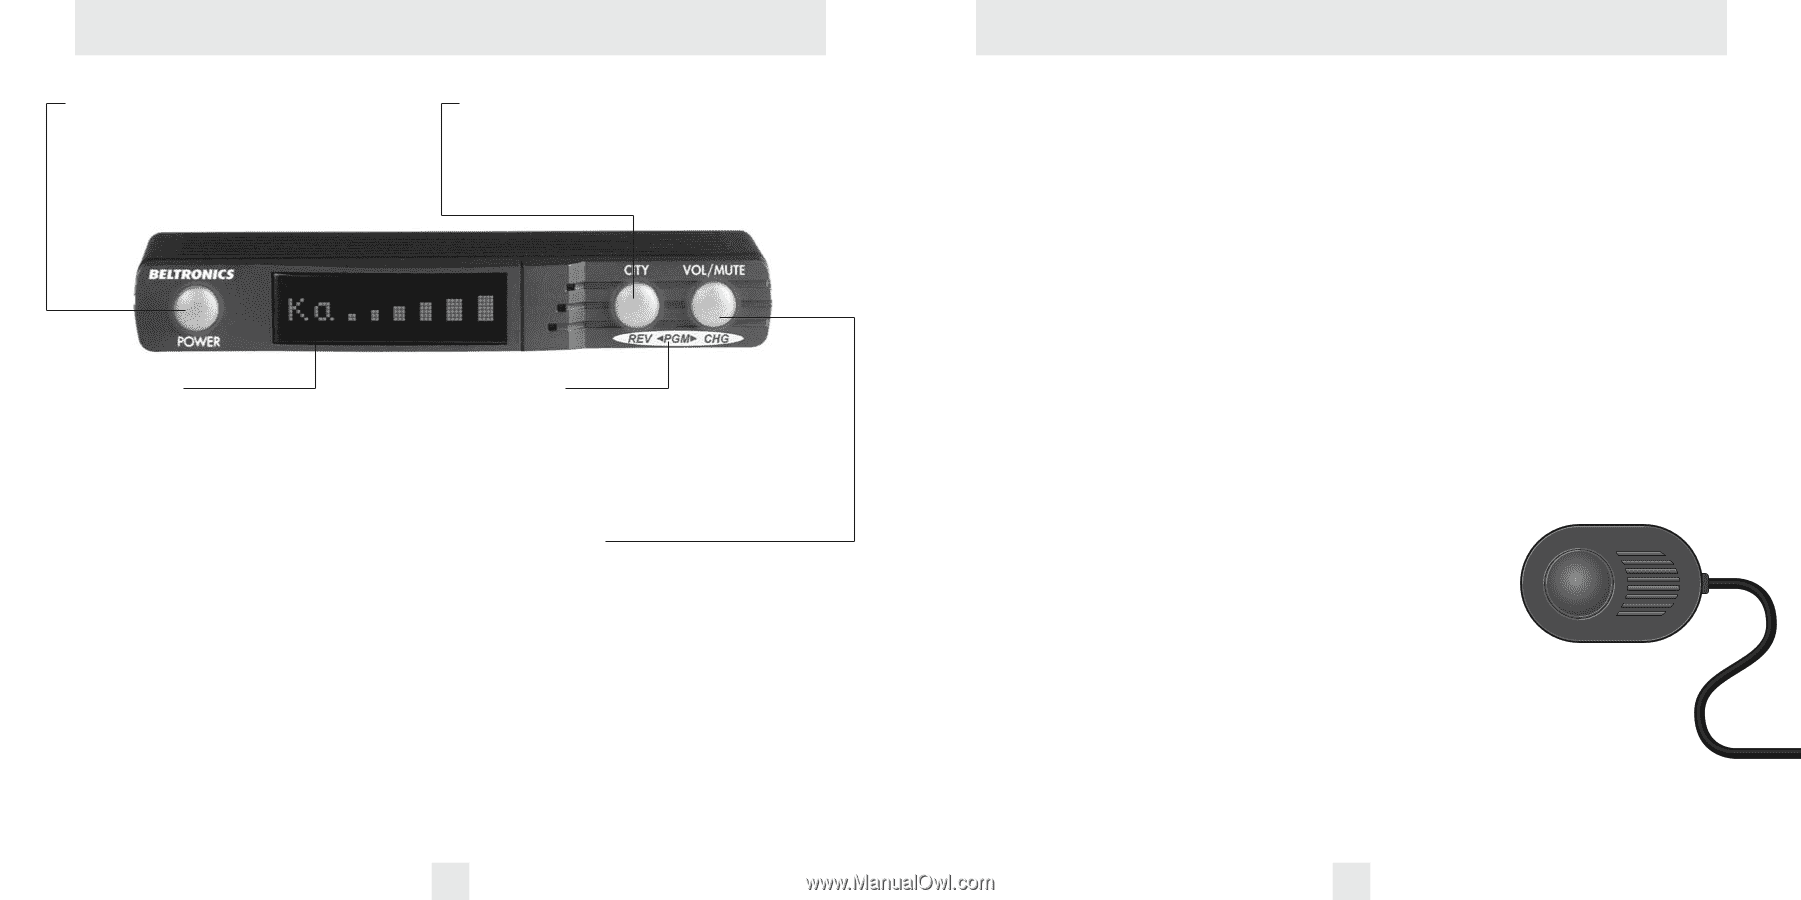
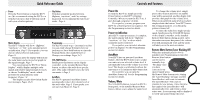
Quick Reference Guide Power Press the Power button to turn the RX75 on. (We recommend wiring the RX75 to a switched circuit so that it will turn on/off with your vehicles ignition). City Button Switches sensitivity modes between Highway, AutoScan™, and City settings. In general, we recommend the AutoScan™ mode. Page 6. Matrix Display The RX75's display will show "Highway," "AutoScan," or "City" as its standard poweron indication. Page 5. If you prefer, you can choose other power-on indications. Page 11. During an alert, the display will indicate the radar band, and a precise bar graph for the signal strength. Page 7. You can program the RX75 for Threat Display™, which displays multiple radar signals and relative signal strength for each, or choose TechDisplay™ mode, which provides the actual numeric radar frequency. Pages 7-8. The display can also show Safety Radar text messages. Pages 18-19. Programming The RX75 is ready to go - just turn it on. But you can easily change 8 features for your preferences. Press both buttons to enter the Program Mode, then easily Review or Change your settings. Pages 9-13. VOL/MUTE Button Briefly press this button on the display controller, or the standard Remote Mute button, to silence the audio for a specific alert. (The audio will alert you to the next encounter.) Page 5. AutoMute The RX75's patented AutoMute feature automatically reduces the volume level of the audio alert. Page 5. If you prefer, you can turn AutoMute off. Page 9. 4 Controls and Features Power On To turn the RX75 on, simply press the Power button on the RX75's Display/ Controller. When you turn the RX75 on, it goes through a sequence of alerts. If you prefer, you may program your RX75 for a shorter power-on sequence. See the Programming section for details. Power-on indication After RX75's start-up sequence is complete, the matrix display will show "Highway," "AutoScan," or "City" to show which sensitivity mode is selected. If you prefer, you can select alternate power-on displays. See the Programming section for details. AutoMute Your RX75 has our patented AutoMute feature. After the RX75 alerts you to a radar encounter at your selected volume level, it automatically reduces the volume to a lower level. This keeps you informed without the annoyance of a continuous full-volume alert. If you prefer, you can turn the AutoMute feature off. See the Programming section for details. Volume/Mute The VOL/MUTE Button, located on RX75's front panel, or the installed Remote Mute button, allows you to adjust the audio level. To change the volume level, simply press either button and hold. An audible tone will be generated, and the display will provide a bar graph for the volume level. When your preferred audio level is reached, simply release the button. Your RX75 stores this setting in memory, even when the power is turned off. To mute the audio for a single specific signal, briefly press the VOL/MUTE button on the display controller, or the installed Remote Mute Button during an alert. After that radar encounter has passed, the volume level will automatically reset and the audio will alert you to the next encounter. Remote Mute Button/Laser Blocking Off When the optional Laser Pro 904 is installed, (see Programming section) the Remote Mute button can be used to manually stop "blocking" once you have corrected your speed. Simply press the Remote Mute button twice during the "Laser Blocking" message, and the Laser Blocker's will cease to transmit. The Laser Blocker's will cease to transmit for one minute. Once this time has expired, the Laser Blocker's will automatically reset, and return to their active state. A reset message will be displayed to verify and acknowledge the reset. 5
-
 1
1 -
 2
2 -
 3
3 -
 4
4 -
 5
5 -
 6
6 -
 7
7 -
 8
8 -
 9
9 -
 10
10 -
11
-
12
-
13
-
14
 |
 |