Biostar M7VIP M7VIP user's manual - Page 44
Step 4: Install PAM Utility
 |
View all Biostar M7VIP manuals
Add to My Manuals
Save this manual to your list of manuals |
Page 44 highlights
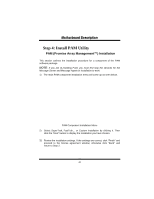
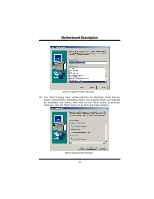
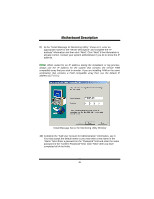
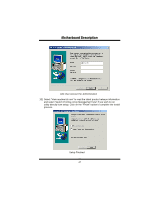
MMootthheerrbbooaarrdd DDeessccrriippttiioonn Step 4: Install PAM Utility PAM (Promise Array Management™) Installation This section outlines the installation procedure for a component of the PAM software package. NOTE: If you are re-installing PAM, you must first stop the services for the Message Server and Message Agent for installation to work. 1) The main PAM component installation menu will come up as seen below. PAM Component Installation Menu 2) Select SuperTrak, FastTrak... or Custom installation by clicking it. Then click the "Next" button to display the installation you have chosen. 3) Review the installation settings. If the settings are correct, click "Finish" and proceed to the license agreement window; otherwise click "Back" and return to Step 2. 42
-
 1
1 -
2
-
3
-
4
-
5
-
6
-
7
-
8
-
9
-
10
-
11
-
12
-
13
-
14
-
15
-
16
-
17
-
18
-
19
-
20
-
21
-
22
-
23
-
24
-
25
-
26
-
27
-
28
-
29
-
30
-
31
-
32
-
33
-
34
-
35
-
36
-
37
-
38
-
 39
39 -
 40
40 -
 41
41 -
 42
42 -
 43
43 -
 44
44 -
 45
45 -
 46
46 -
 47
47 -
 48
48 -
 49
49 -
50
-
51
-
52
-
53
-
54
-
55
-
56
-
57
-
58
-
59
-
60
-
61
-
62
-
63
-
64
-
65
-
66
-
67
-
68
-
69
-
70
-
71
-
72
 |
 |
