Biostar M7VIP M7VIP user's manual - Page 46
Choose Destination Location Window
 |
View all Biostar M7VIP manuals
Add to My Manuals
Save this manual to your list of manuals |
Page 46 highlights
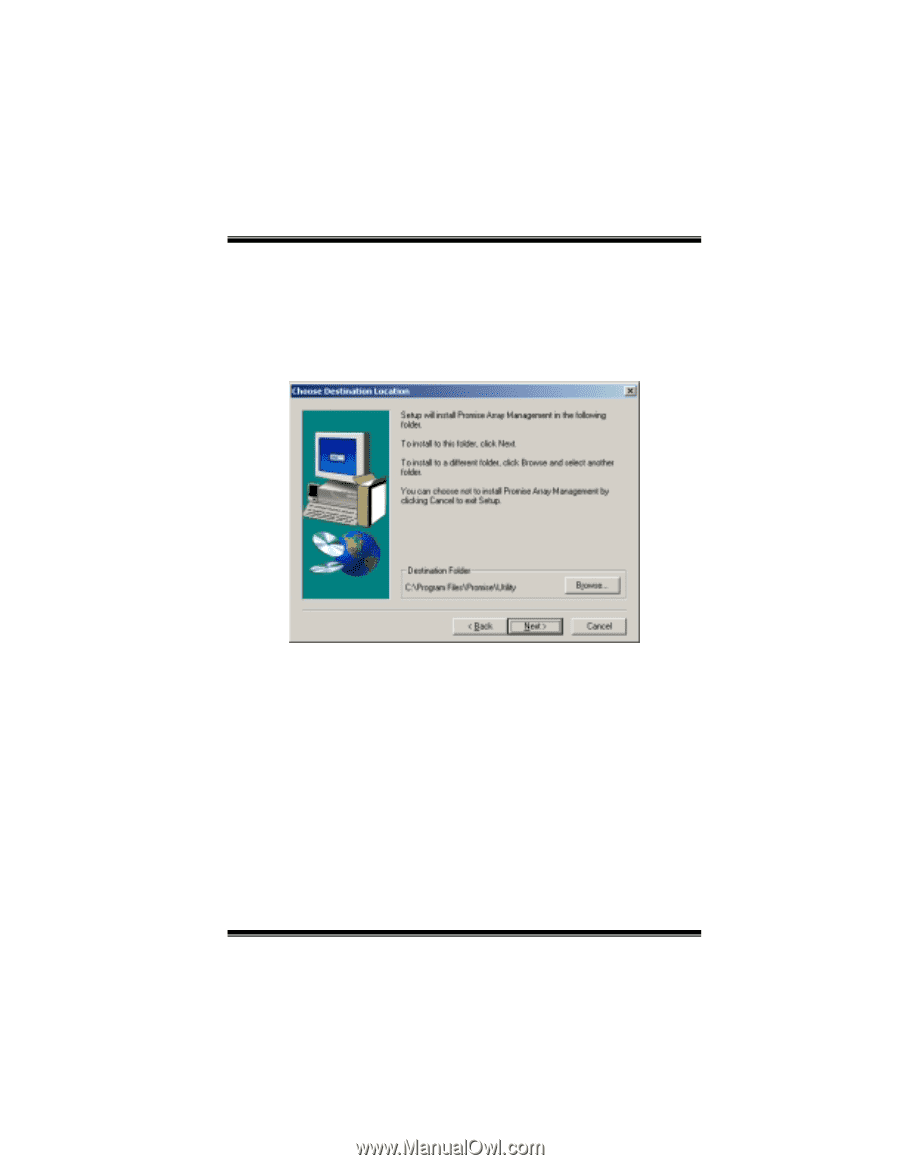
MMootthheerrbbooaarrdd DDeessccrriippttiioonn 5) When the "Choose Destination Location" window comes up, choose a directory to install this component. 6) Click "Browse" to select a Destination folder other than the folder suggested by default. Click the "Next" button to accept the location selected. Choose Destination Location Window 7) The "Select Program Folder" window comes up next. Choose a Start menu folder to list this item under by entering a folder name, and selecting a parent folder from the list under which this new folder's contents will reside. Click the "Next" button to proceed. 44
-
 1
1 -
2
-
3
-
4
-
5
-
6
-
7
-
8
-
9
-
10
-
11
-
12
-
13
-
14
-
15
-
16
-
17
-
18
-
19
-
20
-
21
-
22
-
23
-
24
-
25
-
26
-
27
-
28
-
29
-
30
-
31
-
32
-
33
-
34
-
35
-
36
-
37
-
38
-
39
-
40
-
 41
41 -
 42
42 -
 43
43 -
 44
44 -
 45
45 -
 46
46 -
 47
47 -
 48
48 -
 49
49 -
 50
50 -
 51
51 -
52
-
53
-
54
-
55
-
56
-
57
-
58
-
59
-
60
-
61
-
62
-
63
-
64
-
65
-
66
-
67
-
68
-
69
-
70
-
71
-
72
 |
 |
M
Mo
ot
th
he
er
rb
bo
oa
ar
rd
d
D
De
es
sc
cr
ri
ip
pt
ti
io
on
n
44
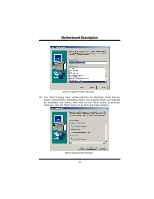
5)
When the “Choose Destination Location” window comes up, choose a
directory to install this component.
6)
Click “Browse” to select a Destination folder other than the folder
suggested by default. Click the “Next” button to accept the location
selected.
Choose Destination Location Window
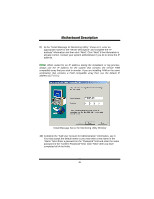
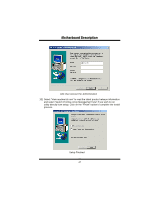
7)
The “Select Program Folder” window comes up next. Choose a Start menu
folder to list this item under by entering a folder name, and selecting a
parent folder from the list under which this new folder’s contents will reside.
Click the “Next” button to proceed.