Bissell Garage Pro® Wet/Dry Vacuum Cleaner User's Guide - Page 7
Warning, Caution
 |
View all Bissell Garage Pro® Wet/Dry Vacuum Cleaner manuals
Add to My Manuals
Save this manual to your list of manuals |
Page 7 highlights
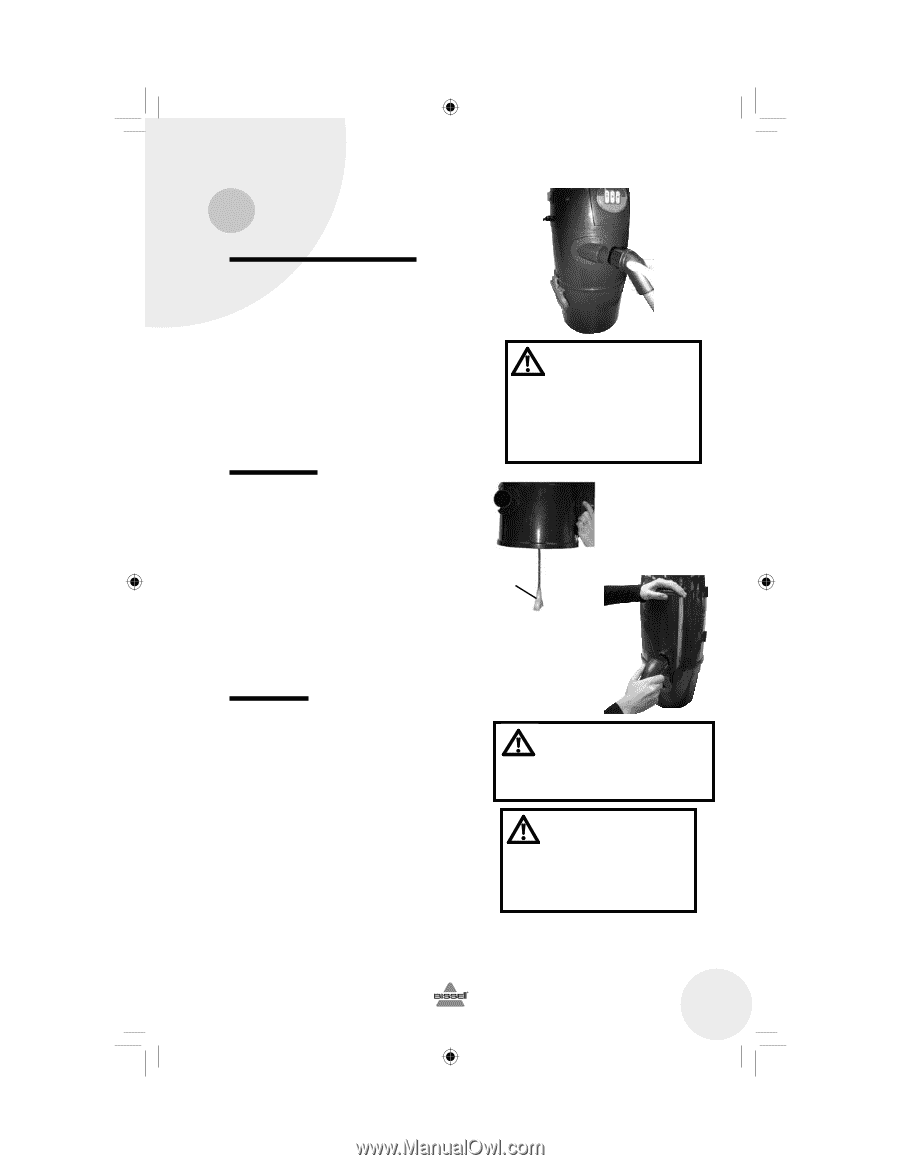
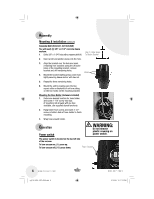
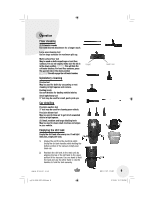
Operation Wet or dry vacuuming mode 1. Attach hose to the wet/dry hose inlet opening (located on the front left side of the unit) by pushing fitted end of hose and turning clockwise until you feel it is secure. 2. Attach extension wand, if desired, to end of hose by pushing it firmly into the hose. 3. Attach additional wand or tool, if desired, by firmly inserting onto the wand. 4. Plug in the unit and push the power switch up to begin vacuuming. Blower mode 1. Attach hose to the blower hose outlet opening (located on the right side of the unit on top of muffler) by inserting fitted end of hose and turning clockwise until it is locked in and secure. 2. Attach extension wand, if desired, to end of hose by pushing it firmly into the hose. Float 3. Attach additional wand or tool, if desired, by firmly inserting onto the wand. 4. Plug in the unit and push the power switch up to begin blowing. Safety device 1. The vacuum has a protection device to automatically power off when the tank reaches its water capacity (this prevents water from reaching the motor). If this happens, the red light will turn on indicating the tank needs immediate emptying. 2. If the temperature exceeds the unit's limit, the thermal protection device will turn on and automatically power off the unit. If this happens, wait 30 minutes prior to restarting the vacuum. 3. In the event of a clogged or full dirt tank, the yellow light will turn on indicating the dirt tank and filter need cleaning. To ensure best performance, clean the tank and filter every 15-30 days. WARNING: Do not tamper with float. Always make sure the float is in the dirt tank and not outside of the tank. CAUTION: Do not run any objects including cars over hose. WARNING: Do not suck up volatile or flammable liquids such as gasoline, kerosene or oil. www.bissell.com 800.237.7691 7 ug110-4025_18P0_208.indd 7 2/12/08 12:17:20 PM
-
 1
1 -
 2
2 -
 3
3 -
 4
4 -
 5
5 -
 6
6 -
 7
7 -
 8
8 -
 9
9 -
 10
10 -
 11
11 -
 12
12 -
13
-
14
-
15
-
16
 |
 |